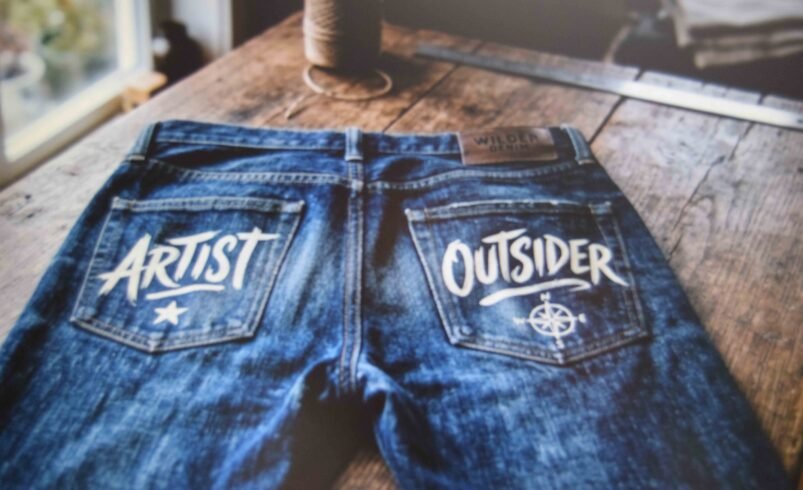

Back pockets are what people actually see. You walk down a hallway and that is the entire view.
Which is exactly why they go wrong. A mess on the front of the leg hides under a shirt. Crooked lettering across a back pocket hides nowhere.
Most senior jeans back pocket ideas online skip the boring half of the job. Planning the layout. Setting the design so it does not flake off by March. That half is what this covers, along with the methods themselves.
Why Back Pockets Are Harder Than the Rest of the Jeans
Pockets are an odd surface to work on. Fabric doubled over. A seam running along three sides. The whole panel curved and moving every time somebody sits down.
That double layer actually helps with paint. Nothing bleeds through onto the leg behind it.
It hurts with stitching though. A needle has to punch through two thicknesses of denim plus the topstitching thread already sitting there.
Then there is visibility. Back pockets get photographed constantly during senior year and nobody asks first.
So here is the standard worth working to. Would it bother you in a photo taken from six feet behind? Fix it now, not later.
1. Pick the Jeans Before You Pick the Design
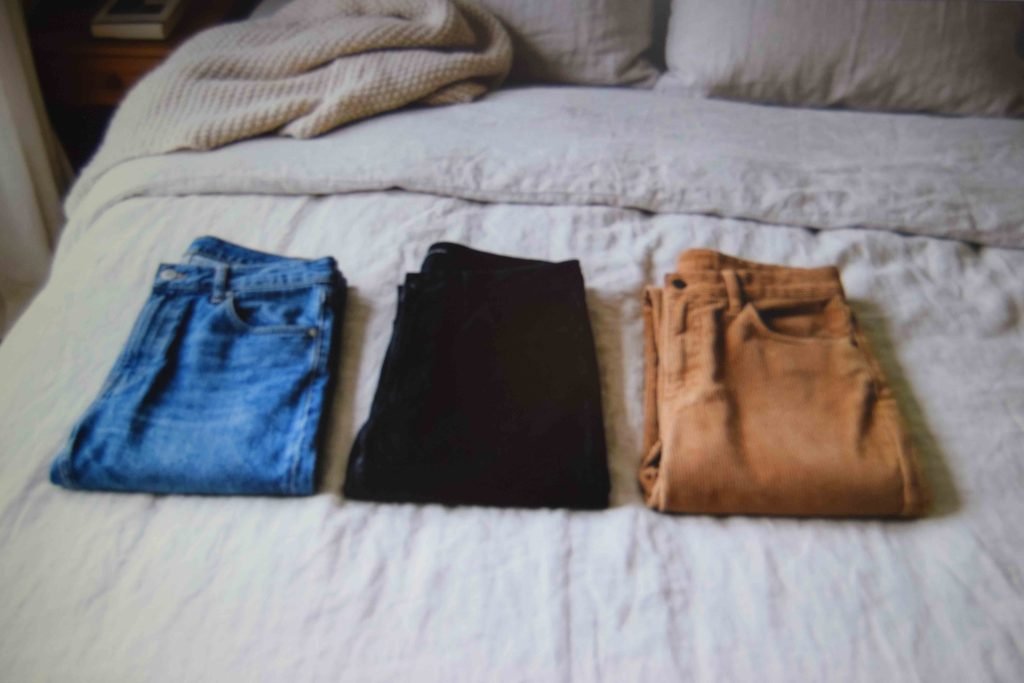
Blue denim is the default. Most students go that way. Nothing requires it though.
Black jeans work. So do carpenter pants, corduroy, cargo styles.
Choose by pocket shape first. Flat rectangular pockets with light topstitching give the most usable surface. Heavily distressed pairs with rips near the pocket edge will not hold paint or stones where the fabric has already thinned.
Read the tag for stretch content too. Denim loaded with elastane flexes further than paint film does. That gap is where cracking starts.
One mistake worth avoiding. Buying jeans that already fit tight. Decorated pockets sit better on a relaxed cut.
2. How to Make Senior Jeans Look Right by Sketching First
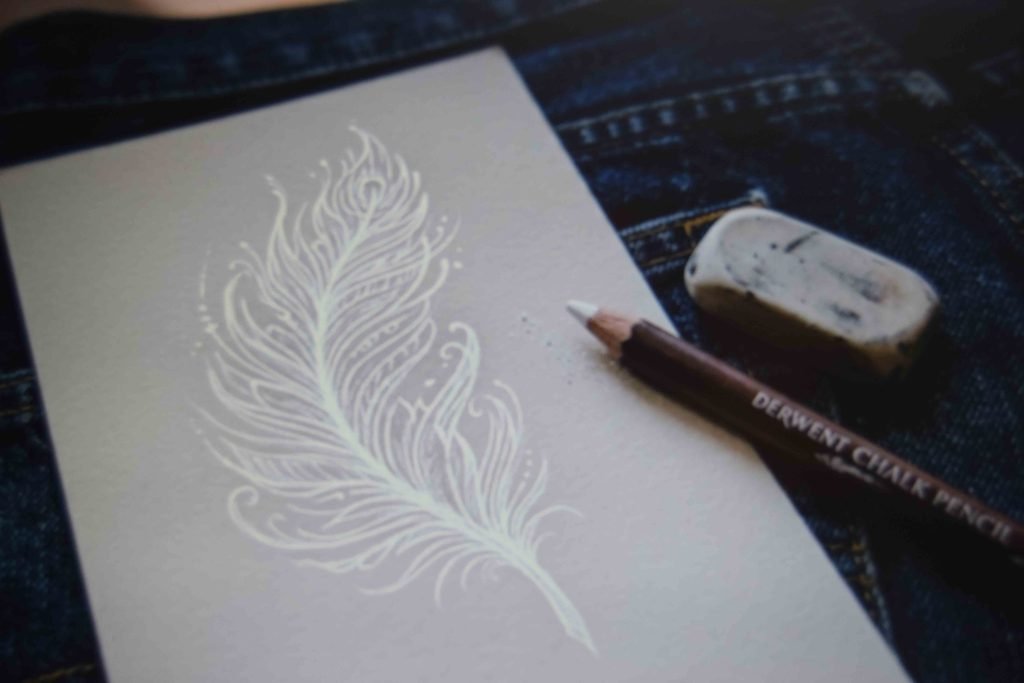
Skip this step and you will regret it. More good denim gets wasted here than at any other stage.
Trace around the real pocket to get the actual outline. Work inside that shape. Something balanced on a blank sheet often runs off the edge once seam allowance eats into it.
Cut the sketch out. Pin it on. Sit down in the jeans if you can manage it, because a layout centered on a flat pocket reads differently once fabric curves around a body.
Transfer the final outline with tailor’s chalk or a water soluble marker.
Never a regular pen. That mark stays forever.
3. Scale the Design to the Pocket and Not to Your Idea
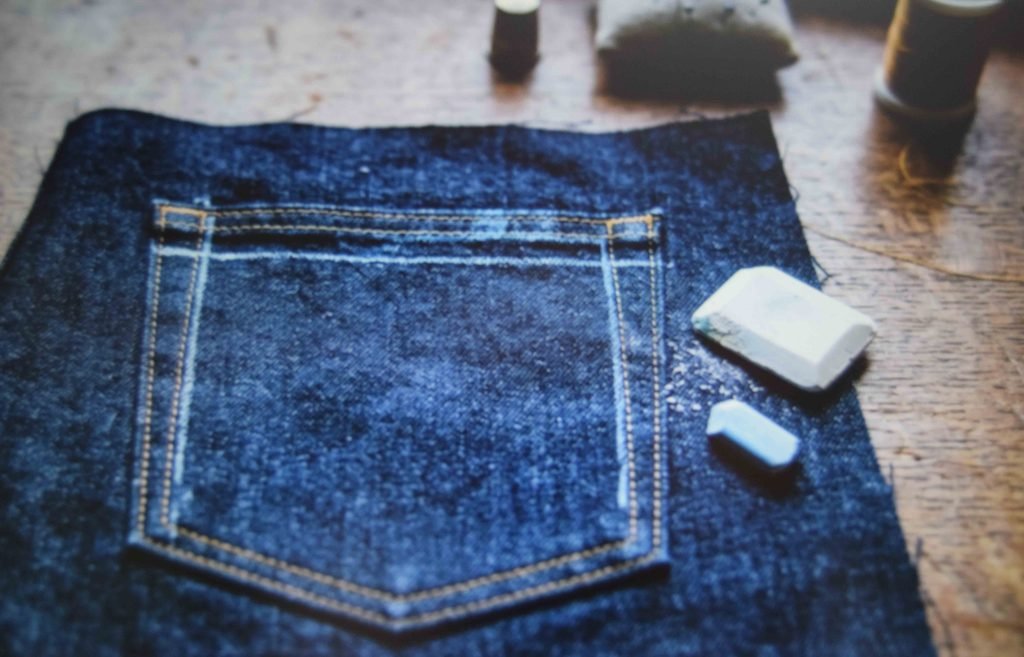
Ambition ruins pockets. There is less room on that panel than anyone assumes, since the top edge vanishes under a shirt hem and the bottom curves away from view.
Stay inside the topstitching line. Do not run up to the seam. Text crossing a seam distorts, and the raised thread underneath makes paint sit unevenly on top of it.
Graduation year numbers work because they read from across a room. Full sentences do not. Anything requiring a close look defeats the point of putting it back there.
Name plus year? Stack them. Vertical stacking survives the pocket curve far better than one long line.
4. Choose the Colors Before You Buy Any Supplies
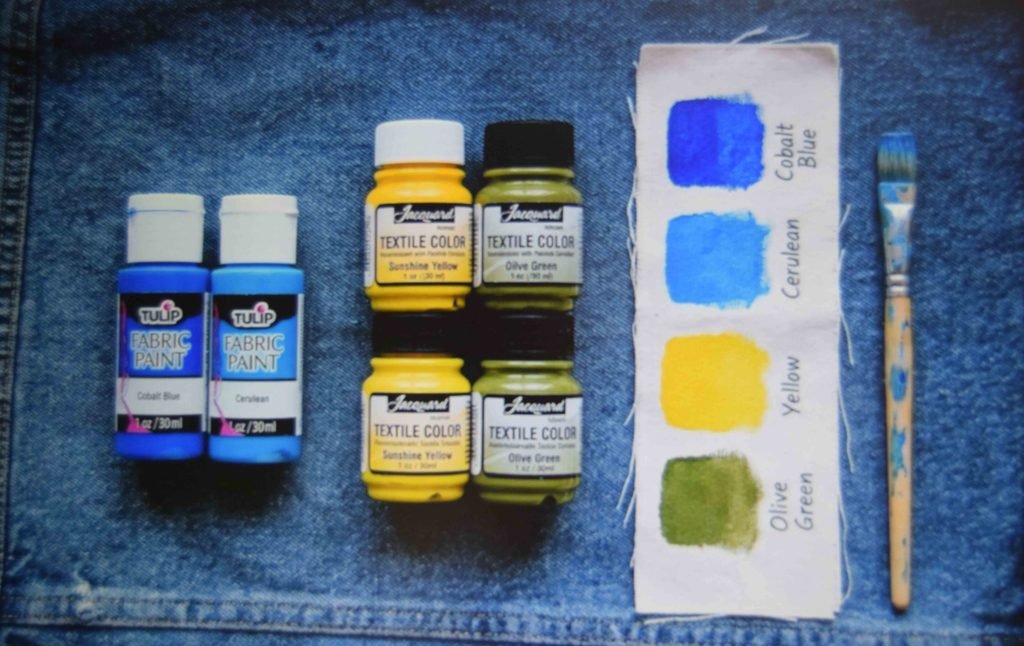
Two directions dominate here. School colors, which pull group photos together nicely. Or something brighter with no connection to the school at all.
Both are fine. Using every color you own on one panel is not.
For a stripped back version, hold it to two shades. Black and white on indigo is about as reliable as this gets, and it photographs well under gym lighting where saturated colors turn muddy.
Buy the exact shades before starting. Mix a custom color midway and you will never match it again for touch ups.
Test each one on the inside waistband. Denim shifts pale colors more than people expect.
5. How to Paint Senior Jeans by Hand
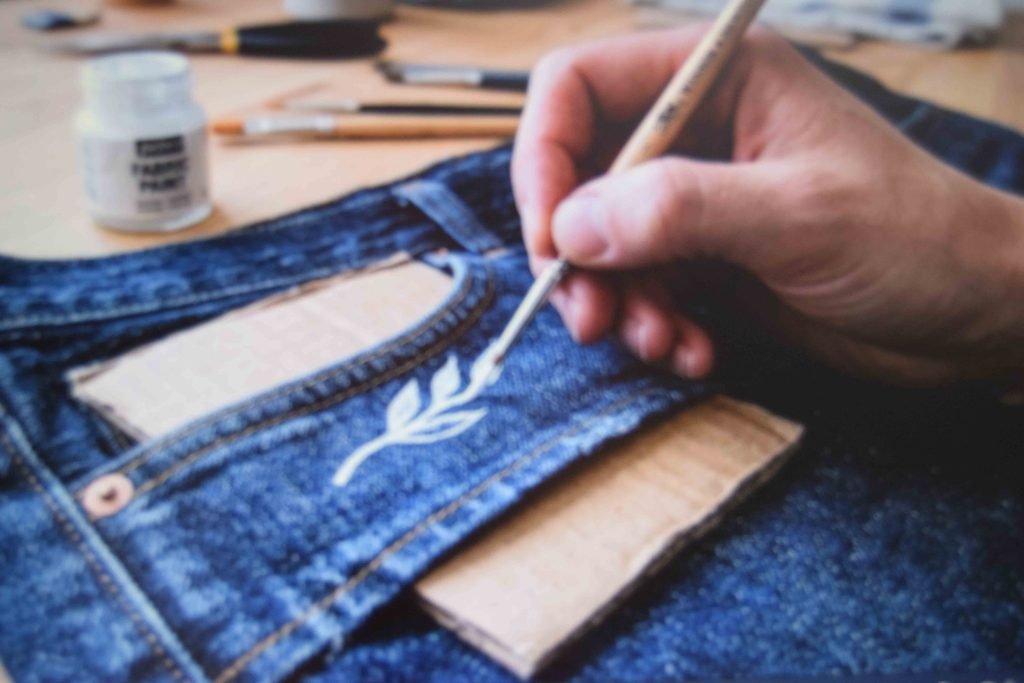
Cheapest route in, and the most direct. Cardboard goes inside the pocket before anything else so nothing soaks through.
Thin layers. Not one heavy coat. Thick paint sits on top of the weave rather than sinking into it, and it splits along fold lines within weeks. Every layer dries fully before the next.
Stiff bristle brush for filling. Fine liner for outlines. Soft brushes drag across denim texture and leave streaks you cannot repair afterward.
The beginner mistake is loading the brush too heavily. Wipe most of it off on the palette edge first.
Almost dry is right.
6. Practice on Scrap Denim and Iron the Result On
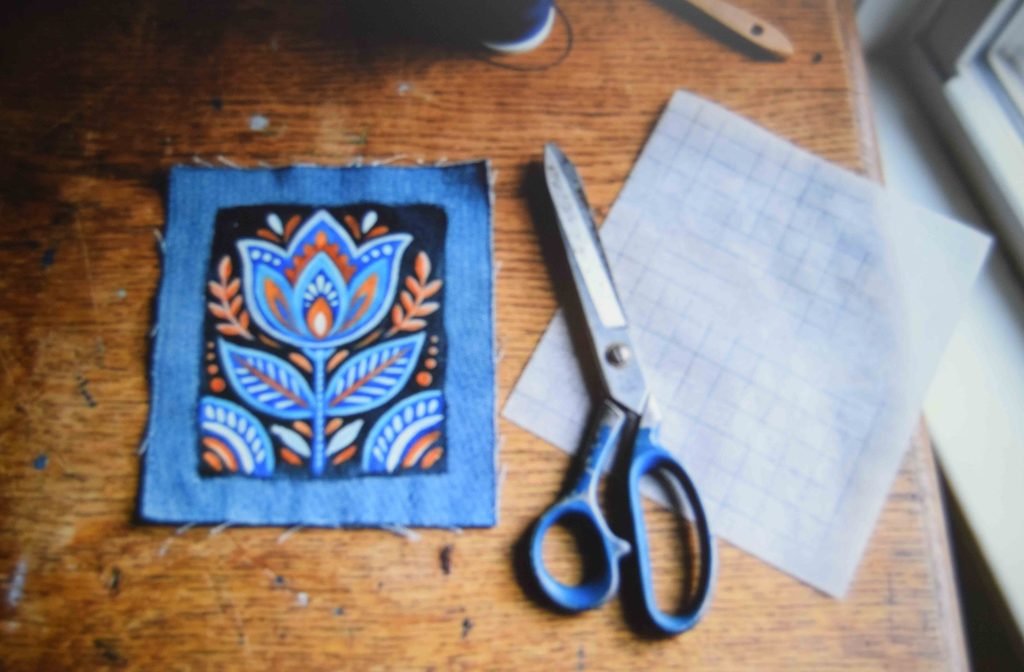
Scared of wrecking a good pair? Take the risk off the jeans completely.
Work the design on separate fabric. Attach it once it is right.
Cut the patch bigger than the finished design so there is margin to trim. Paint it, dry it, cut it to shape, then fuse it onto the pocket with webbing between the layers.
Obvious advantage. A failed attempt costs a scrap, not the jeans.
The tradeoff is a visible border where the patch sits. Zigzag stitching around the edge hides that line and stops corners peeling up after a few washes.
7. Cut Vinyl With a Cutting Machine for Sharp Edges
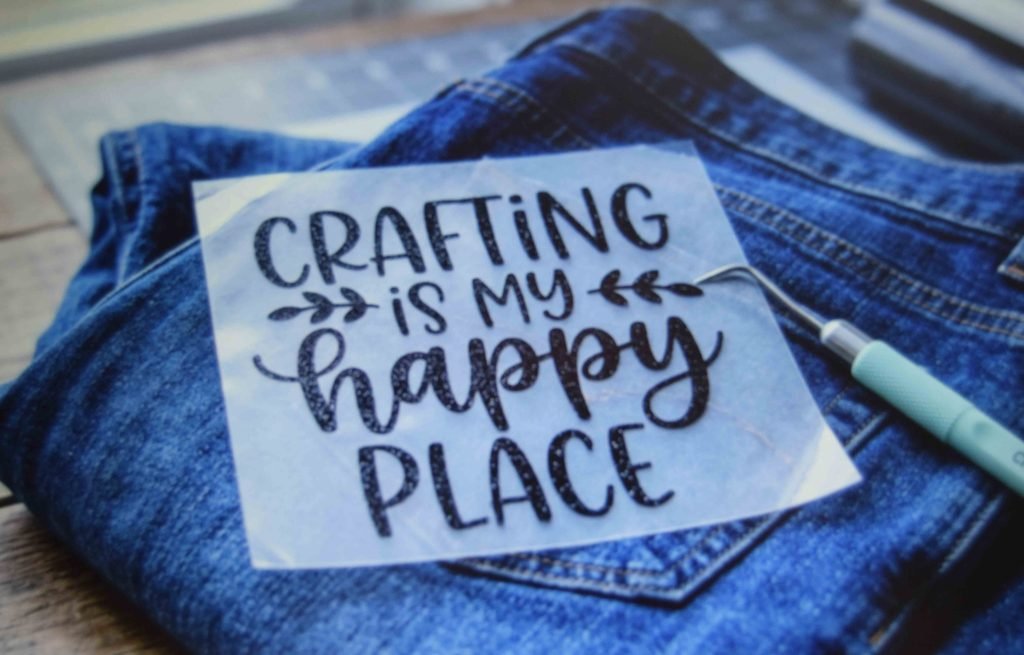
Access to a cutting machine is a genuine advantage, because hand-cutting letters at pocket size is brutal work.
Cut heat transfer vinyl. Not adhesive vinyl. The adhesive kind peels off fabric within days no matter how well you press it.
Mirror the design, weed the excess, press with steady pressure and firm heat through a cover sheet. Denim handles heat well, which makes it forgiving compared to most fabrics.
Where does it fail? Over thick seams. Vinyl needs flat contact to bond, and raised topstitching leaves a gap underneath that lifts first. Keep vinyl inside the flat field.
8. Dye or Bleach the Pocket Area for a Background
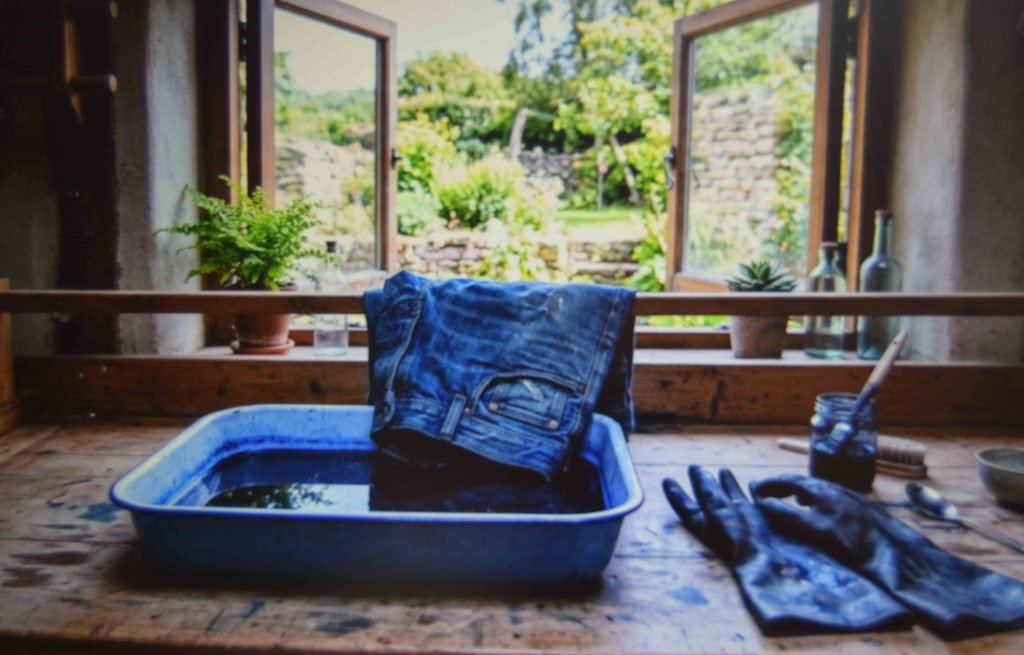
Color the fabric itself and the design lives in the denim rather than on it. Nothing cracks. Nothing peels.
Mask or tie off whatever should stay untouched, then submerge only the pocket section. Give the dye at least six to eight hours, or overnight for deeper saturation. Rinse until the water runs completely clear.
Rinse early and the color will transfer onto everything else in the wash later.
Bleach does the same job in reverse and needs more care. Window open. Gloves on. Never mixed with any other cleaning product.
Coated or waxed denim will not take dye at all, so skip those pairs.
9. Set Rhinestones With Fabric Glue and Real Pressure
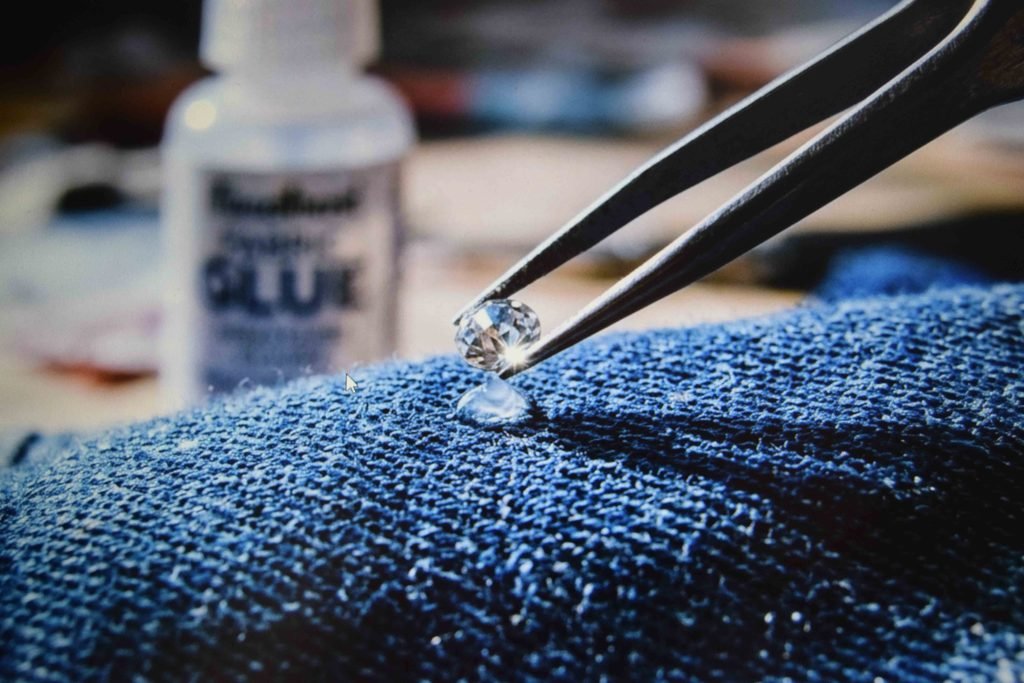
Stones do something paint cannot, and a doubled pocket panel supports them surprisingly well.
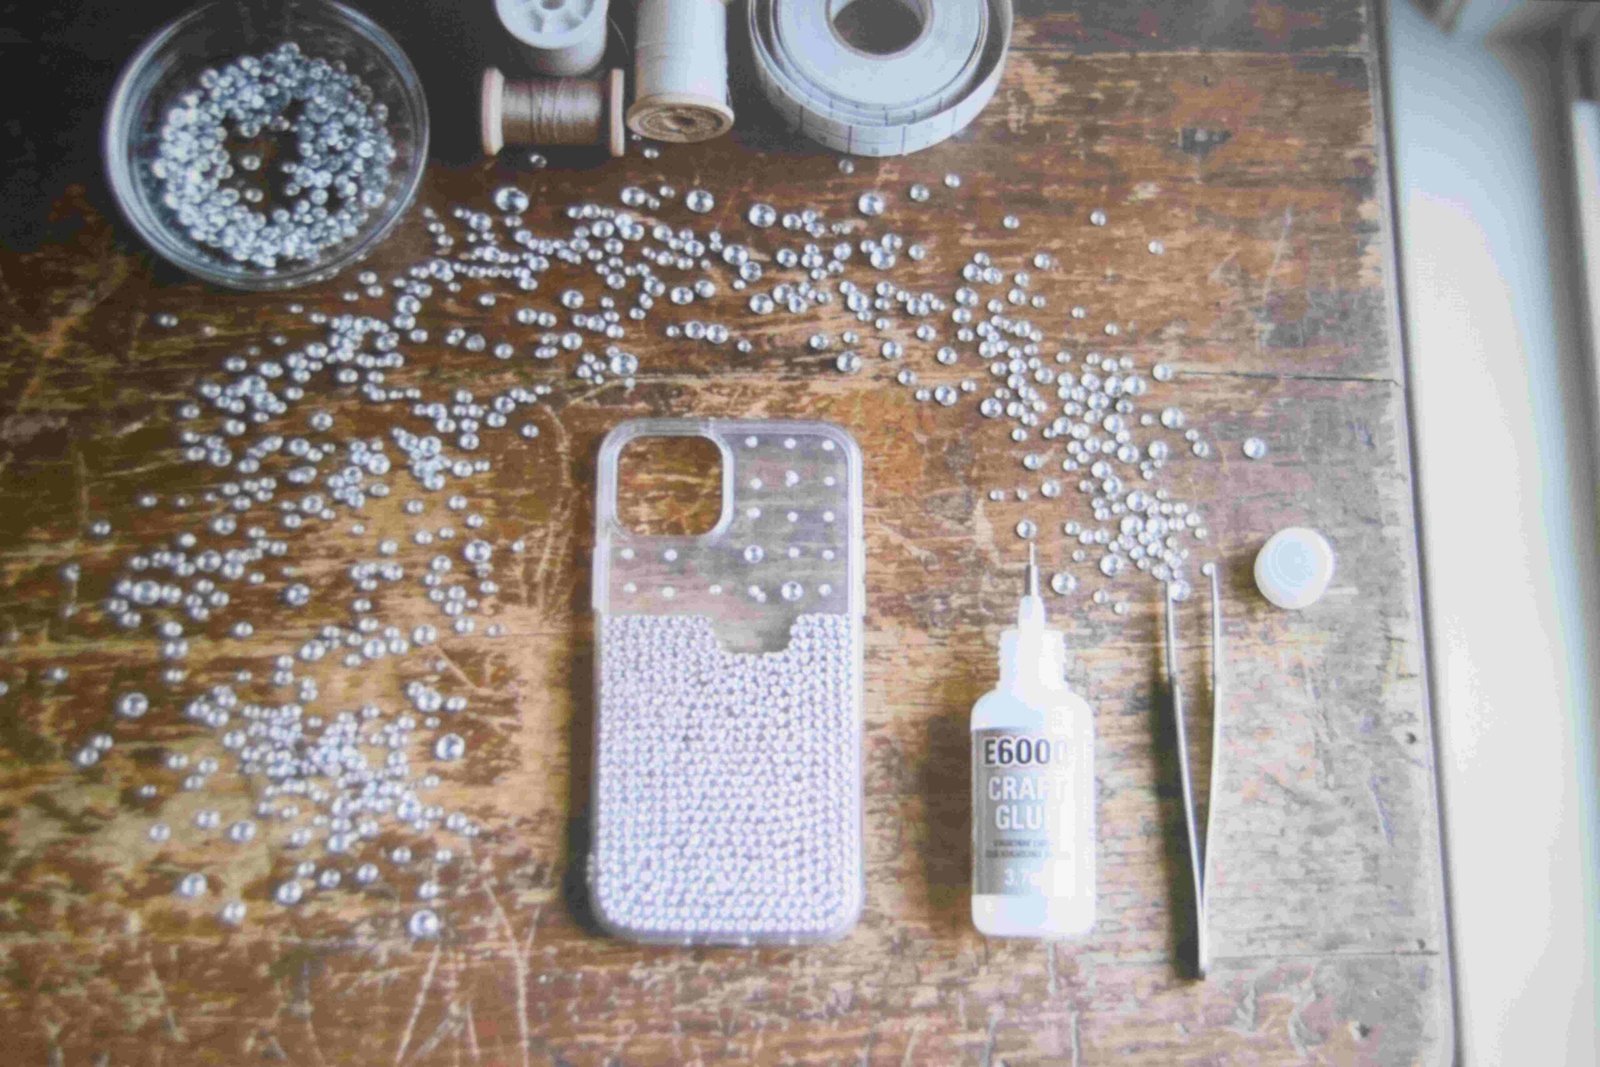
Put the glue on the back of each stone. Not spread across the denim. Press it down and hold for a full 30 seconds so the adhesive grabs properly before moving on.
Rush that and they start dropping off in week one.
Work from the outer edges of your shape inward. Spacing errors then land in the middle where nobody notices them.
Keep stones well clear of the pocket opening. That edge takes constant friction from hands going in and out all day.
10. Use a Glue Gun Only Where It Makes Sense
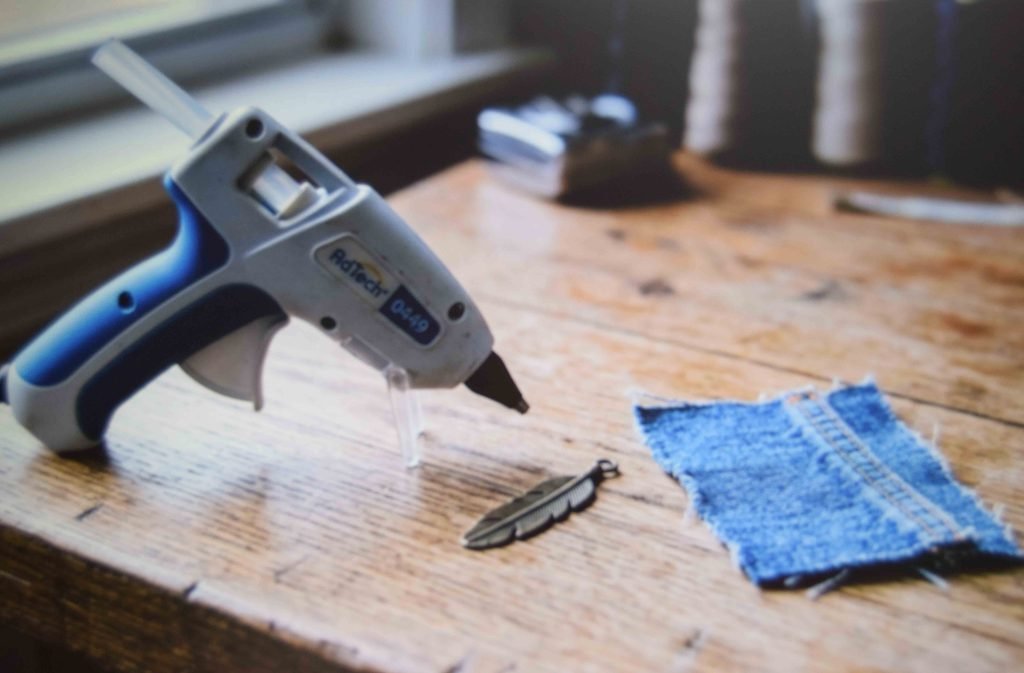
Some people grab a hot glue gun to guarantee nothing falls off. It does hold. Aggressively.
It also turns fabric into a stiff plate, yellows with age, and when it finally lets go it comes away in sheets. Over a school year that matters.
So where does it belong? Chunky pieces fabric glue cannot carry. Charms. Small hardware. Thick appliqué.
That tip runs hot enough to burn through denim into skin. Keep the pocket flat on a board. Never put a hand behind where you are gluing. Low setting if the gun has one.
11. Hand Stitch the Outline for Something Paint Cannot Do
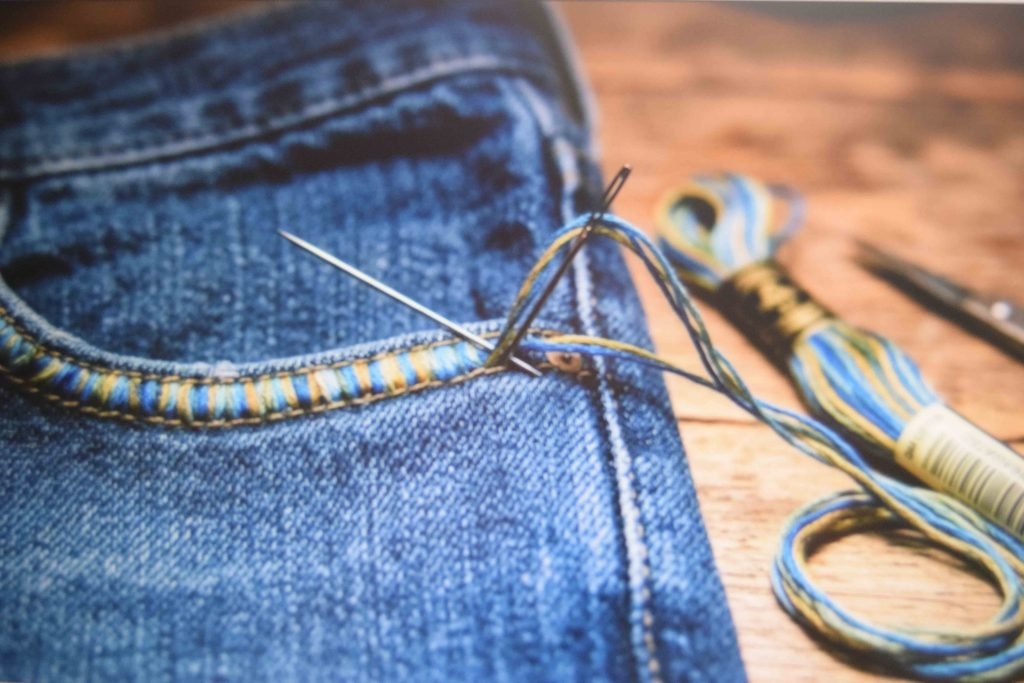
Thread sits above the surface and adds texture. It also never cracks, which paint eventually will.
Open one side of the pocket seam if you want to work flat. Otherwise accept stitching through both layers.
Use a heavier needle than seems necessary. Standard sewing needles bend against denim topstitching.
Slow down here. Rushing gives uneven stitch length and tension problems that show up clearly against flat fabric. At the end of a run, thread the tail onto a tapestry needle and bury it between the layers instead of knotting it on top.
Embroidery floss in three or six strands covers ground faster than regular thread.
12. How to Wash Painted Jeans Without Losing the Design
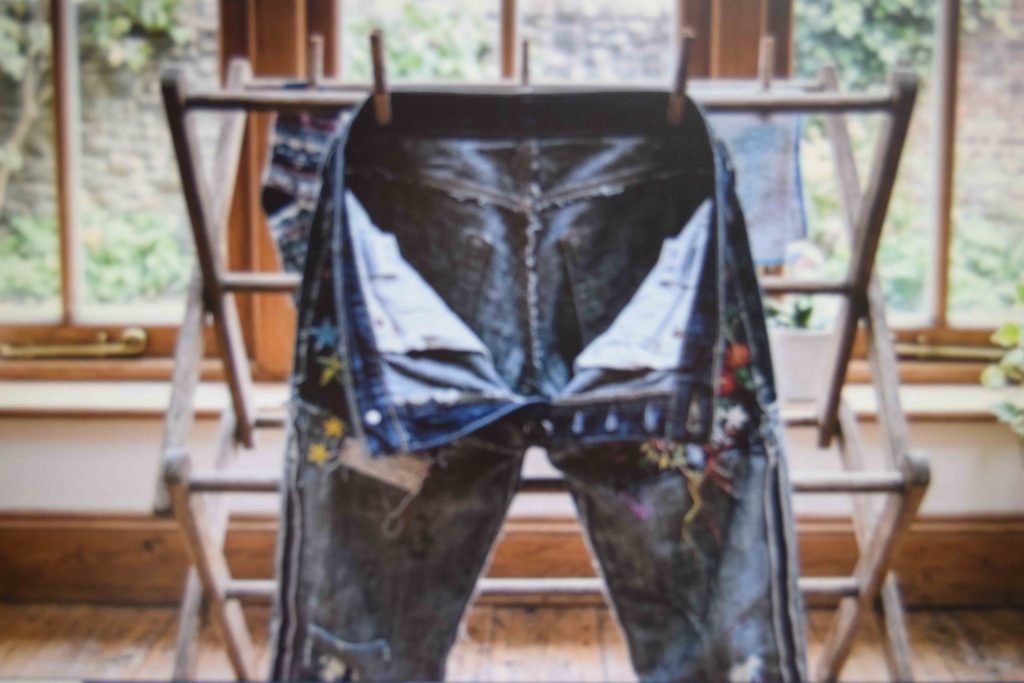
This step decides whether any of the work survives past October.
Heat-set the paint first. Iron it according to whatever the paint manufacturer specifies, since times and temperatures differ between brands and guessing breaks the bond.
Then wait. Seventy two hours before the first wash so the paint cures right through. Inside out, gentle cycle, once that time is up.
Cold water. Always.
No dryer. Hang them instead, because tumbling abrades painted areas faster than anything else in the process.
Spot clean between washes wherever you can. Fewer full washes means a longer life for anything sitting on the surface.
13. Where to Find Senior Jeans Back Pocket Ideas Worth Using
Fifty saved screenshots produce paralysis, not a design. Save five. Stop there.
Then pull one element from each instead of copying any single pair whole. Lettering from one. Layout from another. Color from a third. Most cute senior jeans circulating right now look identical because everybody is working from the same handful of posts.
School specific details are the ones nobody can copy off you. A mascot shape. A field number. A nickname only your class uses.
Search senior jeans inspo and the pattern shows itself within a minute of scrolling. Memorable pairs always carry something specific.
14. When Decorating the Back Pockets Is the Wrong Move
Check the dress code before anything else. Some schools restrict what gets worn on campus, and finding that out afterward is an expensive lesson.
Borrowed jeans are an obvious no. So is anything you might return.
Heavily stretched skinny styles are the real practical limit. More fabric movement means faster breakdown of surface decoration, and no sealing trick fixes that.
Attached to a high stretch pair anyway? Put the design on a patch and stitch it on. Fabric moves, thread moves with it, and stitching tolerates flex that paint simply cannot.
Practical Tips Before You Start
Wash and dry the jeans first. New denim shrinks, and a design applied before that shrink will pucker permanently.
Flat surface. Overhead light. Kitchen tables beat laps every single time, and shadows hide unevenness that daylight reveals later.
Photograph each stage as you go. Six months on, when something needs patching, you will want the reference.
Seal leftover paint and write the date on it. Touch ups are coming and matching a color from memory does not work.
One honest downside. Any diy senior jeans project runs longer than tutorials suggest, mostly because drying and curing cannot be hurried. Build that into the plan instead of fighting it.
Frequently Asked Questions
Do I have to prewash the jeans first? Yes, and this matters more than most steps. Manufacturers coat new denim with sizing chemicals that stop paint and dye bonding. One wash with normal detergent strips that layer. Skip fabric softener entirely, since it leaves a film behind that causes the same problem all over again.
What do I do if I mess up partway through? Stop and let it dry. Wiping wet paint spreads the damage instead of removing it. Once dry, most errors can be worked into a bigger shape, painted over in a darker shade, or hidden under a patch. Scrubbing fresh paint out of denim usually leaves a stain plus a fuzzed patch of fabric.
Should the back pockets match the front of the jeans? No need, and matching everything tends to look overworked. Keeping the front plain and loading detail onto the back is the common approach. If you decorate both, repeat one element across them, like a shared color or shape, so the pair reads as a single project.
What should I skip entirely? Glitter glue, permanent marker, puffy paint. Glitter migrates onto everything it touches. Marker fades to a dull brown after sun exposure. Puffy paint cracks along every fold. All three look fine on day one and rough by winter.
Is one decorated pocket enough or should I do both? Both is more usual, but decorating one and leaving the other blank is a real choice and half the work. Going with one? Put it on the side you naturally get photographed from. Asymmetry only reads as deliberate when the empty side stays completely bare.
Getting Started This Weekend
Pick the pair. Wash them. Sketch on paper before opening a single bottle of paint. That order prevents most of the damage people do to good denim.
Then commit to one method instead of stacking four together. Paint or vinyl or stitching. Not all three on one panel.
The senior jeans back pocket ideas that hold up all year are rarely the complicated ones. They are the ones where somebody planned the layout, let things cure properly, and washed them carefully afterward.
Start with the sketch. Everything else follows.