
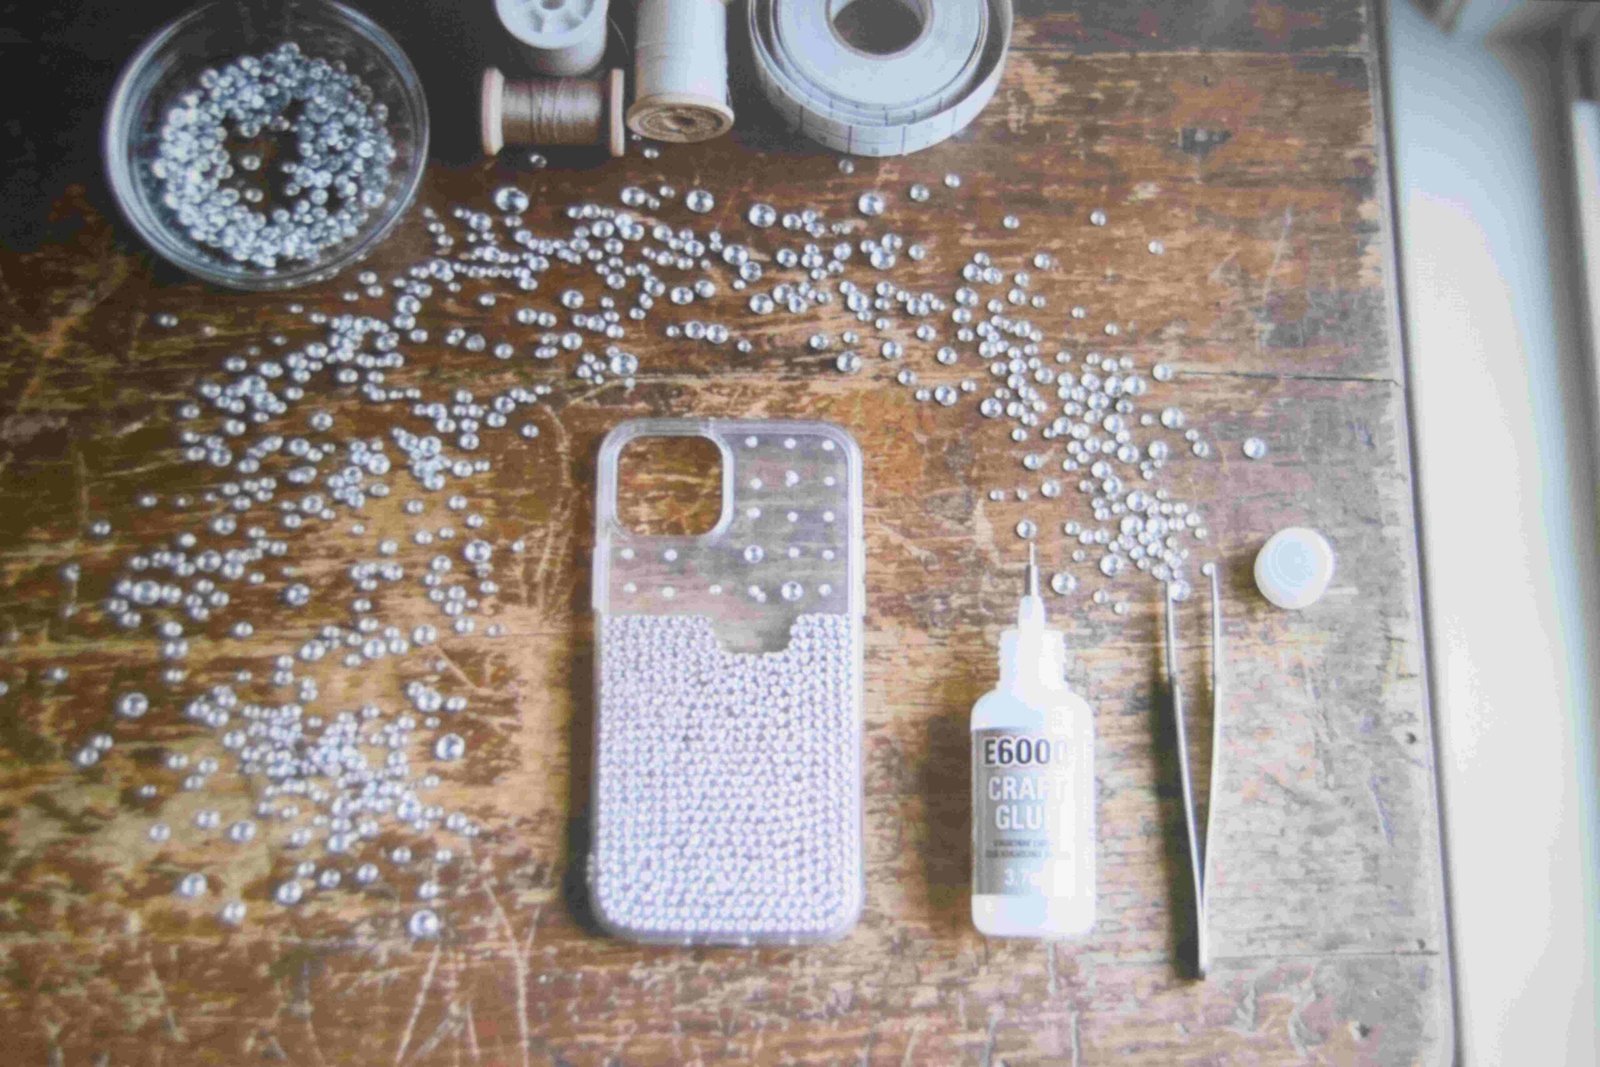
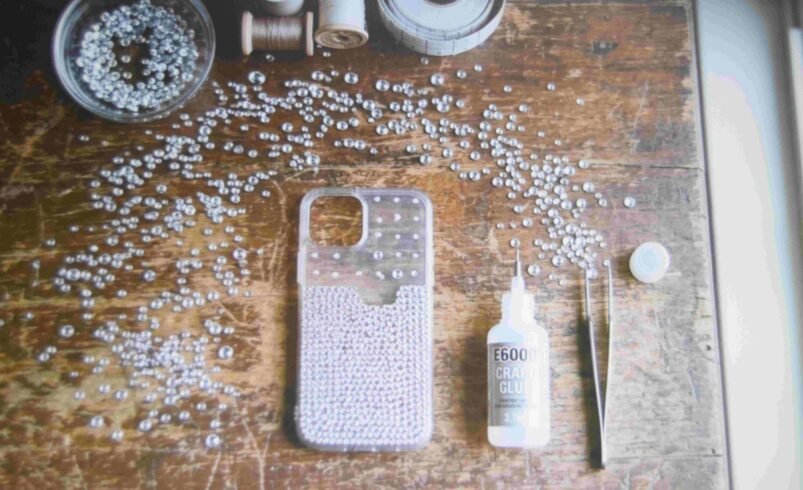

You glue fifty rhinestones onto a phone case at night. By the next afternoon, six of them are rolling around the bottom of your bag.
Nobody warns you about that part. Sticking crystals on is the easy half. Keeping them stuck is the half that takes actual skill, and it comes down to three things. What glue you picked. Where you placed the stones. How long you waited before using the thing.
So this post covers both sides. Twelve bedazzling ideas that actually hold up, plus the technical rules underneath them.
Why These Projects Are Worth Trying
A plain $5 phone case can end up looking like a $50 accessory. That gap is basically the whole appeal.
Custom bedazzled shoes sold online tend to start around $100 and go up sharply from there. Doing it yourself usually lands between $20 and $50 in supplies in 2026. Small stuff like clips or a jar lid often comes in under $15.
Finished work sells too. Shoes and handbags with quality crystals and clean placement genuinely move in that $100 range, though they take a serious chunk of your weekend to make.
And that is the honest downside. Rhinestone work is slow and repetitive. Heels covered in 2mm crystals can run around 30 hours of hand placement. That is not a relaxing evening with a show on in the background. That is a project you will resent by hour nine if you picked the wrong first item.
What You Need Before You Start
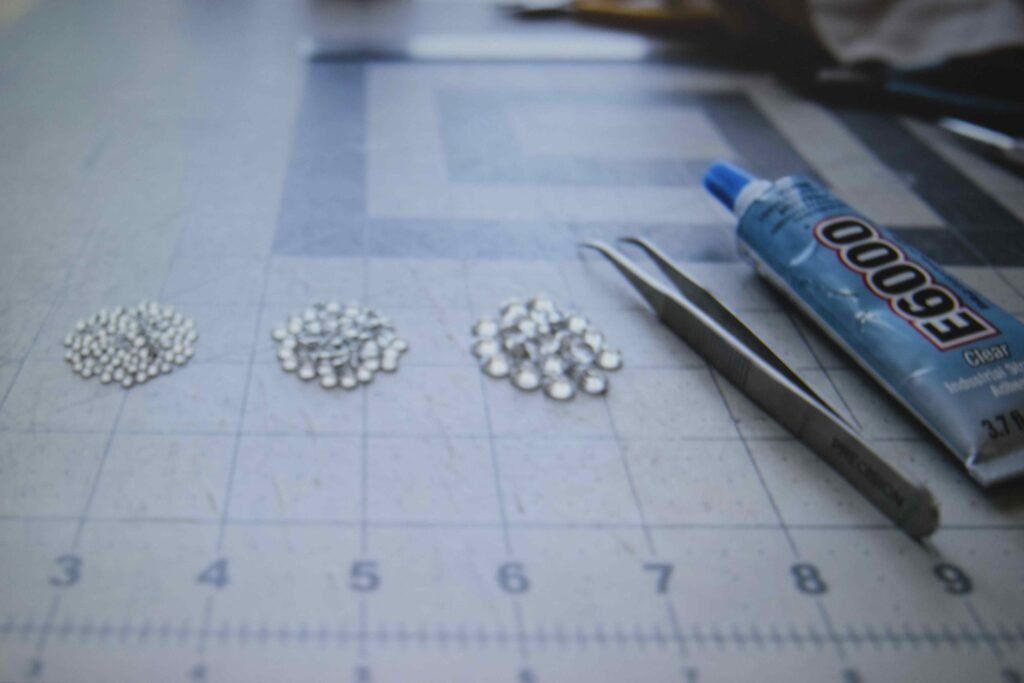
Your shopping list is short. Crystals in a few sizes, one good glue, tweezers or a wax pencil for picking up stones, and something to work on that you do not mind getting sticky.
Buy three crystal sizes, not one. Common ones run 1.5mm, 2mm, 3mm and 5mm. Pick a main size, then get filler stones roughly 1mm to 3mm smaller to close the gaps between them. Gaps are what make a finished piece look amateur.
Glue is the decision that matters most. GemTac is the friendlier indoor option and does not need special ventilation. E6000 grips harder on rubber and anything living outdoors, but the label carries strong warnings and needs a window open, so read the tube and follow it properly.
Then there is drying. Most adhesives need 24 to 72 hours to reach real strength, and the surface feeling dry means almost nothing. Twenty four hours minimum before you use anything. Forty eight if the item gets tossed in a bag or worn on your feet.
Order everything for one project in a single order from one seller. A large pair of platform heels can swallow close to 10,000 stones, and a second batch bought later often comes back a slightly different shade. Cheap overseas orders can also take up to 3 weeks to land, so buy early.
1. Bedazzled Phone Case Ideas
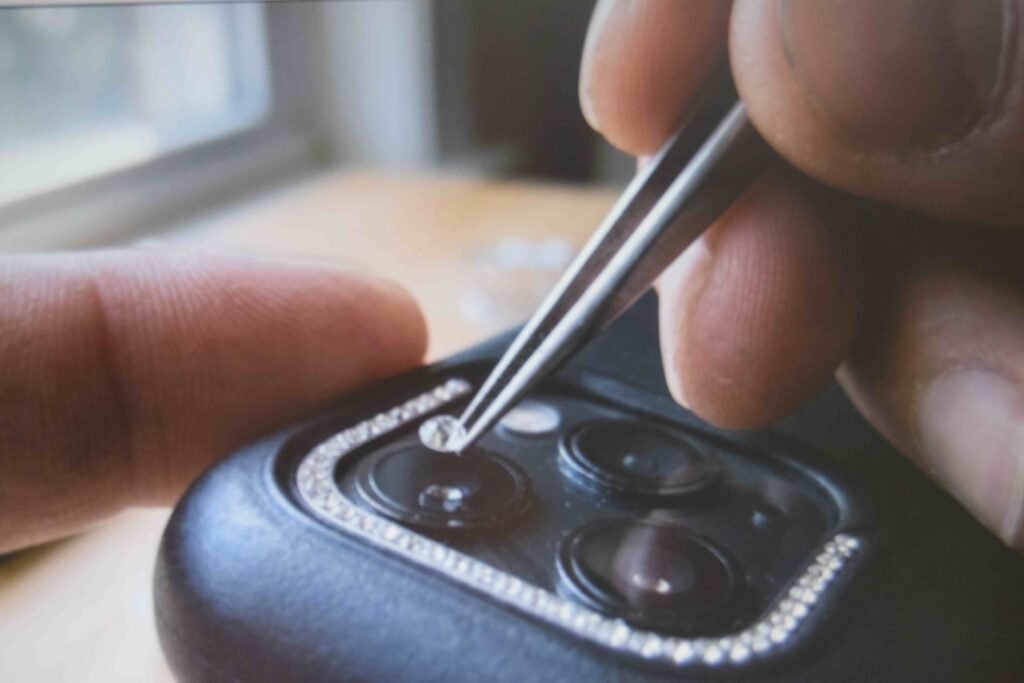
Best place to start. A case takes roughly 30 to 60 minutes, so you learn the whole technique in one sitting.
Spread glue over about a 3cm square, wait a minute until it turns tacky, then set your stones. Small area, then the next. People who coat the whole case at once end up chasing dried glue.
Decide on coverage before you begin. Full coverage looks expensive but eats stones. A corner accent or a diagonal band gets you most of the effect for a fraction of the work.
Keep crystals off the camera cutout, the charging port and the button edges.
2. A Bedazzled Water Bottle With a Grip Zone
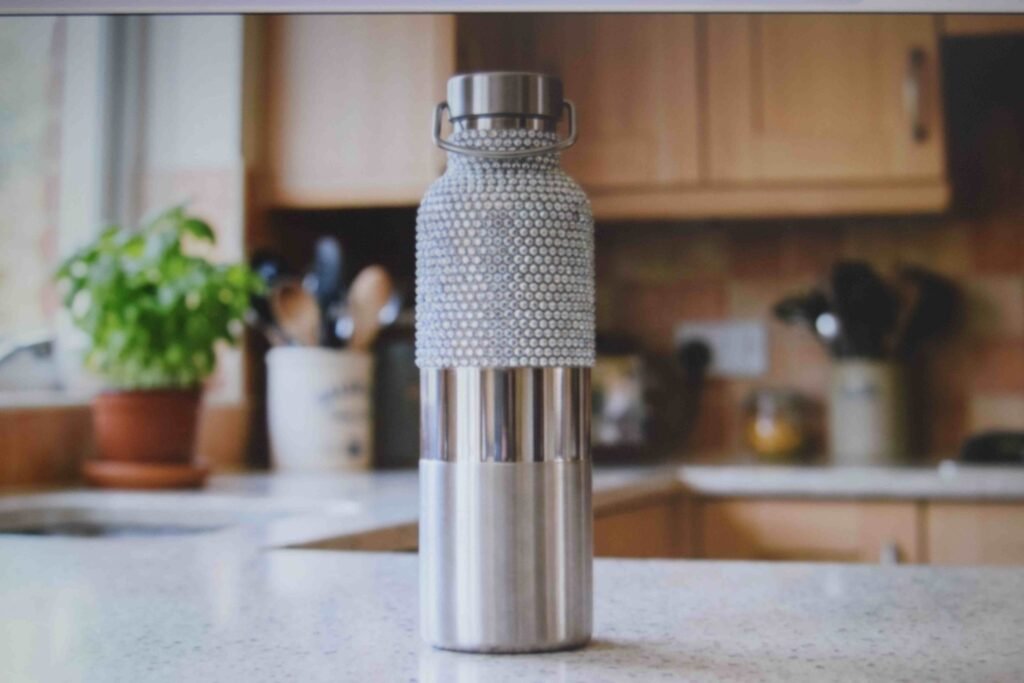
Bottles get held constantly, and friction is what kills rhinestone work.
So leave a bare strip roughly 2 inches wide where your hand naturally wraps. It feels like you are ruining the design. You are not. A bottle with a bald patch looks better in month three than one that has shed half its stones.
Plan a sparkle zone and a grip zone on paper first. Takes two minutes and saves the whole project.
3. Bedazzled Tumbler Ideas That Survive Daily Use
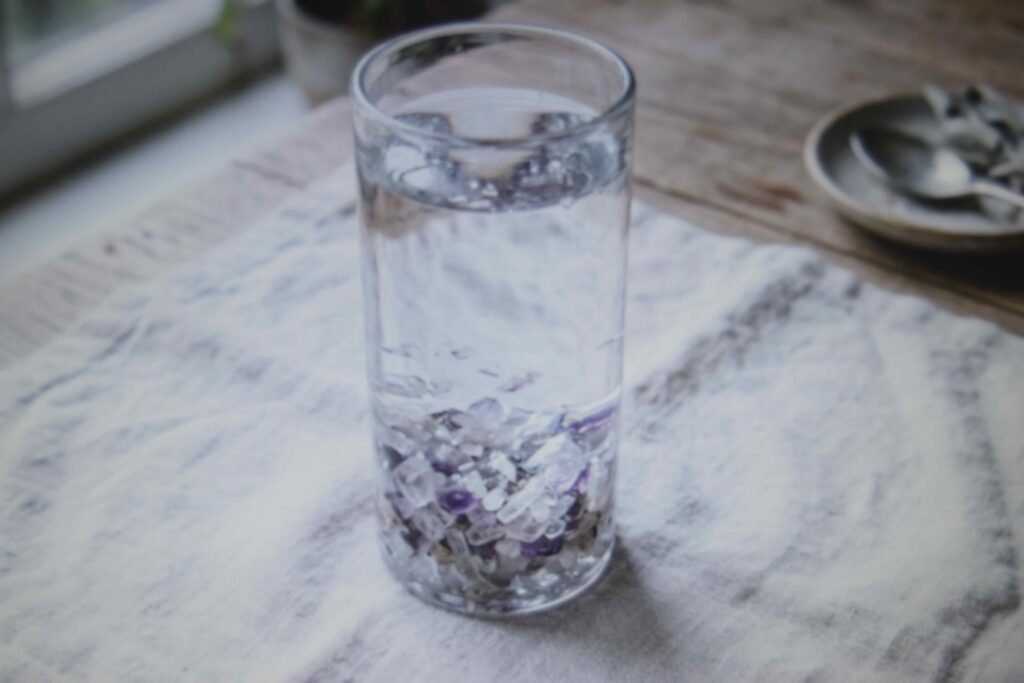
Tumblers travel. Desks, car cup holders, tote bags, the lot.
Give them the full 48 hours before real use rather than the standard 24.
For the design, a gradient works beautifully here. Pack crystals densely around the base and let them thin out as they climb. It adds visual weight at the bottom, which suits the shape, and it uses fewer stones than full coverage.
4. Bedazzled Hair Clips
Cheap, small, fast. Clips are the smartest way to test a colour combination before you commit to something bigger.
The curve is the tricky bit. Smaller stones around 2mm to 3mm follow a curved surface far better than large flat ones, which lift at the edges and pop off within a week.
You can finish two or three clips in one sitting, which makes this a decent project for an evening when you want something done rather than started.
5. A Bedazzled AirPods Case
Work on the lid and leave the rest alone.
The hinge needs to stay clear or the case will not shut flush, and once it stops closing properly the whole thing rattles in your pocket. Same for the charging contacts inside.
One focal design on the top surface reads better than trying to wrap the entire shell. It also takes twenty minutes instead of two hours.
6. A Bedazzled Vaseline Jar
Strange little project, weirdly popular, and genuinely satisfying because it finishes fast.
The lid is small and flat, so you are looking at maybe twenty minutes. Rhinestone strips work well around the rim if you want a clean circle without placing each stone by hand.
Good use for whatever is left in the packet after a bigger project.
7. Bedazzled Sneakers DIY
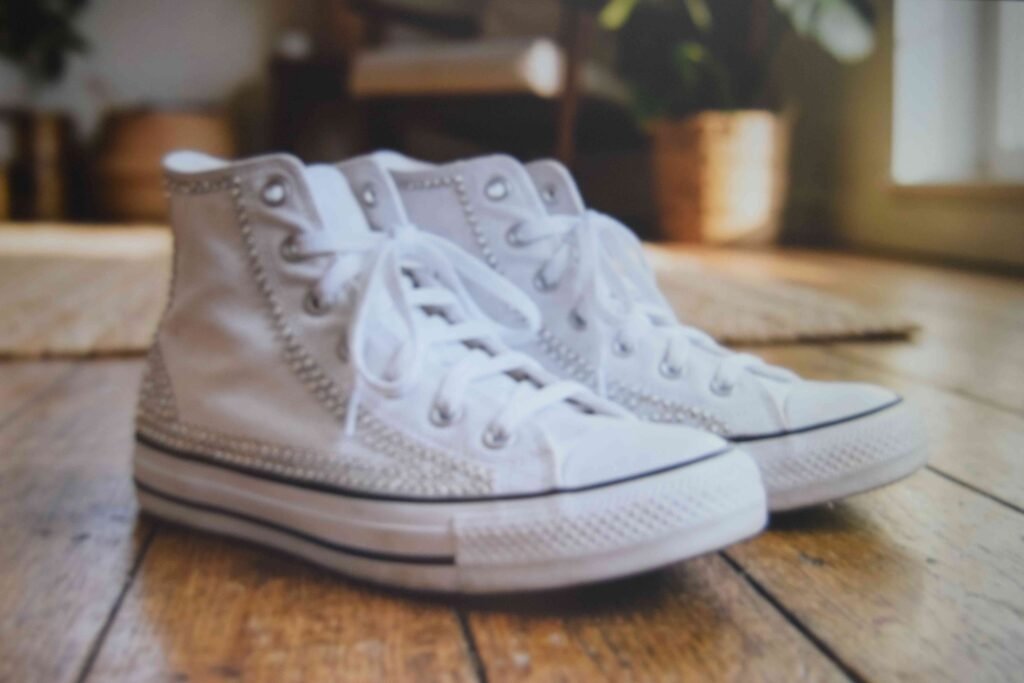
Shoes are where beginners get humbled. Fabric bends, and rigid glue cracks along the bend.
Use an adhesive rated flexible for fabric, press every stone down firmly rather than resting it on the surface, and stay off the toe box crease unless your layout is tight and your glue can genuinely handle the movement.
Sides, heel counter and the panel near the laces are the safe zones. Those areas barely move when you walk, which is exactly why the stones stay put there.
8. A Bling Makeup Organizer
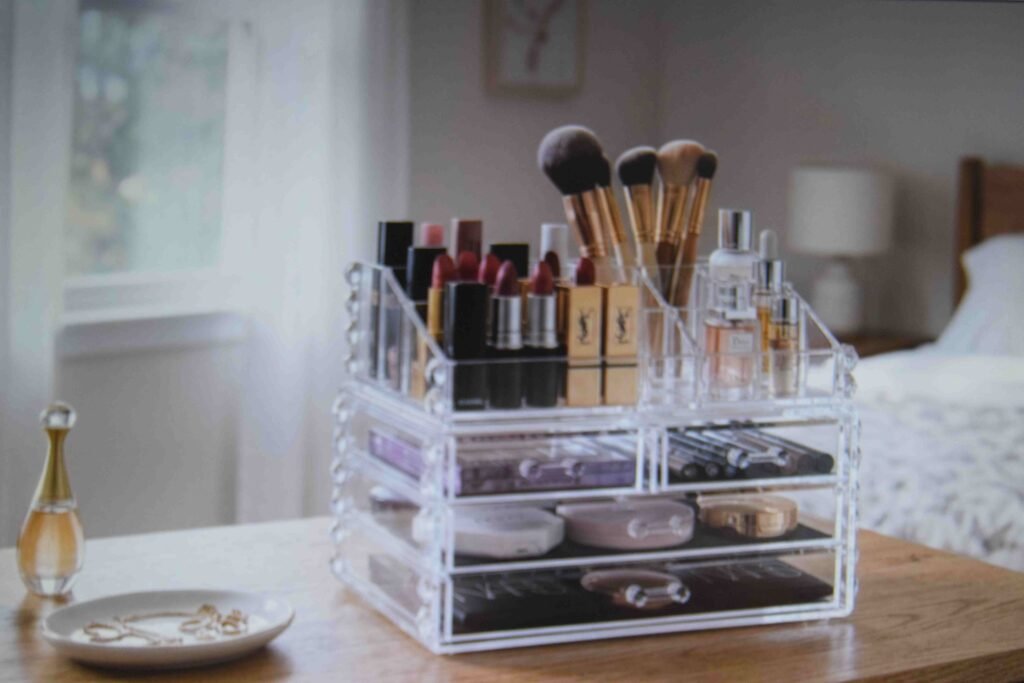
Acrylic is forgiving. It is rigid, smooth and never flexes, so nothing cracks.
On a clear organizer, corner accents look more expensive than full coverage, because you can still see through the panels to what is inside. Covering the whole thing turns a functional item into a frosted box.
9. A Bedazzled Lighter Case
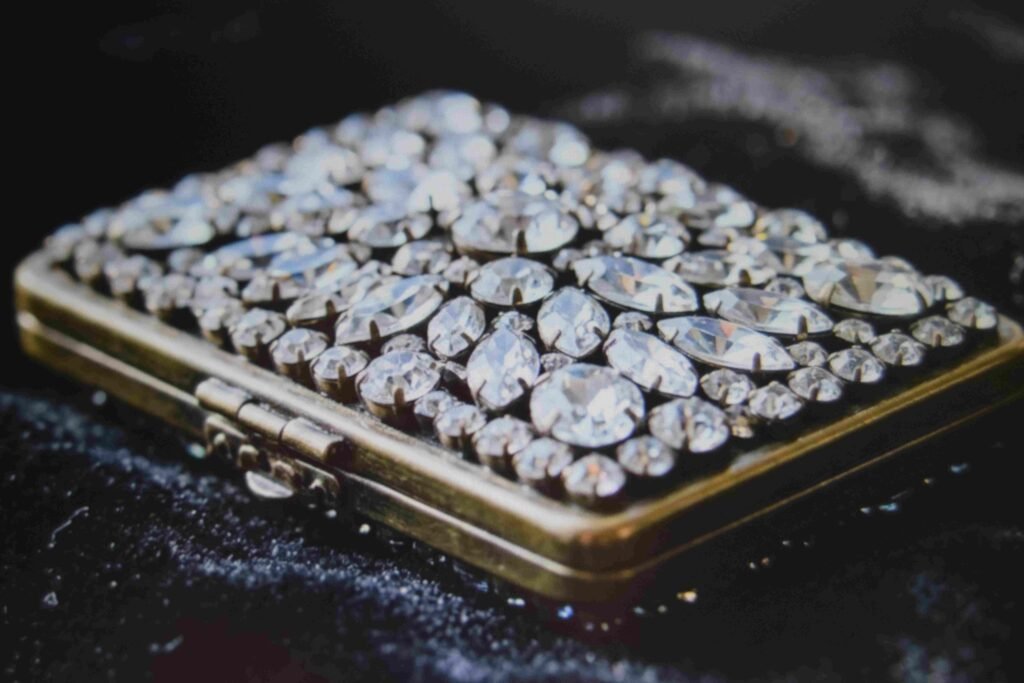
Safety first on this one. Every stone stays well away from the flame area at the top. No exceptions.
Mixed sizes shine here. Larger crystals across the flat panel, smaller filler stones around the curved edges, and you get coverage without visible gaps.
Seal it well too. A lighter case lives in a pocket and takes constant handling, which is exactly the environment that loosens stones.
10. Frames, Hangers and Flat Surface Rhinestone Craft Ideas
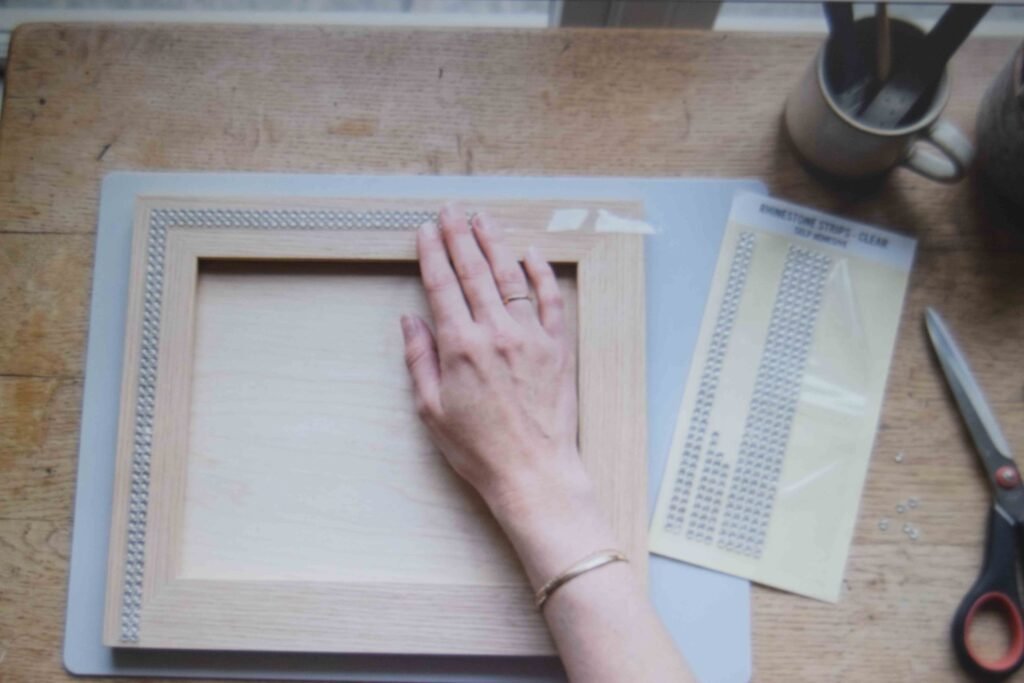
Adhesive rhinestone strips are the shortcut nobody talks about enough. Peel, press, done.
They suit long straight runs, so picture frames, closet hangers and mirror edges are ideal. The surface is flat, it never bends, and there is no glue drying time to manage.
This is the fastest visual payoff on the entire list. A row of matching sparkly hangers changes how a closet feels in about fifteen minutes.
11. Tote Bags and Canvas
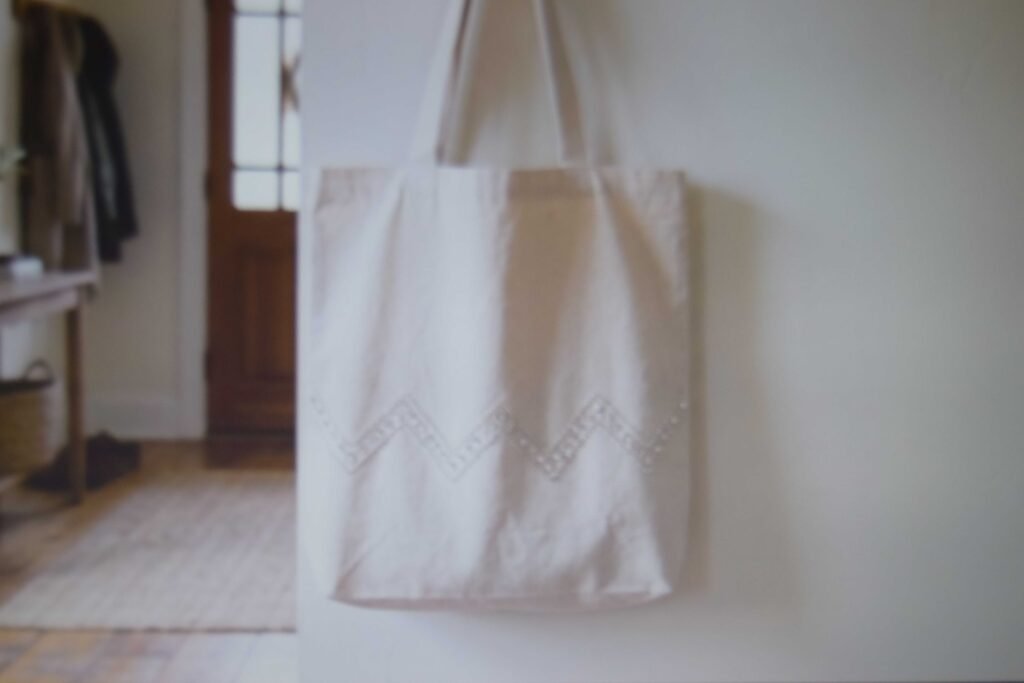
A tote is a big flat canvas, which makes it forgiving for a first fabric project.
Structure beats scatter here. Initials, a zigzag across the lower third, a simple stripe or a short word all look intentional. Random placement across a large surface just looks like you ran out of stones.
Canvas is thick and stable, so it does not flex the way a shoe does. But it still needs a fabric rated adhesive and a proper cure before you load it up.
12. Small Everyday Extras
A pile of quick bling diy ideas for leftover crystals.
Sunglasses take stones on the outer arms and the top of the frame. Avoid the inside edges that touch your skin, because oils and friction there loosen stones faster than anywhere else.
Pens are a five minute job, but they get handled more than almost anything you own, so seal them properly or you will be sweeping stones off your desk.
On a hat, skip the underside of the brim. Stones there scratch your forehead. For a fabric wrapped headband, use a flexible adhesive so the glue does not crack when the band bends.
And a small handheld fan for summer looks great with a single gemstone stripe or a name detail.
Patterns, Mistakes and Quick Fixes
Pick your layout before you open the glue. Corner accents, full coverage, zigzag, stripes, polka dots, initials and short quotes all work, and each one needs a wildly different number of stones.
Crystal size drives your timeline more than anything else. Heels done in 5mm crystals come in around 12 hours, and flats in the same size sit near 7 hours. Bigger stones, faster progress, and far less chance you abandon the project half finished.
The most common beginner mistake is too much glue. It squeezes out around each stone, dries cloudy and there is no clean way back. Thin layer, small section, let it go tacky.
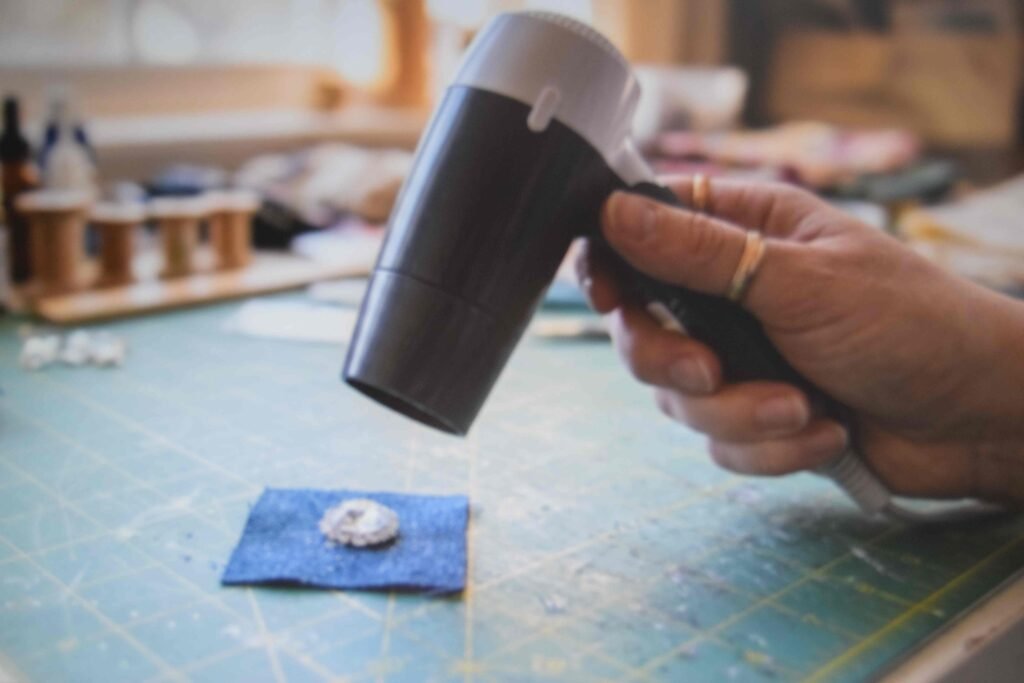
If a stone sets crooked, warm it gently with a hairdryer to soften the adhesive and nudge it back into place.
And if you are using hot fix stones with an applicator, do not touch them for a minute or two after heating. They hold heat and they will burn you.
FAQ
How long do rhinestones need to dry before I can use the item? Give it 24 hours minimum, and 48 for tumblers and shoes. Some glues take up to 72 hours to reach full strength. Surface dry is not the same as cured.
What should I bedazzle first? A hair clip, a jar lid or a phone case. All cheap, all under an hour, and none of them punish you for a wobbly first attempt.
How much does a project cost? Small items generally stay under $15 in supplies in 2026. Larger ones like shoes usually run $20 to $50 depending on crystal quality.
Can I wash something I have bedazzled? Hand wash gently and skip harsh scrubbing. No soaking, no dishwasher, no washing machine.
Why do my rhinestones keep falling off? Almost always one of three things. Wrong glue for the material, stones sitting on a flex point or a grip area, or the piece got used before the glue finished curing.
Start Small and Build Up
Most bedazzling ideas cost almost nothing to test. One pack of crystals and a tube of glue is enough to find out whether you actually enjoy this.
Do one hair clip. See how your hands and eyes feel after twenty minutes of placing stones.
If you love it, the sneakers will still be waiting next month.
Safety note: work in a ventilated space when using strong adhesives, follow all label instructions, and keep glue and loose crystals away from children and pets.
