
Day three arrives and the mirror confirms it. Roots lying close to the scalp, part shining, and a meeting in forty minutes.
Here is the reframe most oily hair hairstyles guides miss. Slippery hair grips better than freshly washed hair. Every twist, braid and pinned bun holds longer on day three than it ever does out of the shower, so you are working with an advantage rather than a problem.
The trick is choosing styles that put the shine where it belongs and keep your hands off the crown.
Almost everything below needs a comb, a brush and a few pins, so expect to spend around 20 dollars in 2026 if you own none of it. Where this whole approach fails is a scalp condition rather than plain oil. Flaking, itching or soreness needs treating, not styling around.
Why oily hair hairstyles work better than clean hair styles
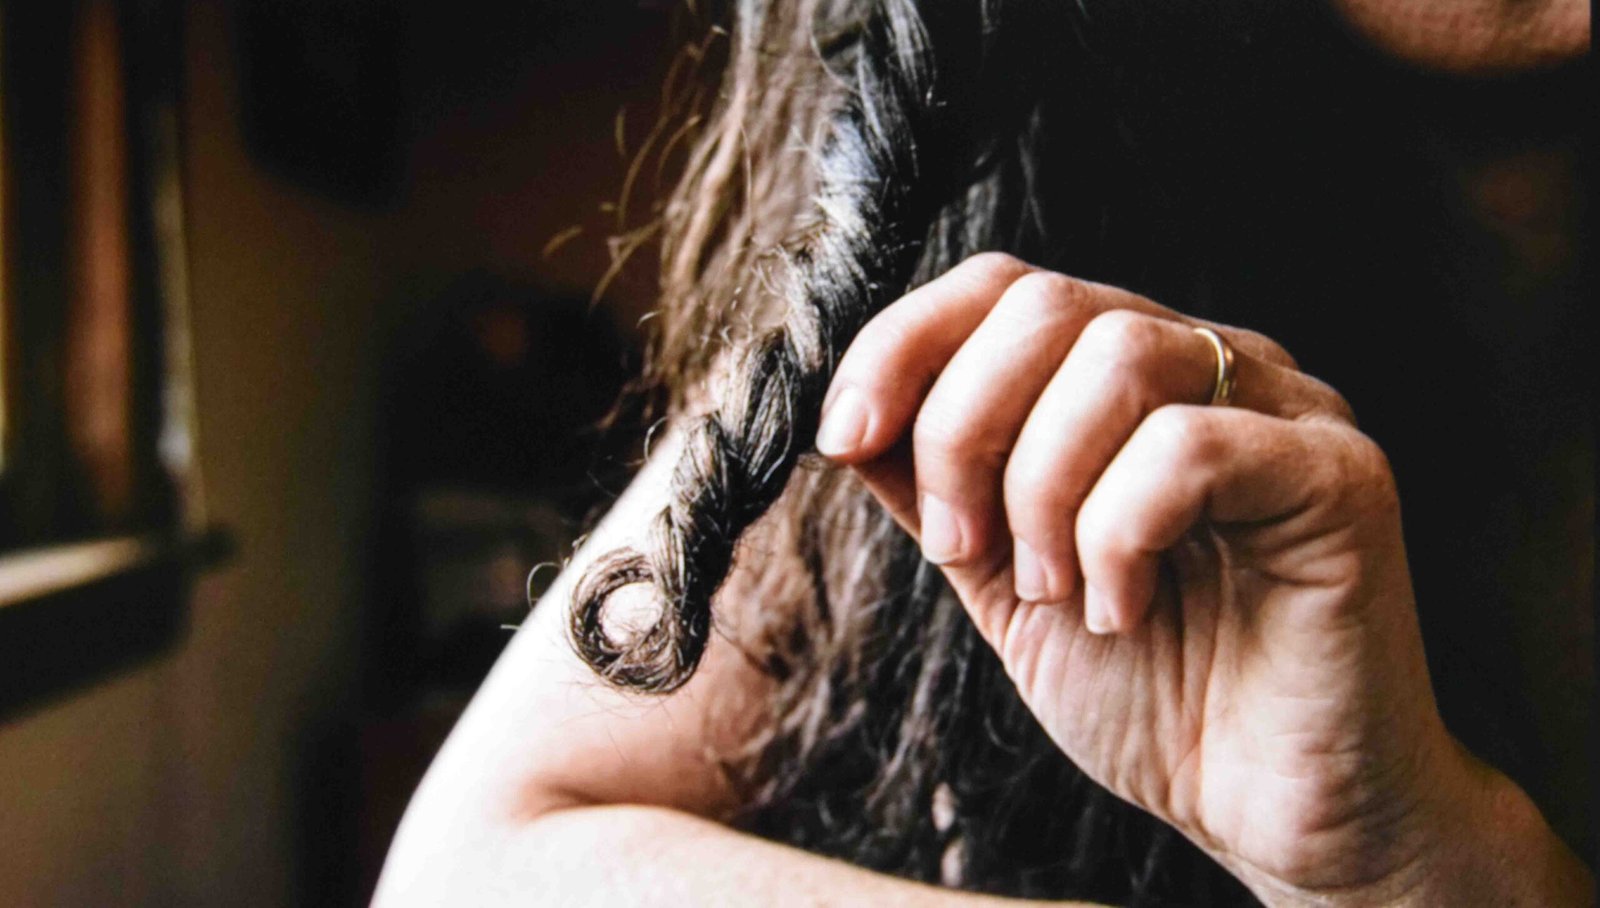
Freshly washed strands slide. There is no friction between them, which is why a bun done after washing collapses by lunch and the same bun on day three sits still all day.
Sebum coats the shaft and adds weight and grip at the same time. Hairdressers have used this forever, which is why so many updo appointments come with a request not to wash beforehand.
So the question of how to deal with oily hair is really a question of placement. Pull the shine into a sleek surface and it reads as deliberate polish. Leave it sitting at the roots and it reads as unwashed.
That single distinction runs through everything below.
1. How to fix oily hair without washing, starting with the part
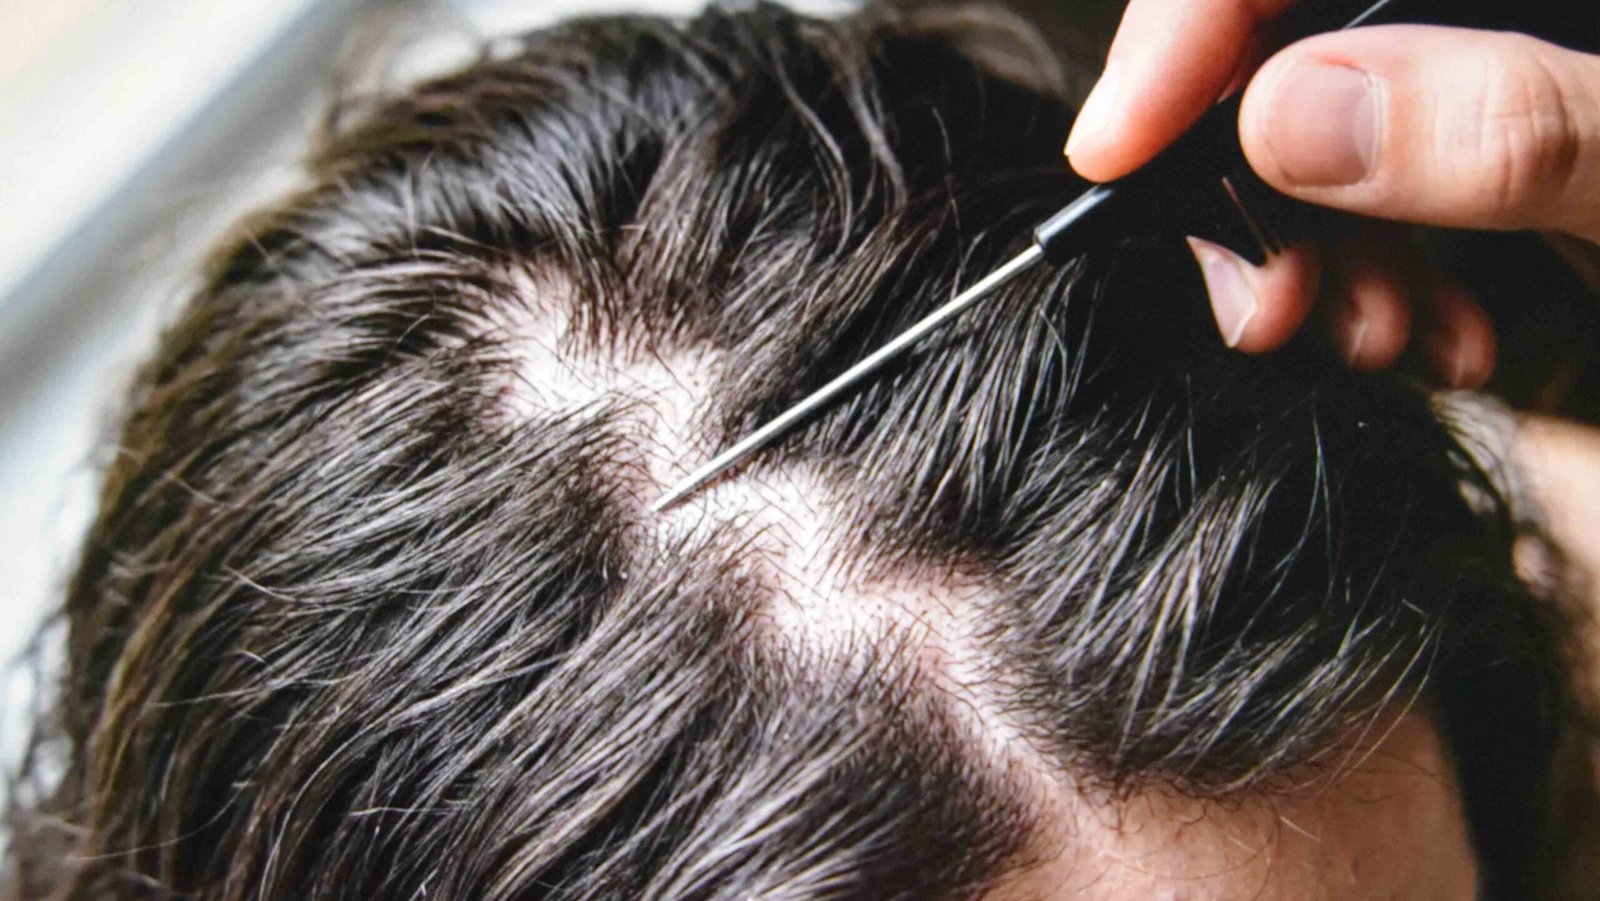
Move your part. Whatever side it has sat on for years, flip it to the other side.
Roots trained into one direction leave a visible oily channel along the part line. Switching sides lifts hair that has been pressed against the scalp and instantly covers that channel.
Use the pointed end of a pintail comb to draw the new line, and drag it slightly zigzag rather than straight so there is no bare scalp strip on show.
Then do not touch it again. Fingers transfer oil from your hands straight into the roots, and this is the mistake almost everyone makes without noticing.
Where this fails is a strong natural cowlick, which will pull the part back within an hour.
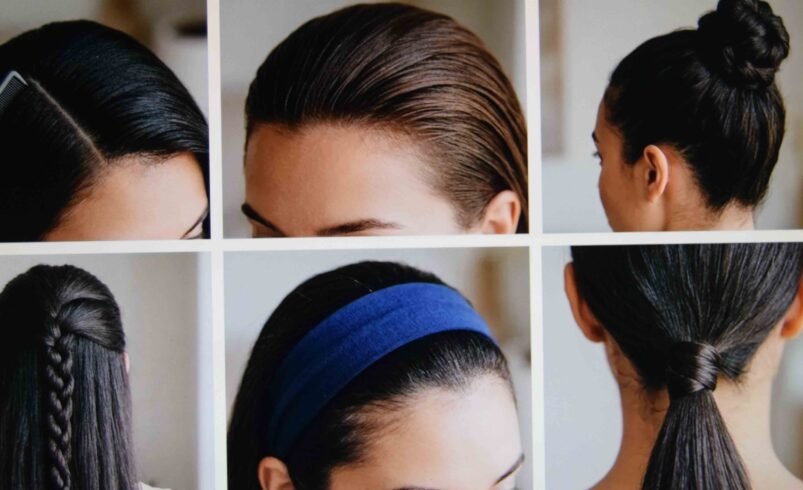
2. The slicked-back look that turns shine into a finish
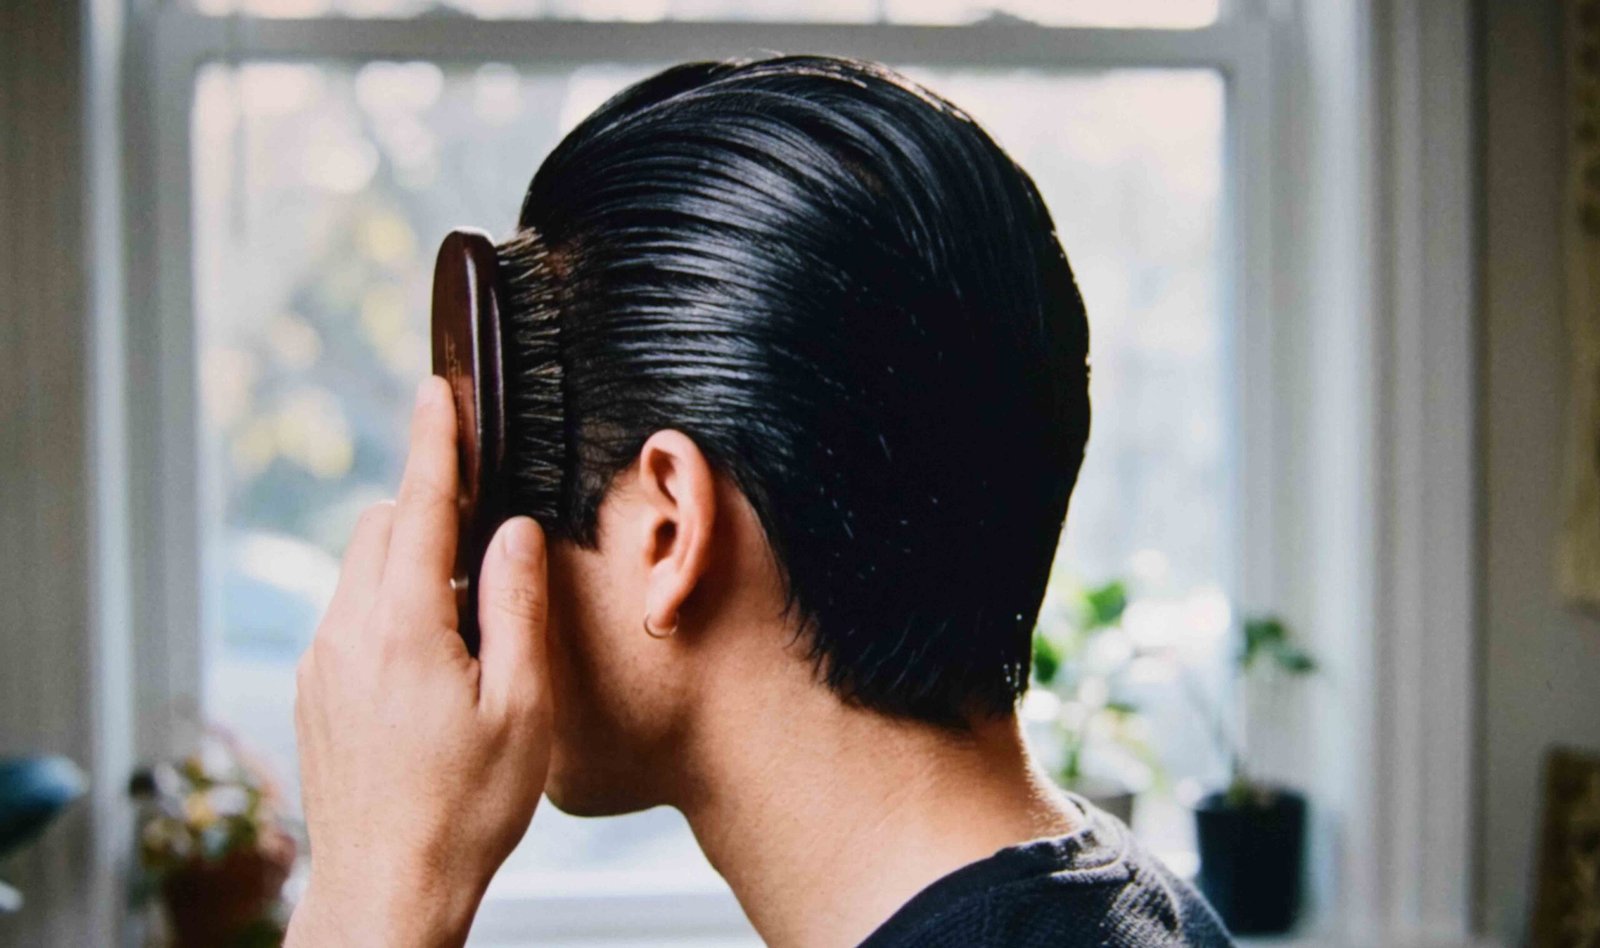
Brush everything back with a boar-bristle brush, working slowly from the hairline to the crown and going over the same path several times.
Boar bristle distributes oil down the shaft rather than leaving it pooled at the root, which is exactly the redistribution you want here.
Secure at the nape with a covered elastic, or leave it down if your length holds the shape on its own.
The finish looks intentional because slicked styles are supposed to look wet. You are borrowing an aesthetic that already assumes shine.
Fine hair is where this struggles. There is not enough weight to hold the sweep and you end up with bare scalp on show at the crown.
3. Easy hairstyles for greasy hair start with a messy bun

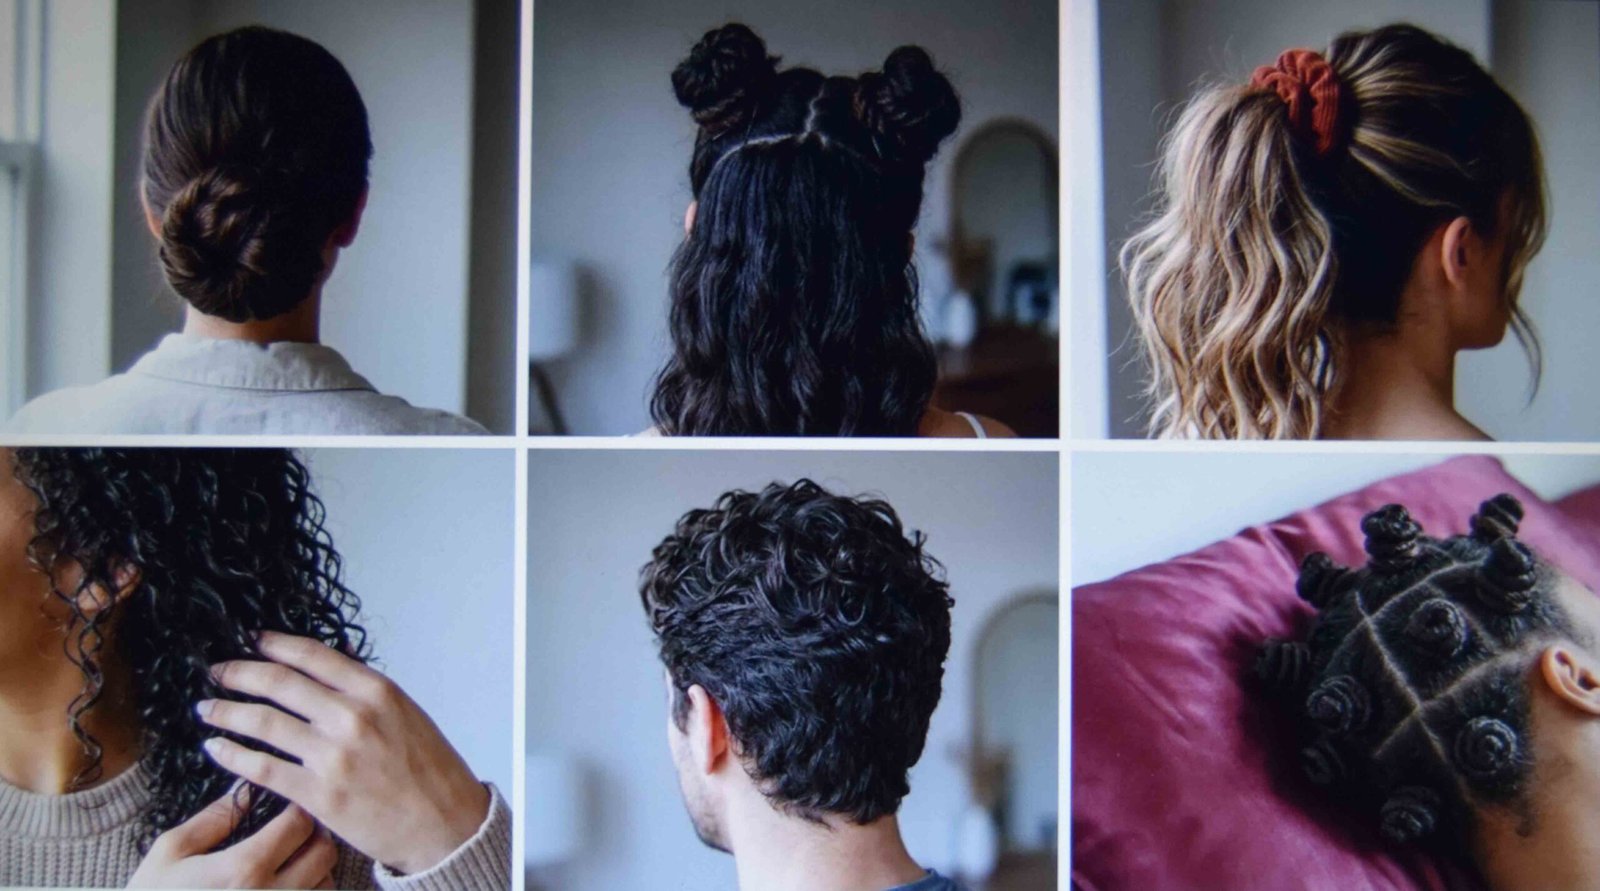
Gather everything at the top of your head, twist the length in one direction until it coils, then wrap it around the base and pin.
The bun sits above the oiliest section and takes the roots up and away from view. That is the whole mechanic and it is why this one keeps appearing on every list.
Pull a few pieces loose at the front afterwards, not before. Doing it first drops the whole structure.
Two crossed pins hold more than four pushed in the same direction. Angle them against the twist so they lock rather than slide.
4. Rope braid, which looks harder than it is
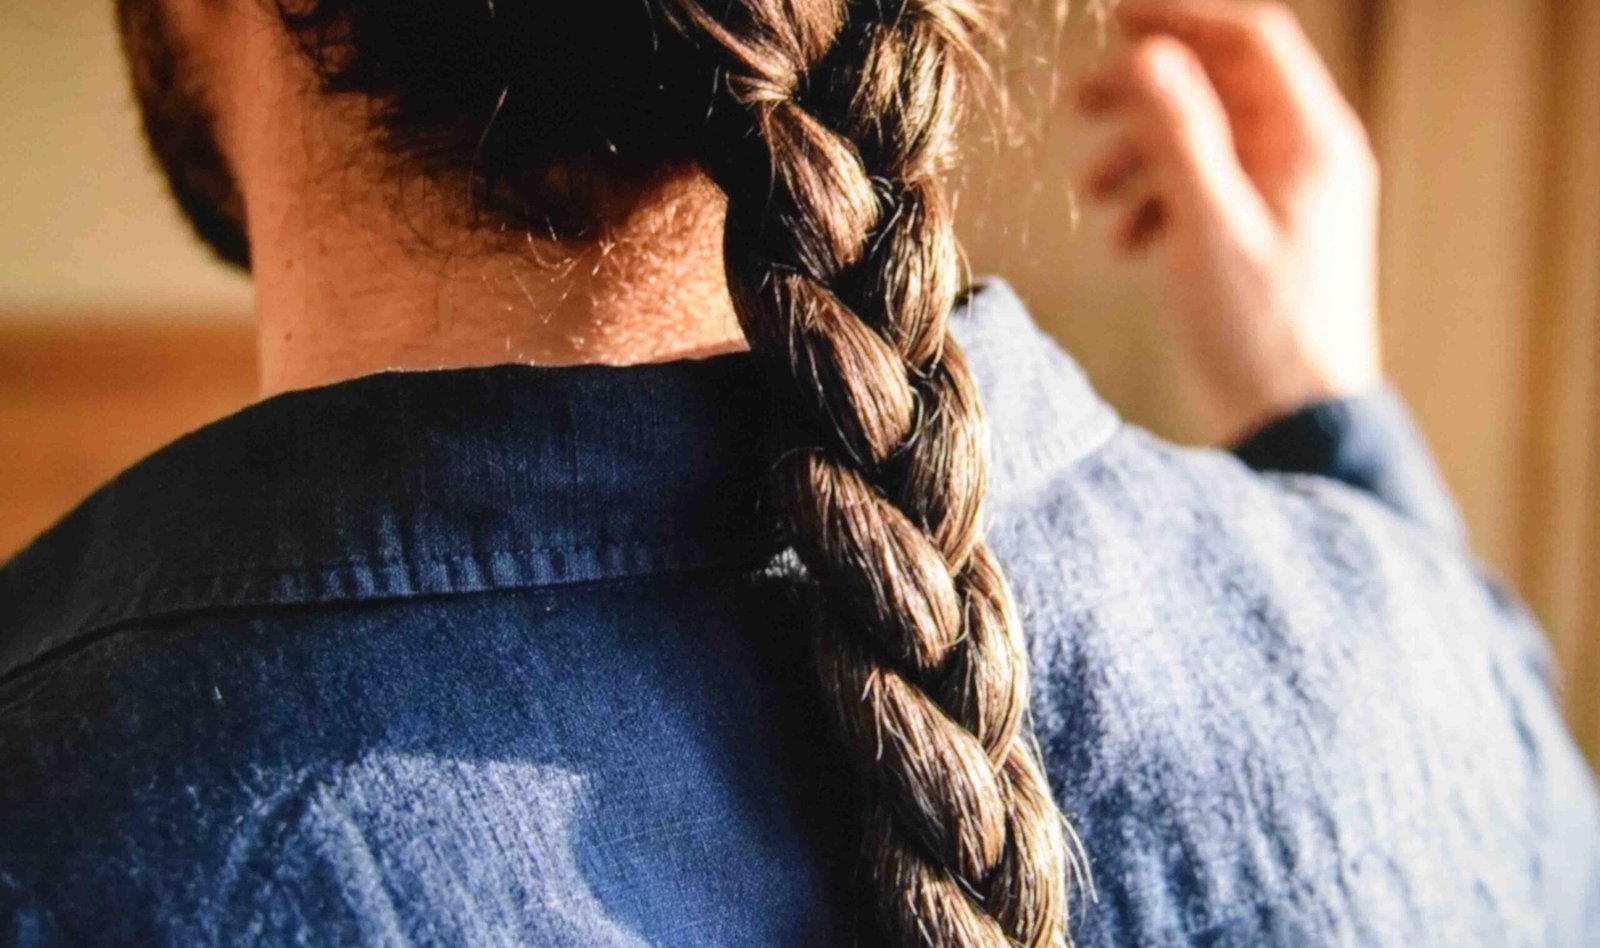
Split a ponytail into two even sections. Twist each section in the same direction, then wind the two around each other in the opposite direction and secure at the bottom.
That opposing twist is what stops it unravelling. Twist both the same way and it falls apart before you leave the house.
Greasy hair suits this better than washed hair because the sections hold their twist instead of springing free.
Secure the base with an elastic before you split the tail. Twisting from an unsecured gather lets the whole thing rotate as you work, and the rope comes out lopsided with one side thicker than the other.
If a three-strand braid is your default, this is the upgrade. Same effort, different result.
5. Fishtail braid on unwashed length
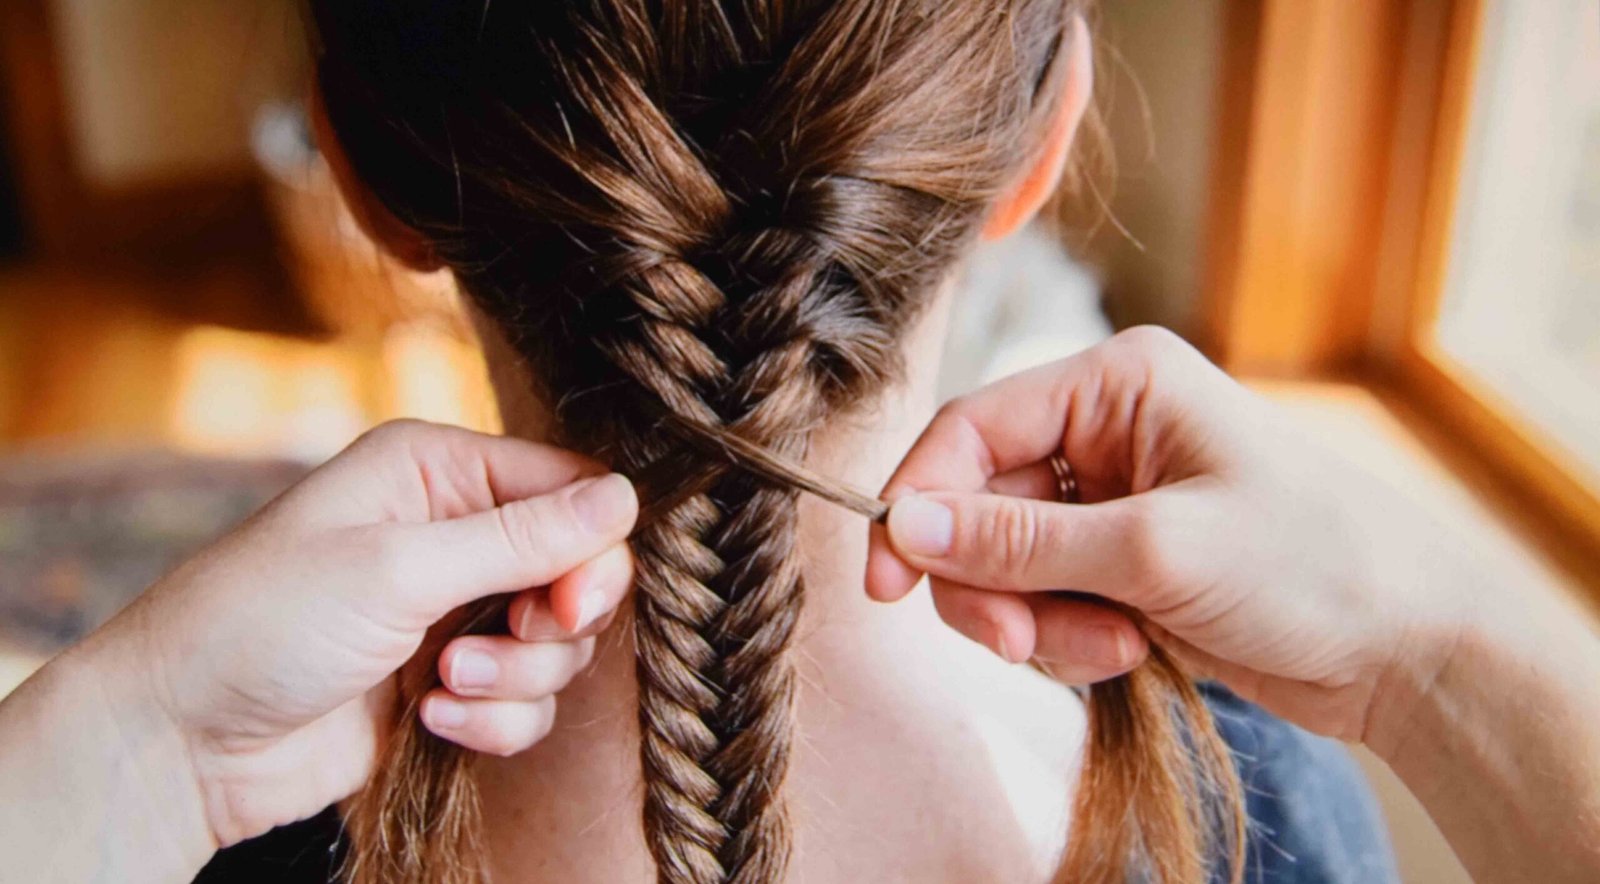
Fishtails look intricate and involve no skill beyond patience. Split the hair in two, take a thin piece from the outside of one half, cross it to the inside of the other, then repeat on the opposite side.
Keep every crossing piece roughly the width of a pencil. Vary the widths and the pattern reads as an accident rather than a braid, which is the error that makes a first attempt look wrong.
Day-three texture is genuinely easier here, since washed hair slips out of your fingers between crossings.
Set aside more time than you expect on the first attempt. Most people need a few goes before their hands find the rhythm, and this is one of the oily hair hairstyles that rewards practice rather than technique.
6. Oiled hair hairstyles that lean fully into the shine
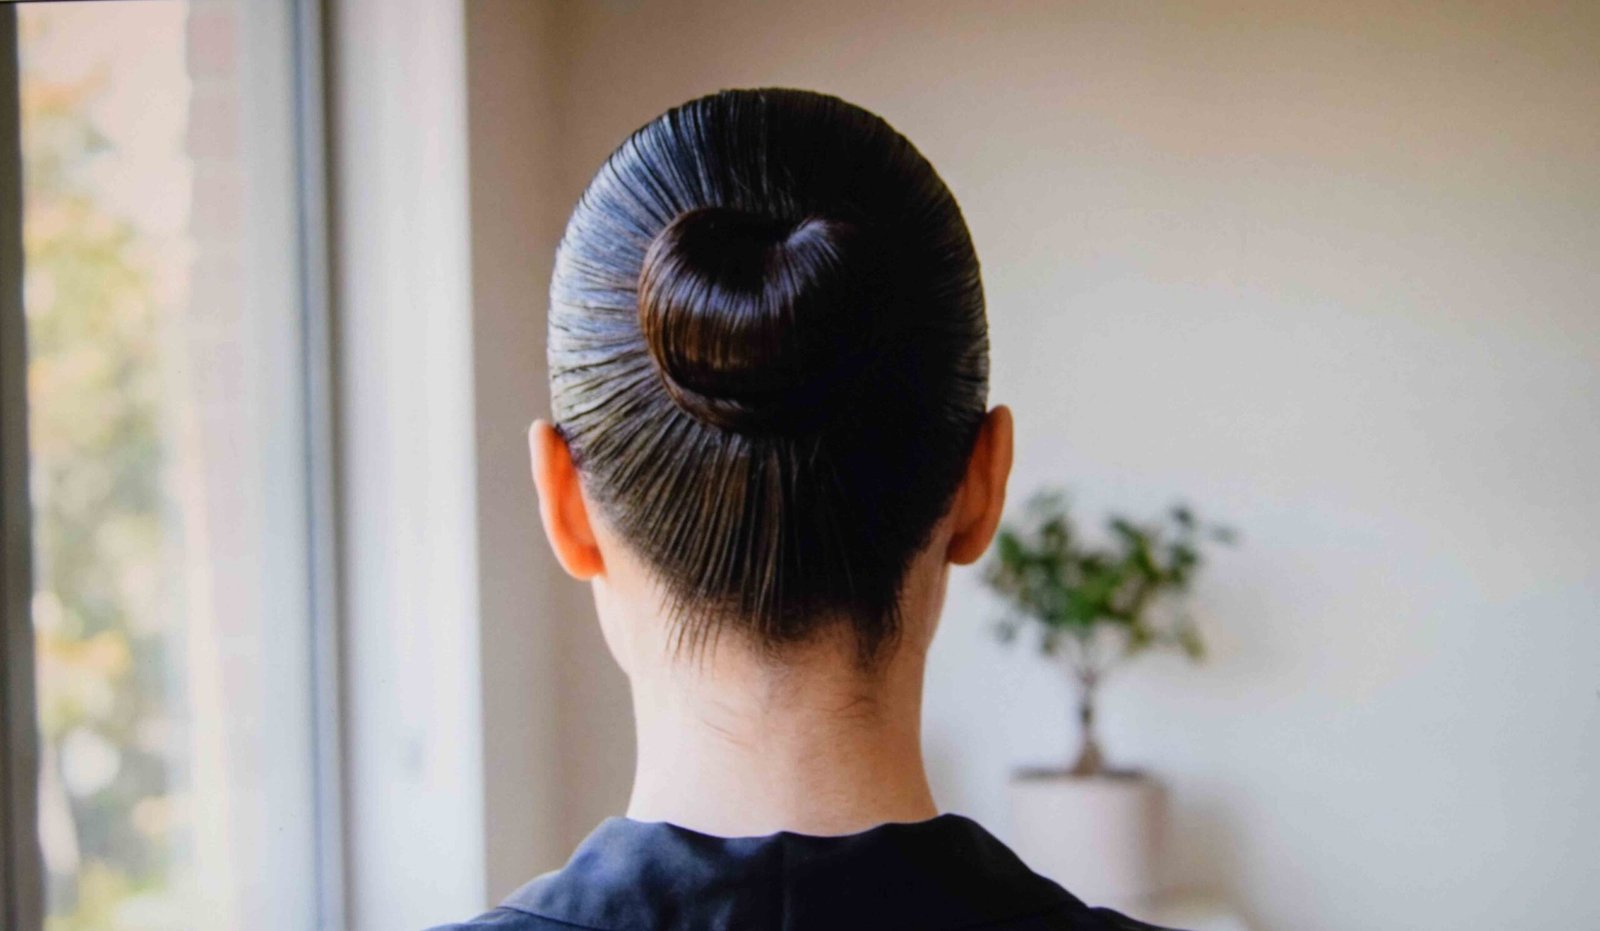
Instead of disguising oil, add a little more and commit to a wet-look finish. Work a pea of cream or gel through the front sections and comb them back close to the head.
Tuck those front pieces under the rest of the hair at the back and pin them there, so the sleek surface runs from your hairline to the crown.
The rest of the length can stay down or go into a low ponytail.
Oiled hair hairstyles have their own history across South Asian and Mediterranean traditions, and the finished look reads polished rather than neglected.
Keep the product off the scalp itself. Adding oil to an already oily root is the one version of this that goes badly.
7. Half-up top knot, and where to place it

Take the top third of your hair, from temple to temple, and knot it high on the crown.
Placement decides everything. Sit it about two fingers forward of the crown’s highest point and it lifts the roots with it. Push it further back and it drags the crown down, exposing the oil you were covering.
Leave the lower half down. Length below the shoulder is rarely oily, so there is nothing to hide there.
The mistake is gathering too much. Take a full half up and the section is heavy enough to sag inside an hour, pulling the lift straight back out.
This is the version I would pick when you want your hair down but the roots are not cooperating. It does not work on a blunt bob, where the lower half is too cropped to read as down at all.
8. Teased crown, done at the root only
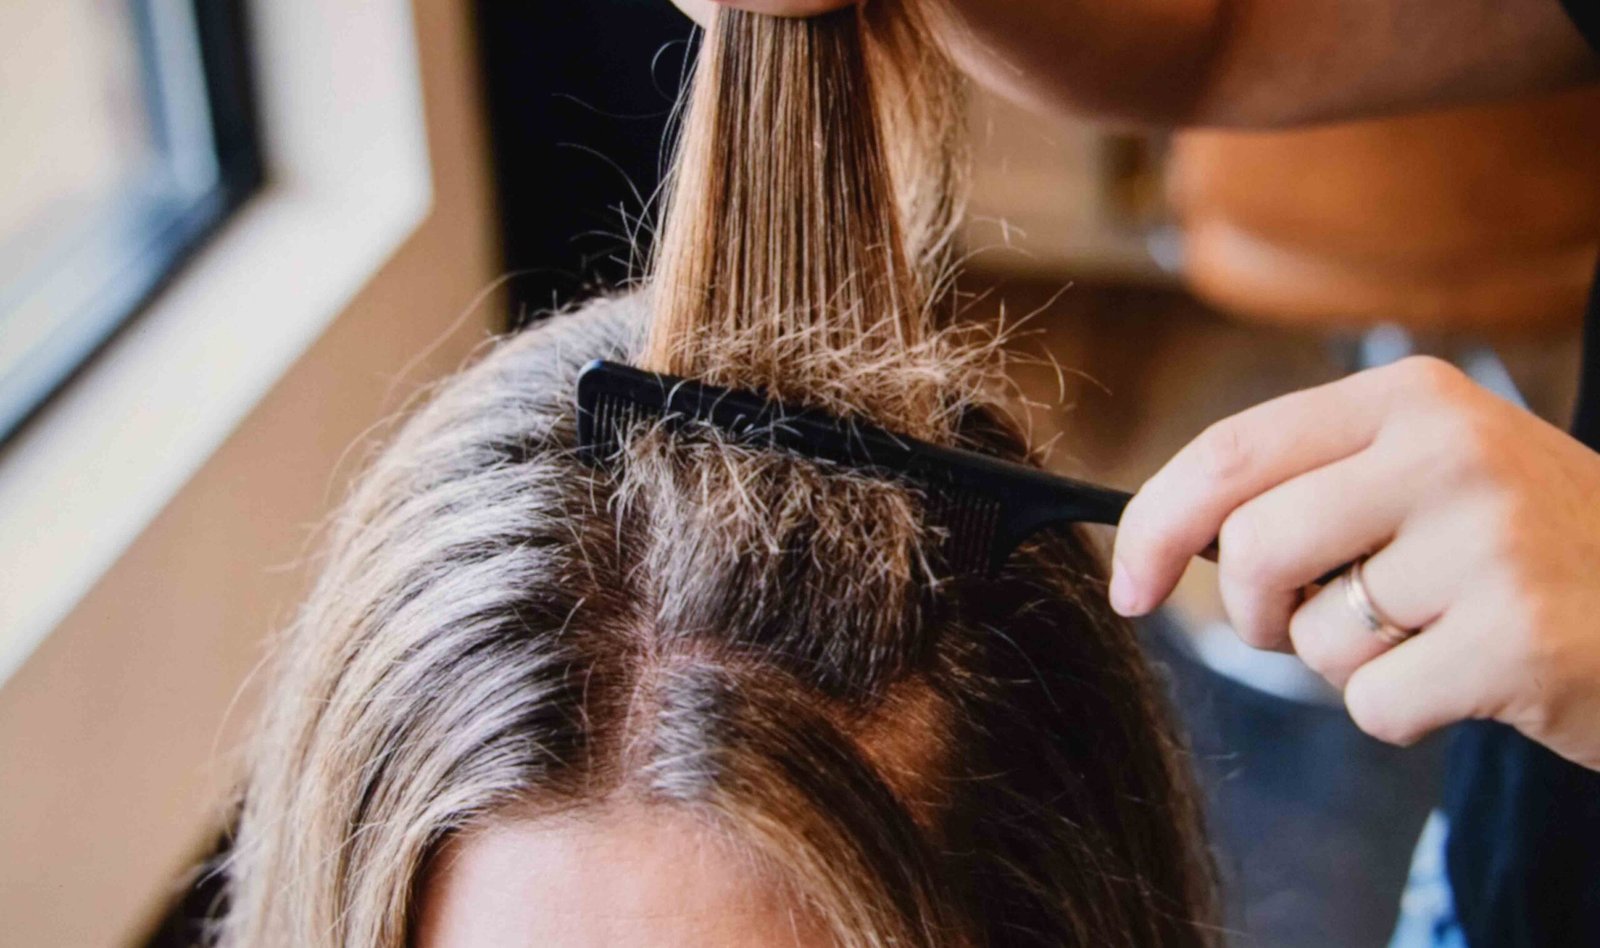
Detangle first. Teasing tangled hair creates a knot you will spend twenty minutes combing out.
Take the crown section forward, then backcomb at the root with three quick strokes using a pintail comb. Root only, never toward the ends.
Smooth the top layer back over the teased base so the surface stays even and the tease stays hidden underneath.
Volume at the crown breaks up the limp look that makes oily roots obvious, which is the actual mechanism here rather than any product.
Very fine hair collapses again within a couple of hours, so this one is a stopgap rather than a whole-day solution.
9. Twisted low ponytail for a smooth surface
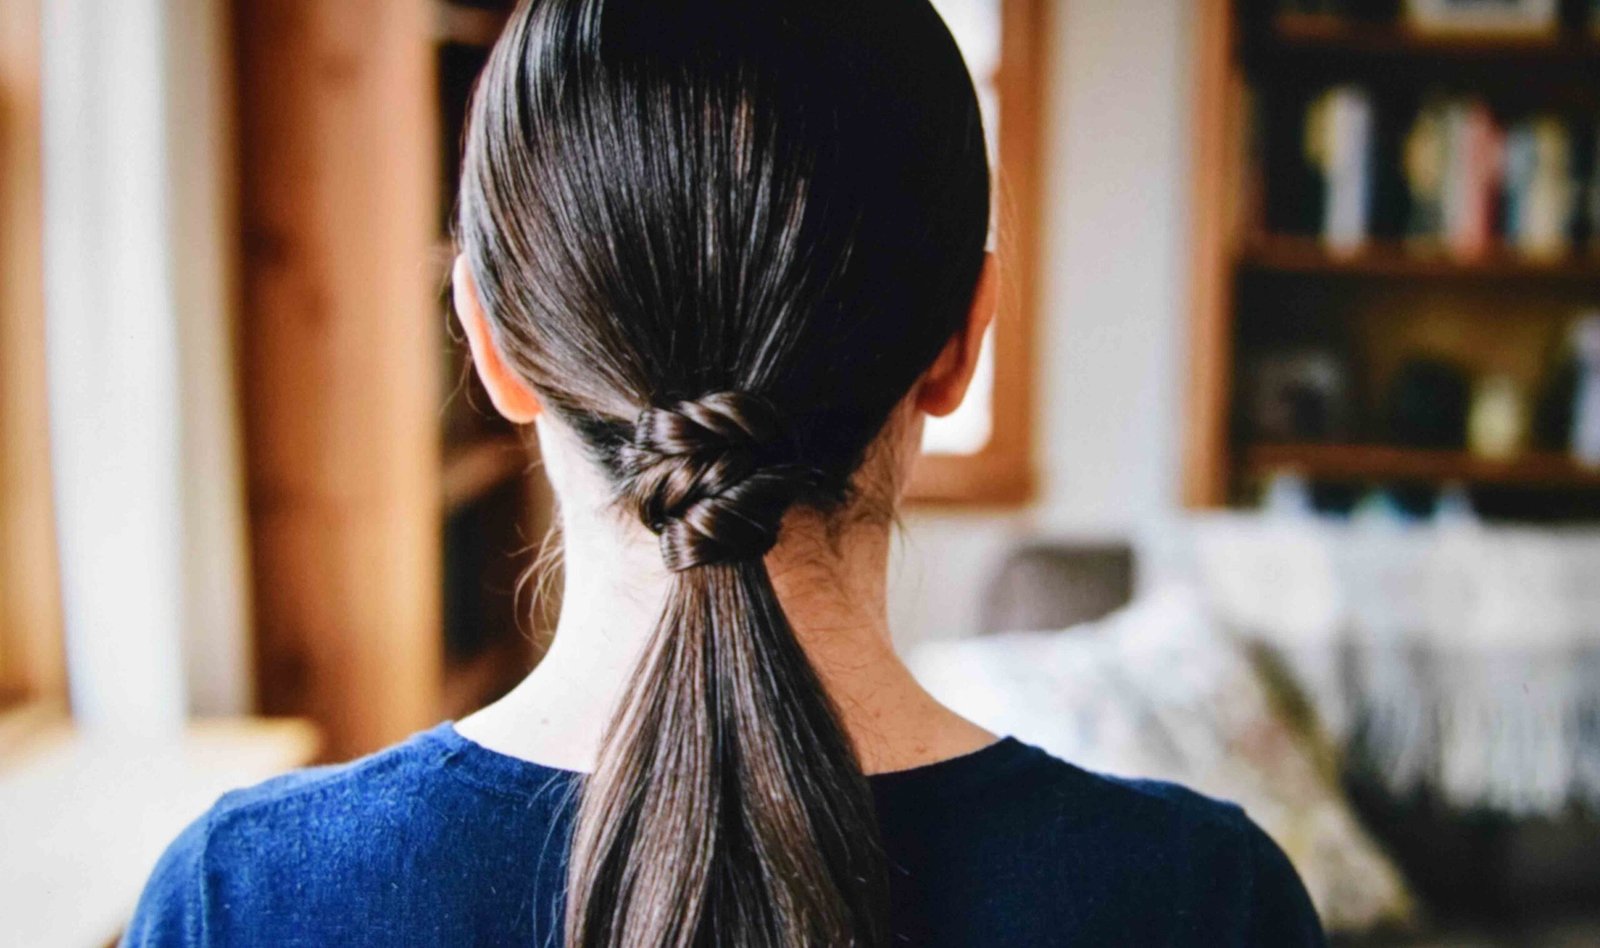
Gather at the nape and secure. Split the tail into two, twist each half, then wrap them around the base in opposite directions and tuck the ends underneath.
The wrapped section hides the elastic entirely, which is what makes a low ponytail read as styled rather than lazy.
Brush the top surface even before you tie. Any bumps show more on oily hair because the shine catches every irregularity.
Skip this on layered hair above shoulder length, where the wrapped sections have nothing to grip and pop out within the hour.
10. Headbands and oversized clips, used properly
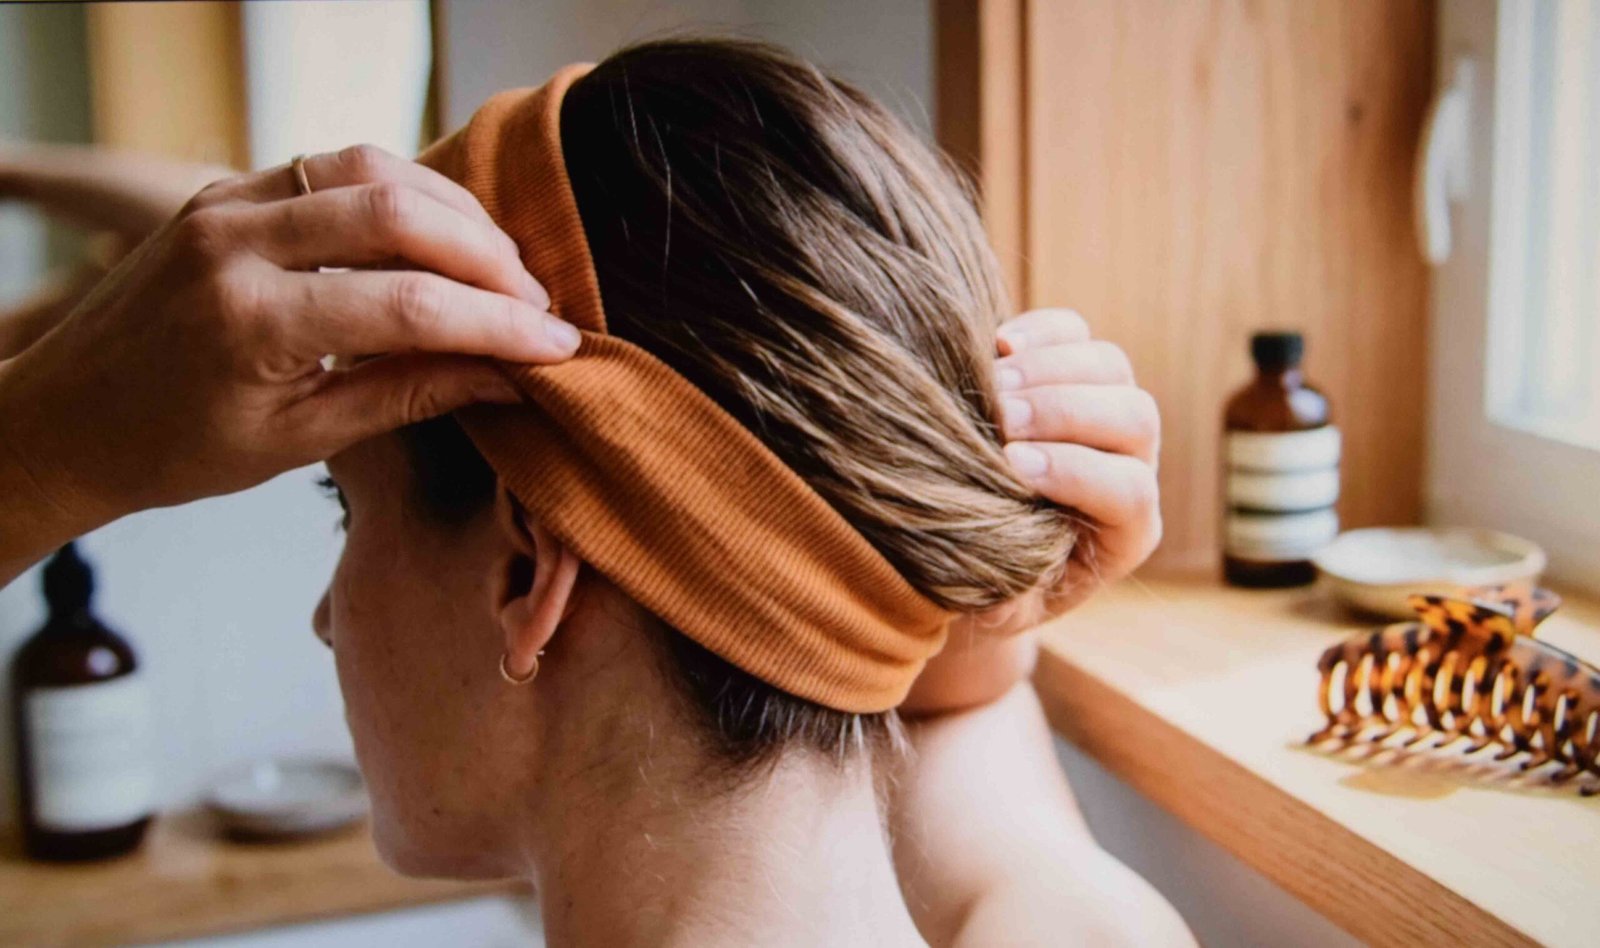
A wide fabric headband sits over the exact strip where oil is most obvious. That is not a coincidence, it is the reason they work.
Buy one at least two inches across. Anything narrower sits inside the oily zone rather than covering it, so you get shine on both sides of the band.
Push it forward first, then slide it back into position. Pushing it straight back drags the front hairline down and defeats the point.
Oversized claw clips do the same job further back, holding a twist at the crown and lifting the roots with it.
Among oily hair hairstyles, accessories are the fastest route by a distance. Under a minute and no technique required.
Thin elastic headbands are the ones to avoid. They compress the roots they sit on, and you take it off to find a pressed ring across your head that is worse than what you started with.
11. A braid worked close to the scalp
French and Dutch braids both take the root section into the braid itself, so the shine gets folded into a pattern rather than sitting on show as a strip.
Start at the front hairline with a small section and add hair from each side as you work back. Dutch braiding crosses the strands under instead of over, which sits the braid on top of the head and lifts it away from the scalp.
Grease helps here more than anywhere. The added sections stay exactly where you put them instead of springing out.
Go slowly for the first three crossings. Those set the tension for everything after, and a slack start unravels at the back of the head.
Not one for heavily layered cuts, where the shorter pieces escape within minutes.
12. Curl the mid-lengths and move the eye downward
Grease shows at the root, so give people something else to look at further down.
Wrap the mid-lengths and ends around a curling iron, skipping the top four inches entirely so no heat reaches the roots. Heat there stimulates the scalp and speeds up the next round of oil.
Wave rather than ringlet. A relaxed bend adds movement, while tight curls create a gap at the crown that pulls attention straight back up.
Shake the curls out with your fingers at the end instead of brushing them.
Use a heat protectant and stay off the highest setting. Repeated high heat on already fragile ends is a poor trade for one day of styling.
13. Two braids taken all the way down
Part down the centre and braid each side from the hairline to the ends, keeping the tension even from top to bottom.
The whole scalp ends up covered by braided sections, which is why this handles the worst days better than any single style here.
Tie off with covered elastics rather than bare bands, since a bare band grips individual strands and snaps them on removal.
Braid the second side in a mirror if you can. Working blind on the second side is how one braid ends up noticeably tighter than the other.
Skip it if you are wearing the braids overnight and undoing them for a second day. Oily hair holds the crimp hard and you will need to wash it out.
14. A silk scarf tied at the hairline
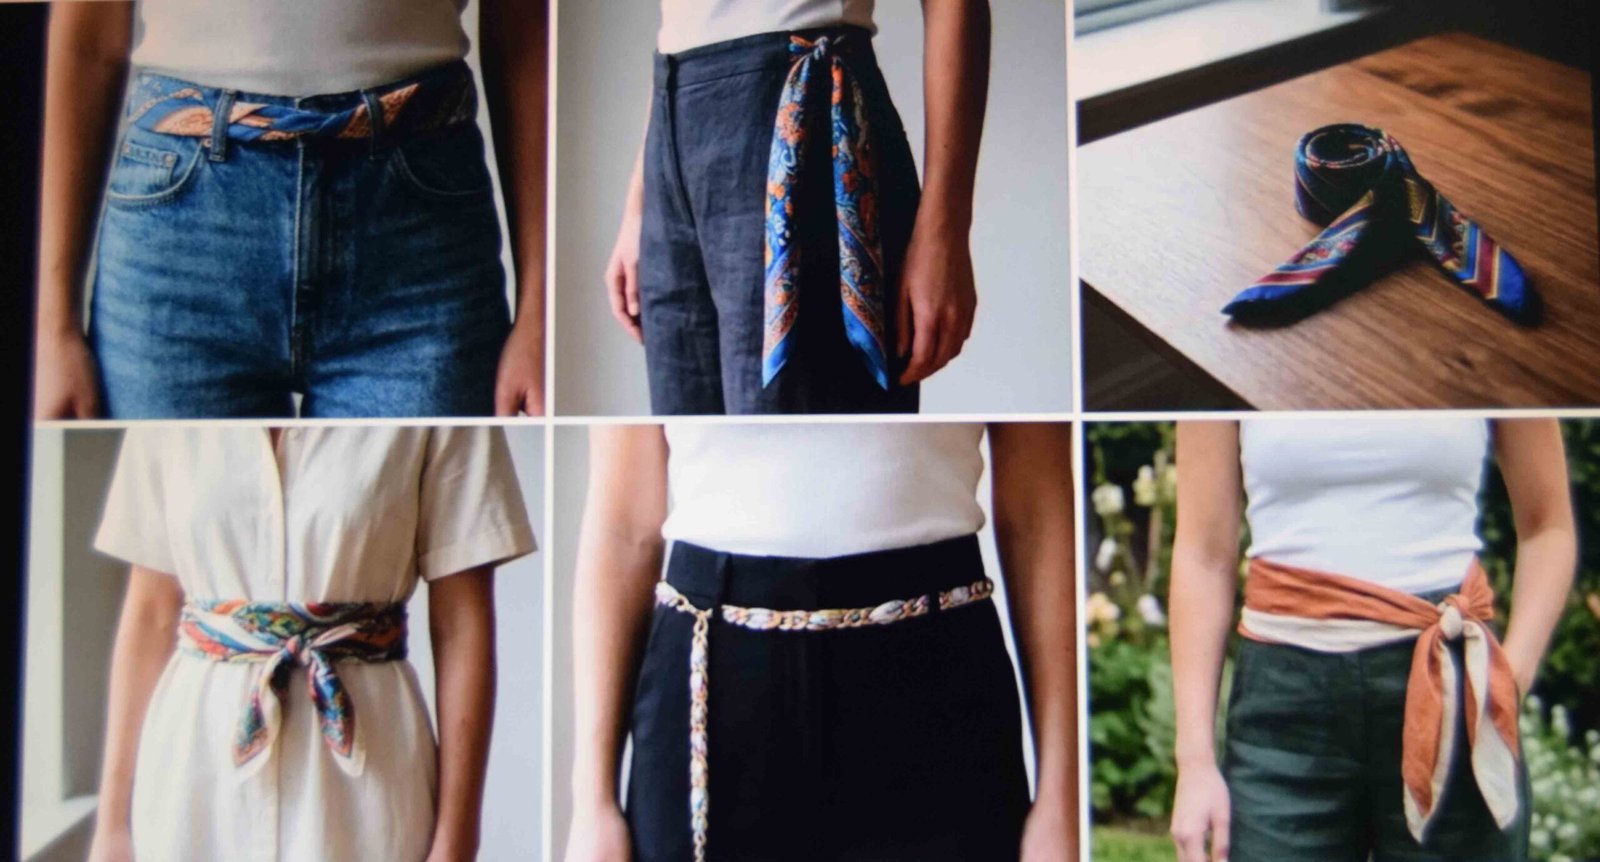
Fold a square scarf into a triangle, then roll it from the long edge into a band roughly three inches wide.
Lay it across the head just behind the hairline and knot it underneath at the nape, leaving the ends tucked away rather than hanging.
Silk is the material that matters. Cotton absorbs oil and shows a damp mark along the fold within a few hours, which is more obvious than the roots were.
Position it so a strip of your own hair shows in front of the scarf. Pulled fully to the hairline it reads as a costume rather than an outfit.
This one struggles in wind. Without a pin at each side it slides backward and you spend the day resetting it.
What causes oily hair, and what actually changes it
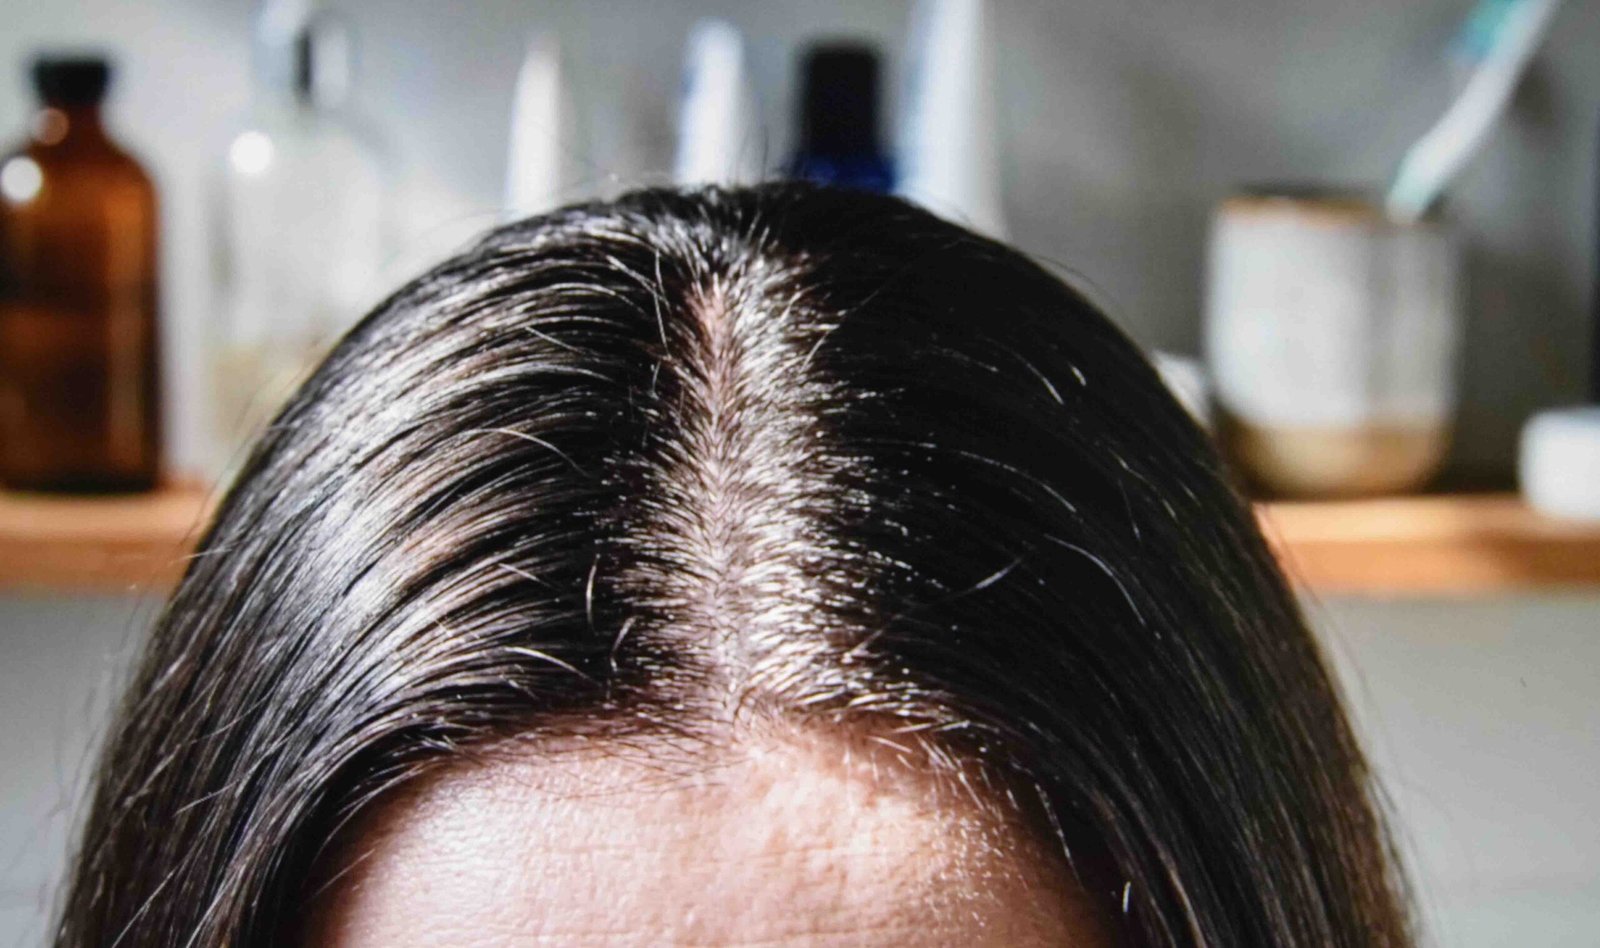
Sebaceous glands produce oil constantly and their output is set largely by genetics and hormones. That is the honest answer to what causes oily hair, and no styling changes it.
Water temperature plays a role too. Anything hotter than body temperature loosens sebum and prompts the scalp to replace it, so a cooler final rinse does more than most products sold for the problem.
Anyone researching how to fix oily hair permanently is going to be disappointed. How to control oily hair is a realistic goal. Eliminating it is not.
Diet, stress and humidity all shift oil production week to week, which is why the same routine works one month and not the next.
How to care for oily hair on wash days
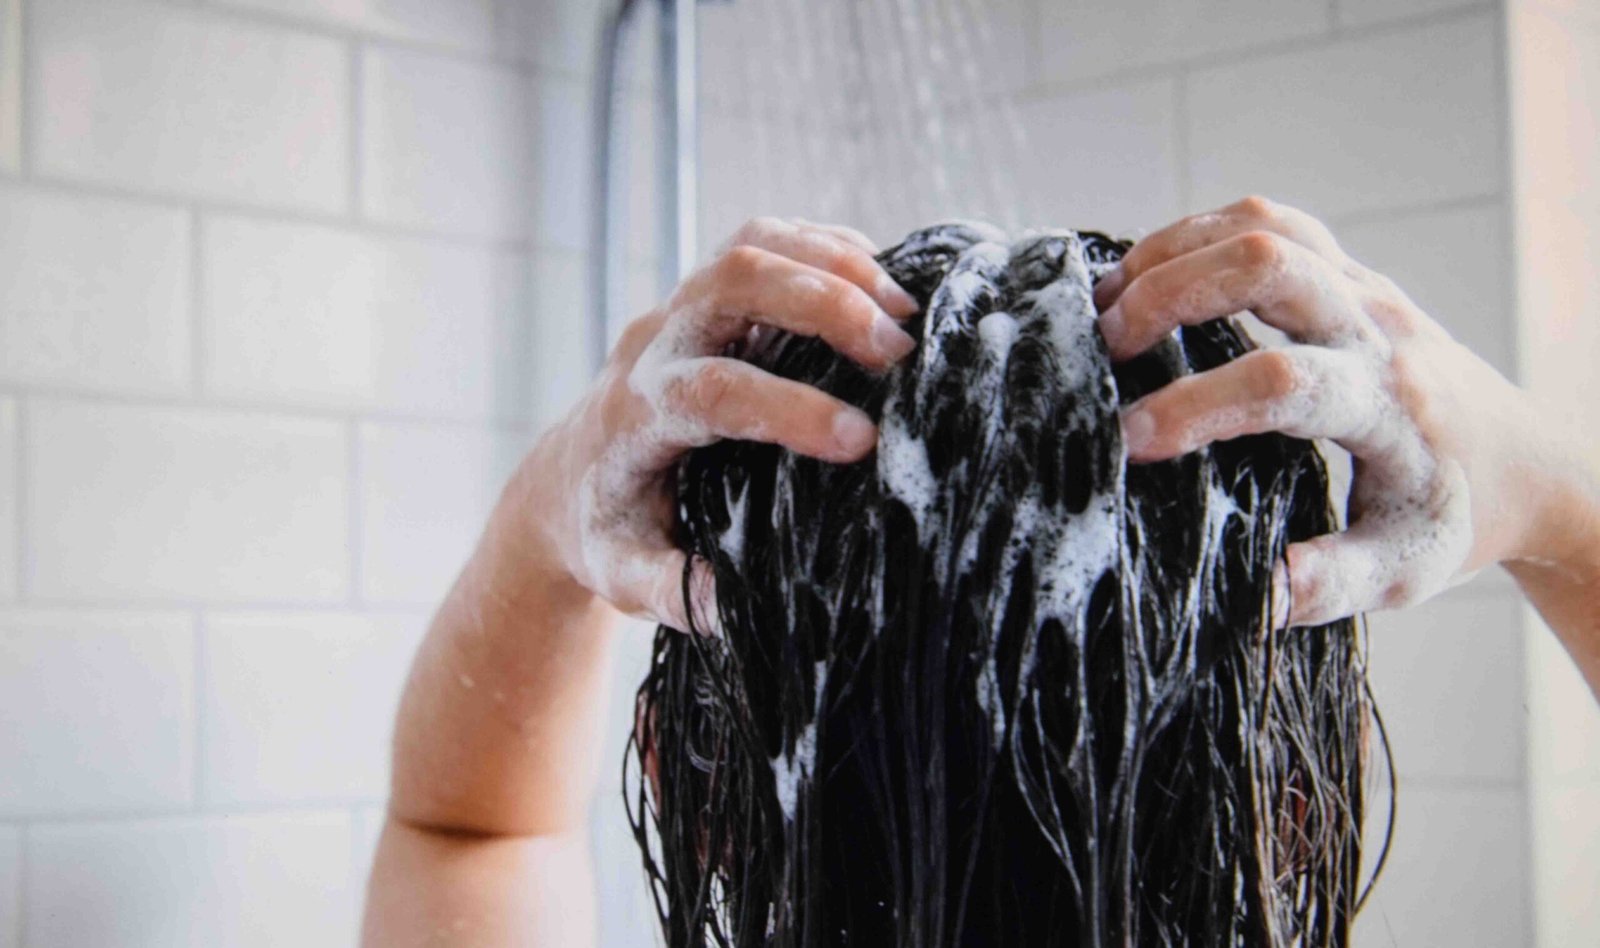
Wash the scalp, not the length. Massage shampoo into the roots with your fingertips for a full 60 seconds, then let the suds rinse through the ends on their way out.
Conditioner goes on the mid-lengths and ends only. Conditioner at the root is the single fastest way to be greasy again by tomorrow morning.
Rinse a good minute past the point where the water runs clear. Residue left behind weighs the roots down and mimics oil convincingly.
On how to prevent oily hair from arriving early, resist washing daily. Stripping the scalp signals it to produce more.
Where this rule bends is a dense curl pattern, which needs conditioner higher up the shaft than a straight texture does. Move it up to mid-length, never to the root.
Dry shampoo works the night before, not the morning after
Spray it at night onto roots that are not yet greasy and it absorbs sebum as it is produced overnight. That timing is the entire difference between it working and not.
Hold the can around 10 inches from your head and spray in brief bursts along the part, then wait a full minute before touching anything.
Rubbing it in immediately is the common error, and it leaves white patches that take a brush to shift. Tinted versions for darker hair cost only slightly more and remove the problem entirely.
It does very little on hair already three days in. At that point it sits on the surface and turns chalky rather than absorbing anything.
Three tools that cover every style above
A pintail comb, a boar-bristle brush and a pack of covered elastics handle all fourteen looks here. Expect to spend around 25 dollars in 2026 for all three.
Skip the plastic-bristle paddle brush. It drags oil in one line down the shaft instead of distributing it, so your ends turn greasy while the roots stay exactly as they were.
Wash the brush itself once a fortnight in warm soapy water. A brush loaded with old sebum puts everything it collected straight back onto your scalp, which quietly undoes the rest of your routine.
Patch test any new scalp product on your inner arm and wait a day before a full application, especially with a sensitive scalp.
FAQ
Can I use baby powder instead of dry shampoo?
It absorbs oil, but it sits white on anything darker than light blonde and it does not brush out easily. A tinted product costs little more and saves you the grey cast.
Does brushing more make hair greasier?
Brushing moves oil from the roots down the length, so it looks worse at the ends and better at the top. Once or twice a day is useful. Every hour is not, since you also transfer oil from your hands each time.
How to help oily hair between washes when I exercise daily?
Rinse with water only after training and skip the shampoo. Water removes sweat and salt without stripping the scalp, and drying properly at the roots matters more than any product afterwards.
Is oily hair good for anything?
It is. Sebum protects the shaft from breakage and adds shine that parched hair needs product to fake, so oily types generally hold length better and see fewer split ends.
What should I skip buying?
Clarifying shampoo for weekly use. It is designed for occasional buildup removal, and using it regularly strips the scalp hard enough that oil production climbs to compensate.
Pick two and stop washing so often
Choose one style that takes under a minute for rushed mornings and one that takes five for days you care more. Two is enough, and knowing them properly beats knowing fourteen badly.
Then stretch your wash schedule by one day at a time rather than jumping from daily to weekly. The scalp adjusts gradually and a sudden change just makes the transition miserable.
The best oily hair hairstyles are the ones nobody reads as a workaround. Grip is a resource, and day three is when you have the most of it.
This article is general beauty information and not medical advice. If your scalp is itchy, flaking or unusually irritated, speak with a doctor or dermatologist.