
Waist Scarf Outfit Ideas And How To Tie One So It Stays Put You pull a square of silk out of a drawer, loop it around your middle, and by the time you reach the car it has slid down one hip and come undone. That is the distance between a waist scarf outfit on a screen and one on an actual body. The fix is rarely a better knot. It is the width you fold to, the weight of the cloth, and where on the torso it sits. Fold anything wider than two inches and the band rolls over on itself by mid morning. Sit it on the hip instead of the waist and it drags the whole outfit downward. Those two errors cover most of what goes wrong. Eleven methods below. Each names the cloth it needs and the point where it gives up.
1. The Belt Loop Fold
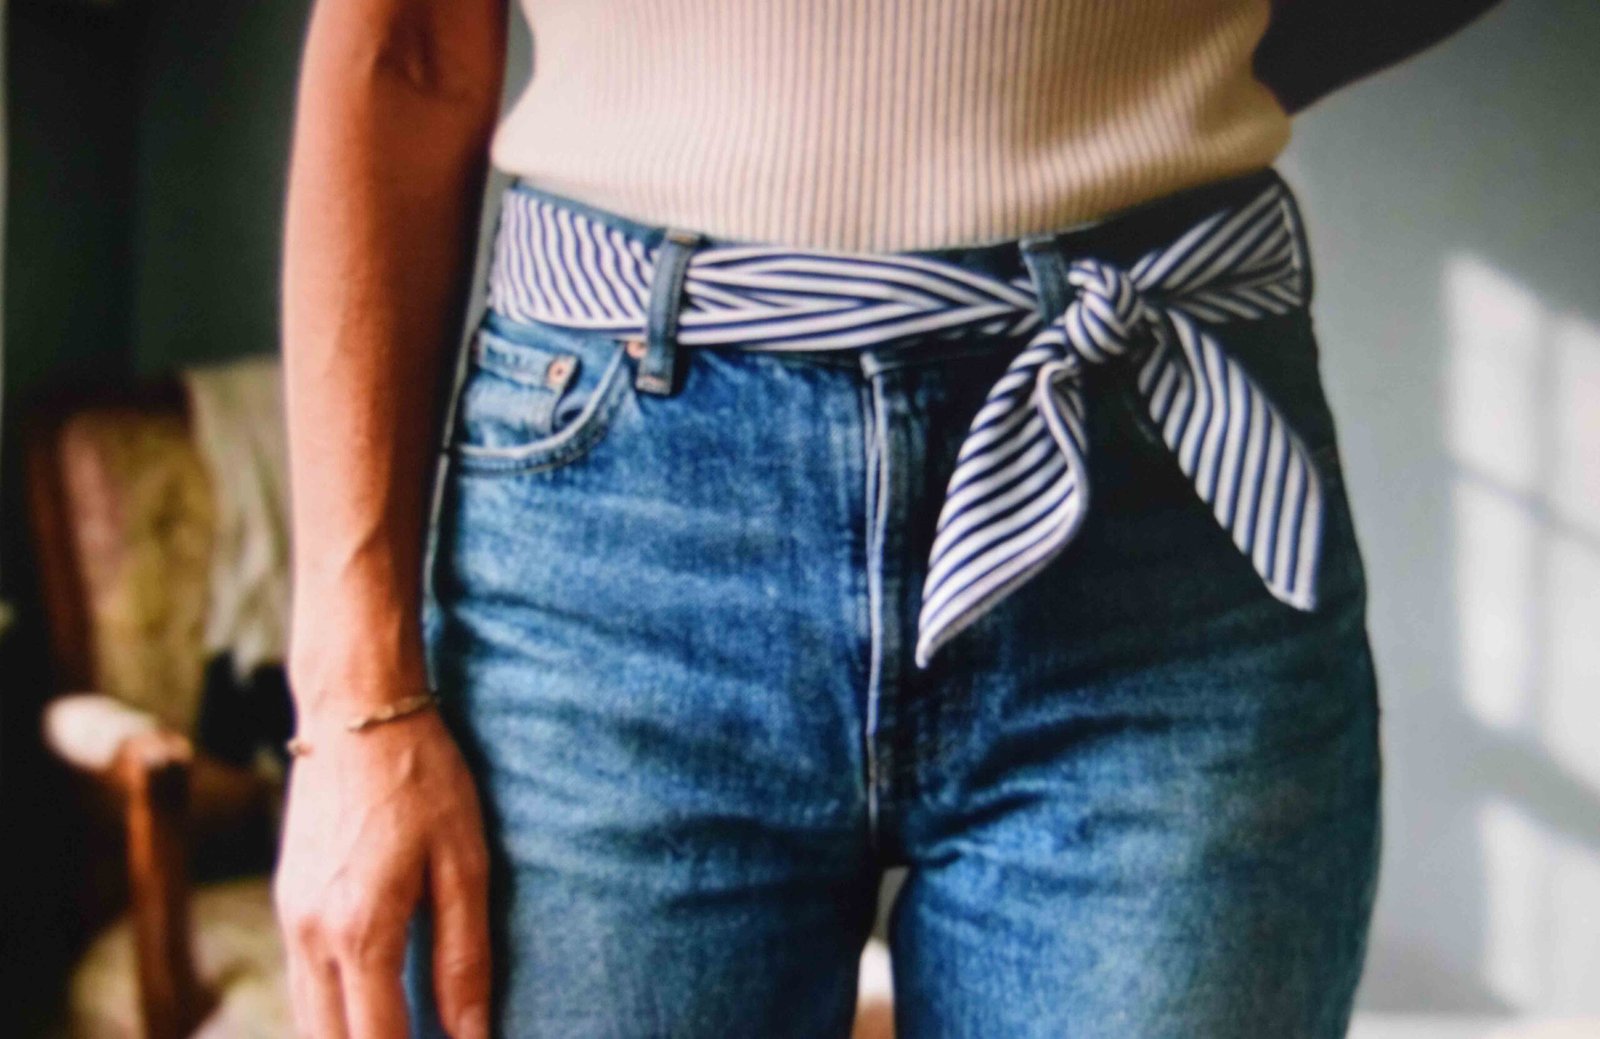
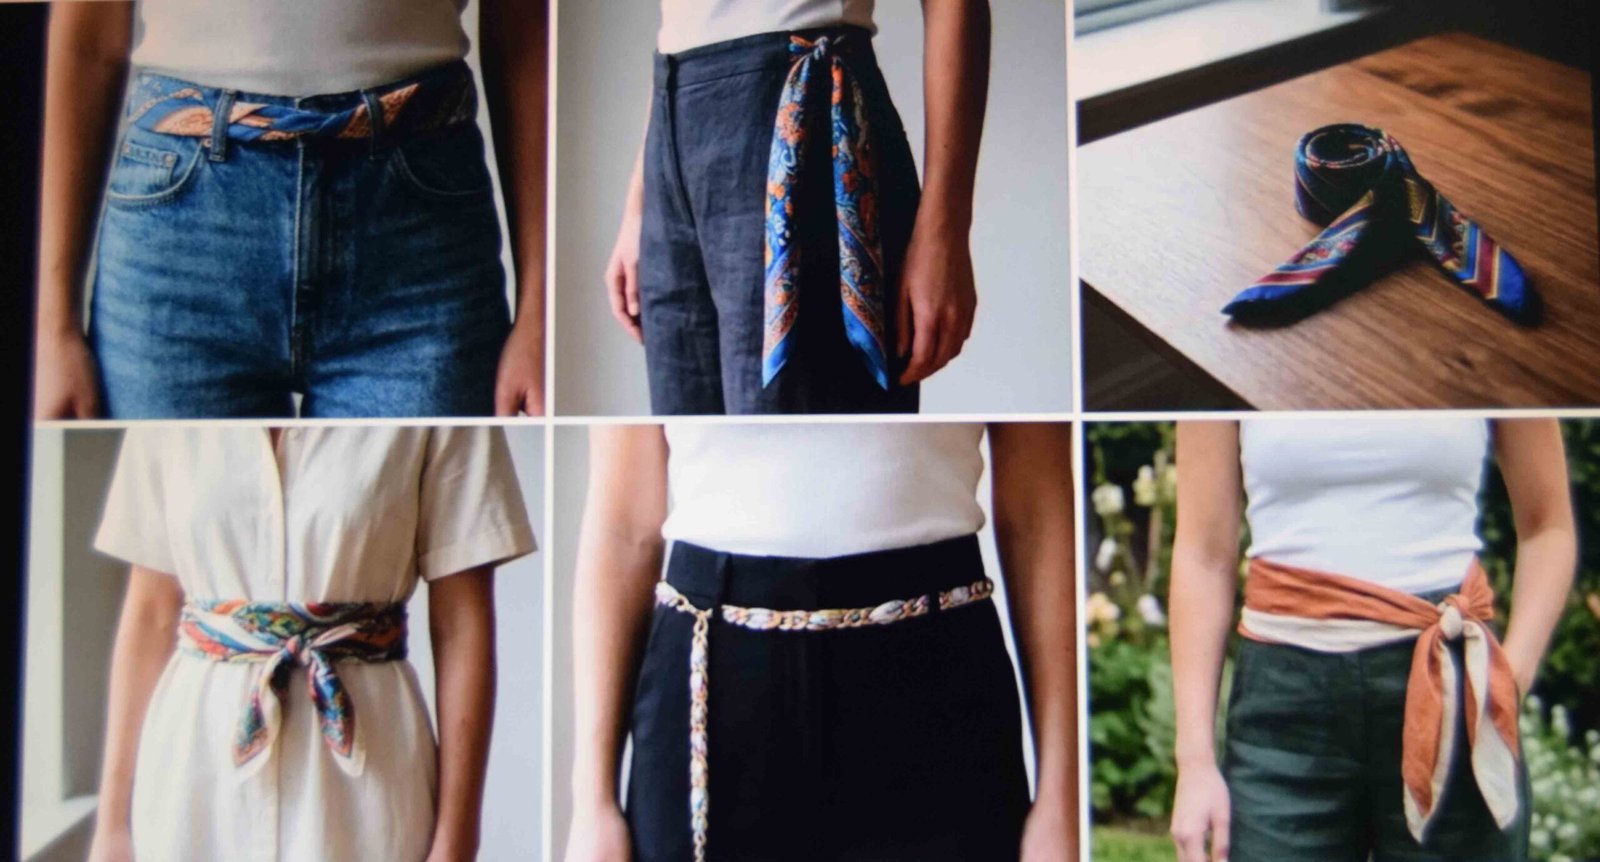
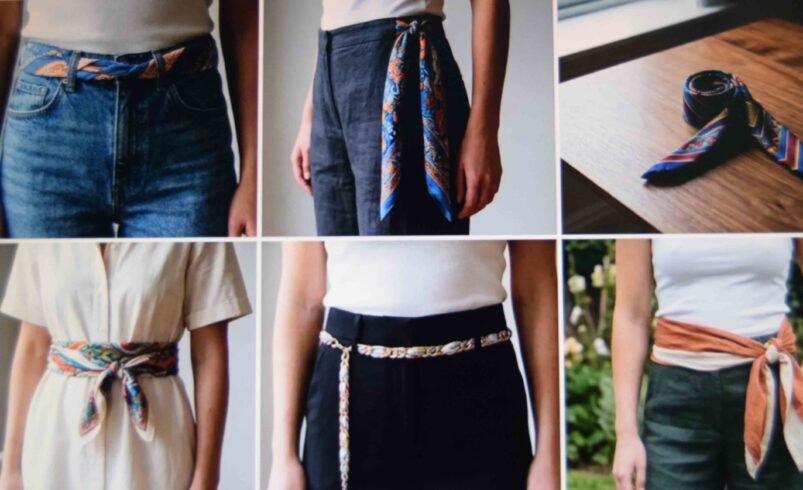
Fold a rectangular scarf lengthwise until you have a strip about an inch and a half across, pressing each crease down with your palm as you go. Most scarves take three folds to get there. Four if the cloth is fine. Thread it through your jeans exactly as a belt goes in, starting at the loop nearest the side seam rather than the front, so the join lands where nobody is looking. Tie a square knot off centre and let the ends drop over one hip instead of down the fly. The loops carry the weight here, not the knot, which is why this outlasts every other method on the list. Cotton and linen keep the fold. Silk unfolds inside the loops within about an hour of walking, and you will feel it go slack before you see it. The common slip is hauling it tight like a real belt. Leave enough ease to slide two fingers under the band or the denim bunches at every loop.
2. The Pareo Knot Over Jeans
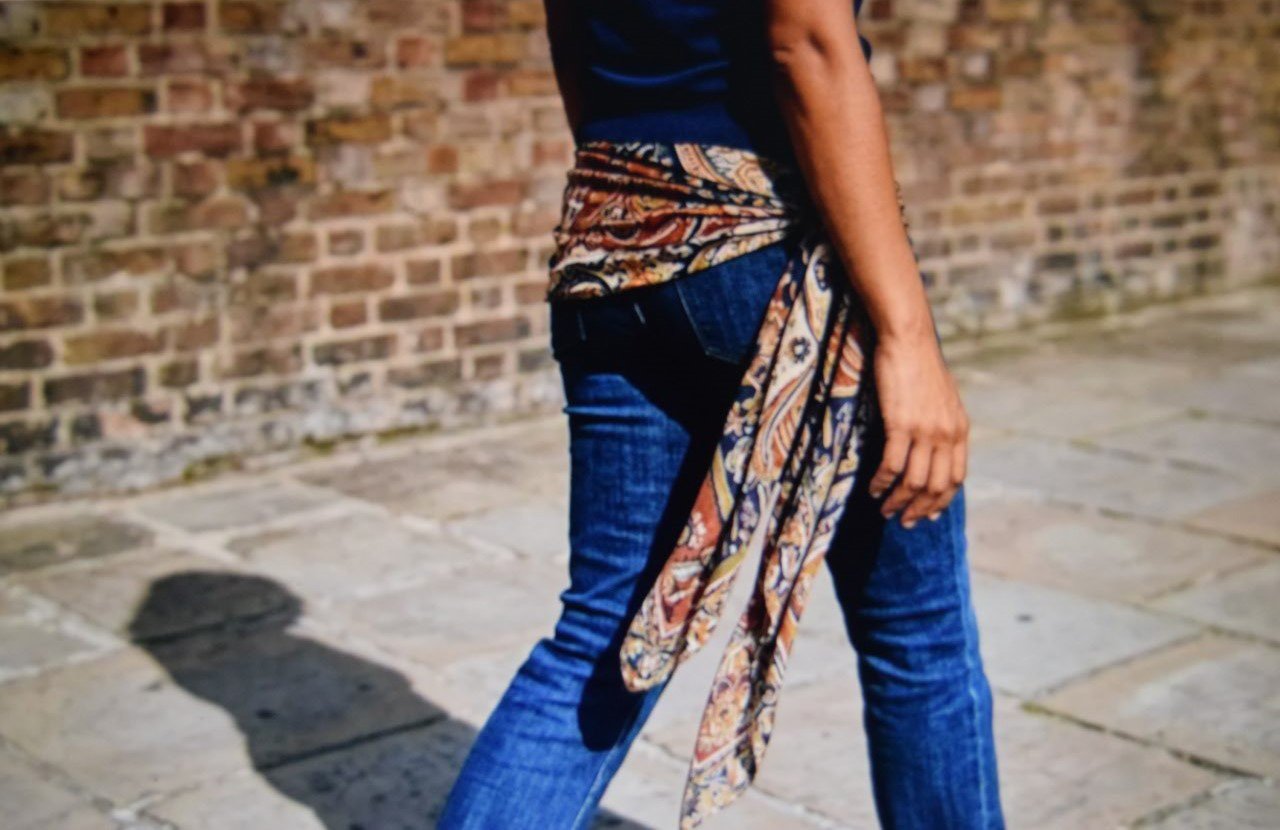
Longer scarves want a different approach entirely. Hold the scarf behind you, bring both ends forward around the hips, and tie them at the side seam in a flat knot rather than a bow. The result sits like a pareo and reads much more relaxed than a threaded belt does. Keep the knot below the hip bone or the fabric bunches at the waistband and adds width where you do not want it. Best on anyone with long torso proportions, since the extra fabric hanging at the side needs vertical space to read properly.
3. The Diagonal Roll For Square Silk
Squares need a different fold entirely. Lay it flat, bring corner to corner into a triangle, then roll from the long edge toward the point in loose turns until you have a band roughly two inches deep. That rolled edge is what stops silk sliding. A pressed fold has a smooth face and it slips against itself. A roll grips. Roll it on a table, never in the air. Held up, the weight of the cloth pulls the turns uneven and one end finishes thicker than the other. Tuck the leftover point under the band once tied or it flaps against your leg all day. Of all the ways to wear scarf squares already sitting in your drawer, this is the one worth learning first, and the same rolled band goes straight into an outfit with head scarf styling later in the day. Skip it over ribbed knit. The band catches in the ribbing and puckers the whole waistline.
4. The Double Wrap On A Narrow Waist
Wrapping twice adds body where a single pass looks sparse, provided your scarf is at least sixty inches long. A scarf shorter than this length will not reach around your torso twice without pulling tight against your ribs. Start with the centre of the scarf at your front, take both ends behind you, cross them at the small of your back, bring them forward again and knot at the front. Keep the tension even during the second wrap to avoid one band sagging lower than the other by midday. You end up with two horizontal bands stacked about an inch apart, which requires careful smoothing to prevent overlap. Ensure the gap between the two bands remains consistent, as uneven spacing makes the scarf look like it slipped accidentally. Fine wool and jersey suit this because they compress without bulk, unlike heavy silks that create a thick ridge. Avoid using scarves with heavy beaded or metal embellishments, as these add uncomfortable weight and drag the fabric downward. Pair it with a tucked shirt and straight leg trousers so the stacked bands stay the only detail at the waist. Check that your shirt remains fully tucked, because any fabric bunching under the scarf creates a lumpy silhouette.
5. The Side Drape With One Long Tail
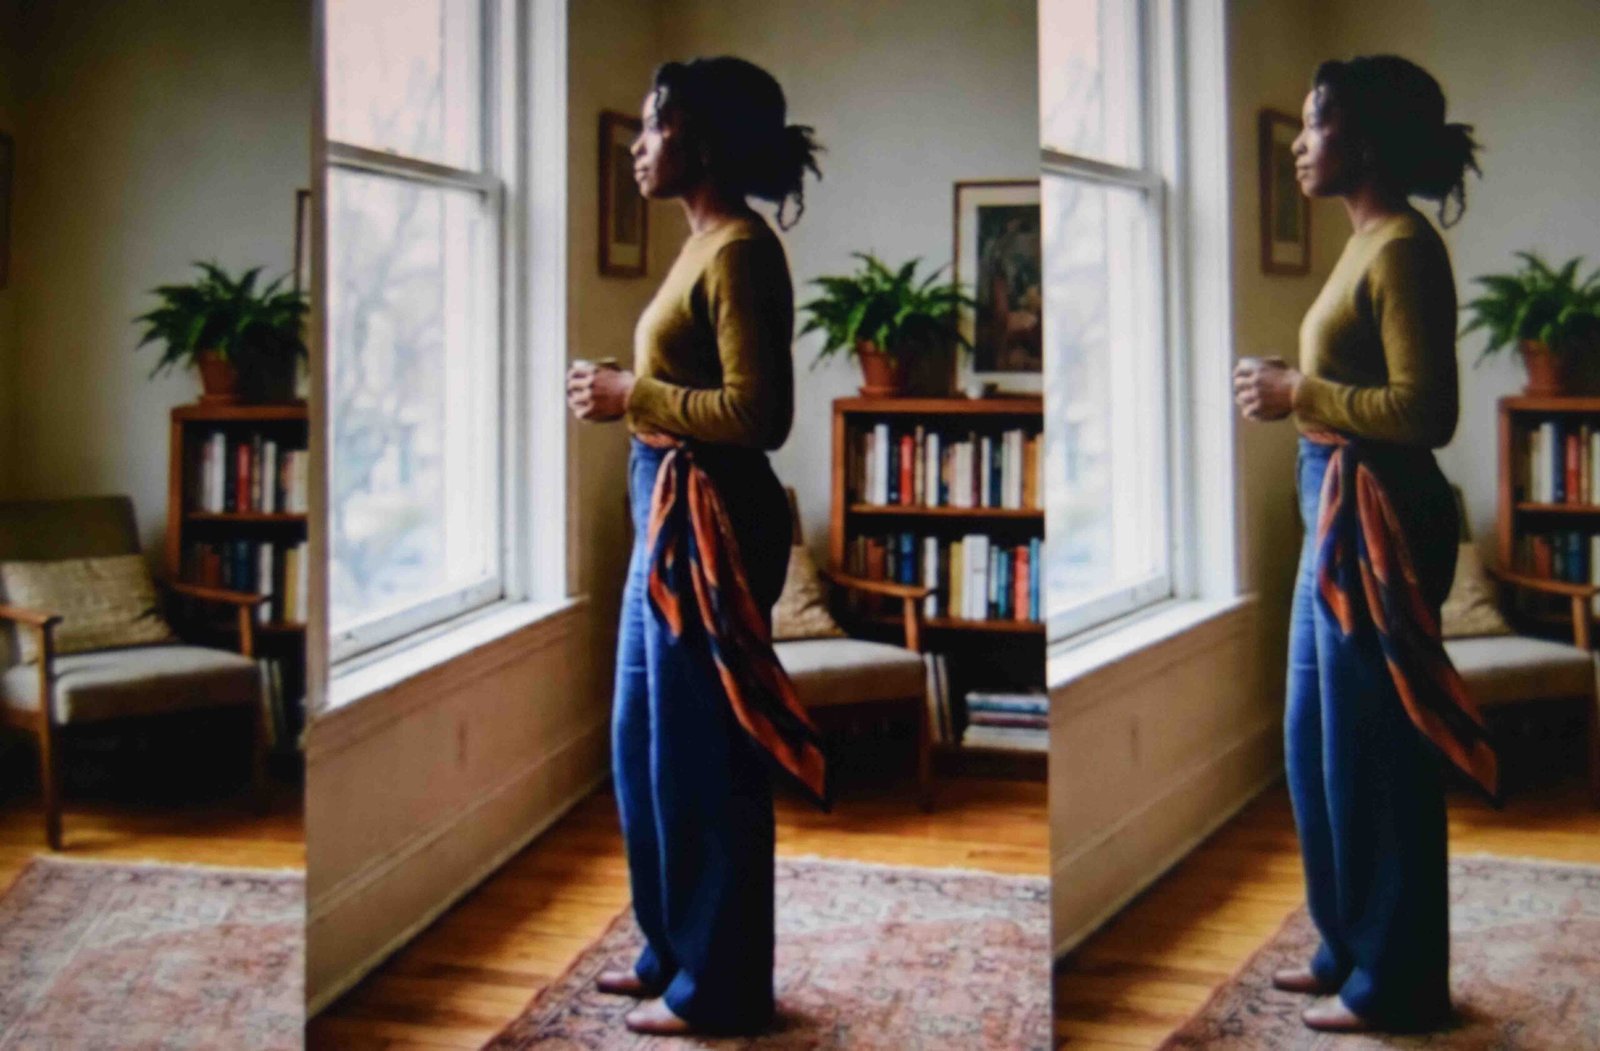
Asymmetry does the work here. Keep the knot small to avoid adding bulk at the hip bone. Knot the scarf at the left hip, leave one tail short at around six inches and let the other hang to mid thigh, then tug the long tail so it falls behind the front of your leg rather than across it. Ensure the knot is flat against the fabric to prevent it from snagging on your clothing. Silk crepe and viscose drape properly at this length. Check that the length hits your thigh correctly while standing still. Cotton sticks out sideways instead of hanging. Avoid using stiff cotton fabrics for this specific style since they lack the necessary flow for a side drape. The mistake beginners make is centring the knot at the navel, which splits the body in half horizontally and shortens the leg line. Position the knot slightly to the side to maintain a clean vertical line down your leg.
6. The Bandana Tie On A Small Square
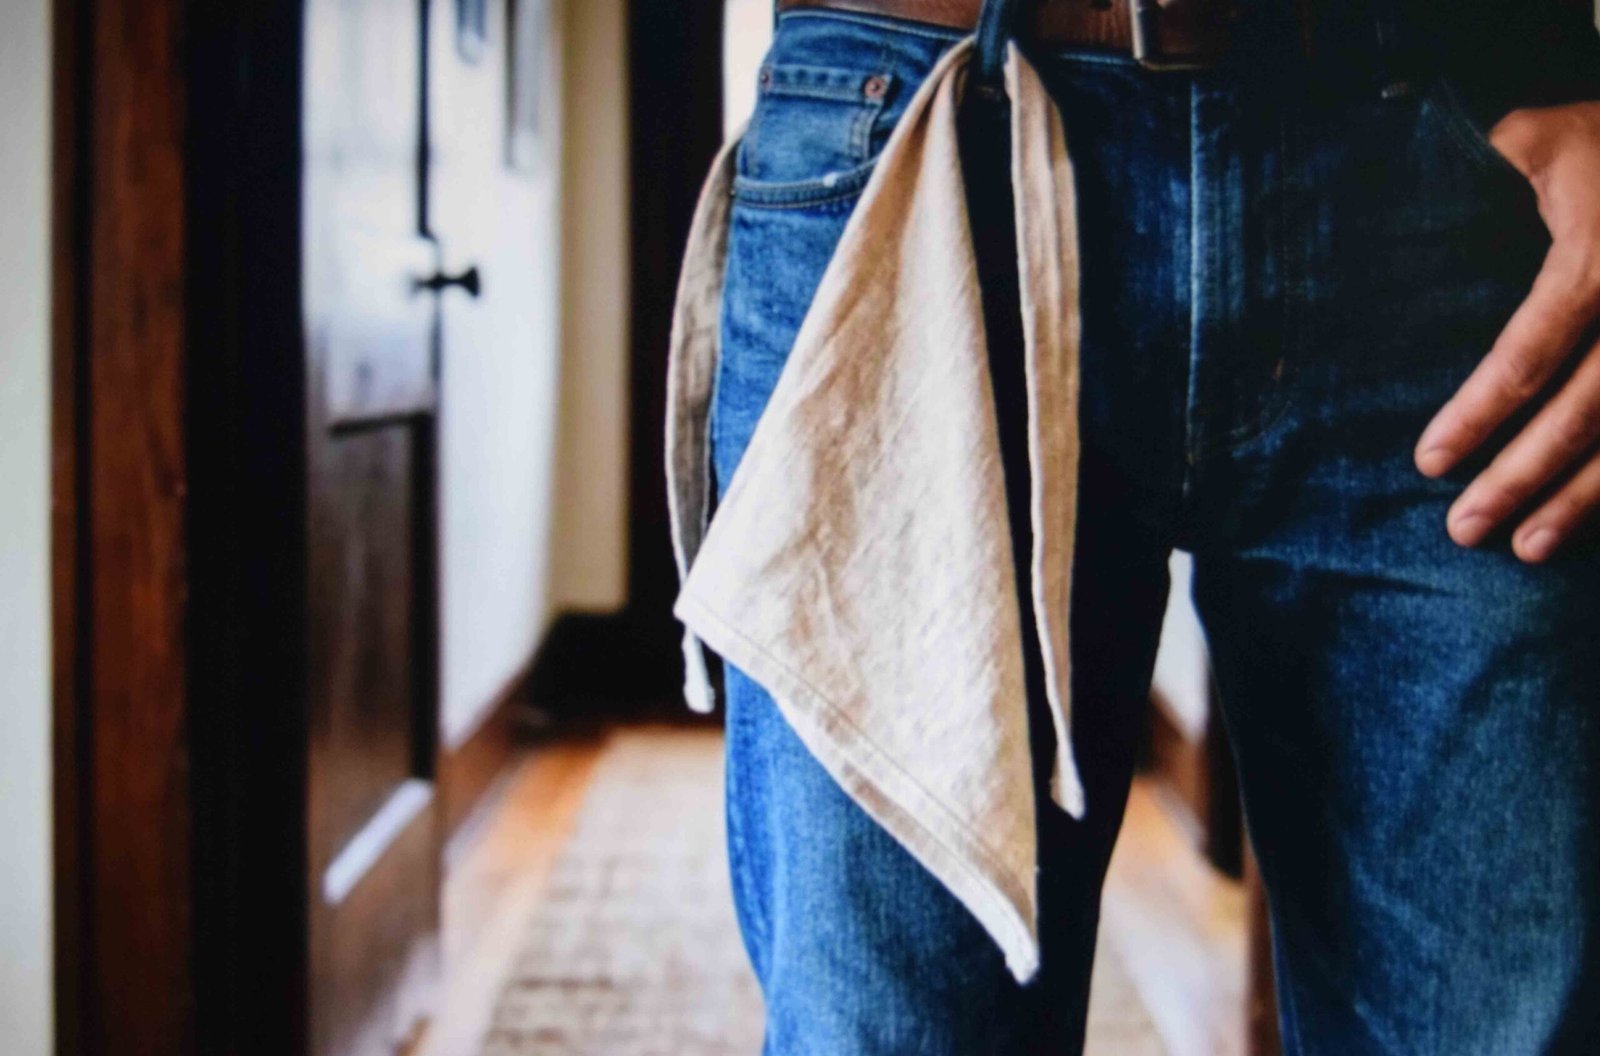
Small squares around twenty inches lack the length to wrap a waist, so use them at the front only. Use a square of thin cotton or silk for the best drape. Fold into a triangle, thread the two long ends through your belt loops from front to back, and tie behind you so the triangle hangs like a panel over one thigh. Ensure the knot sits flat against your skin to avoid visible bumps under a shirt. Anyone searching how to wear a small scarf usually gives up at the waist and moves it to the neck, but this version works down there. Check that the two ends are equal in length before you pull the knot tight. Do not attempt this method if your waist measurement exceeds thirty-four inches. Avoid using heavy fabrics because they pull the loops downward and distort the shape.
7. Chain Belt Woven With Silk
Fasten a thin chain belt first, then weave the scarf through the links in a loose over and under pattern. Leave eight inches or so hanging at one hip. Skip every third link rather than threading through all of them. Use every link and you run out of scarf before you are halfway round, and the fabric ends up stretched flat with no movement left in it. The chain takes all the tension. The scarf is just sitting there looking decorative, which means it cannot slip, because nothing is pulling on it. This is the answer for anyone whose scarves keep migrating downward. You are not tying better. You are removing the thing that fails. One catch. A rough link edge snags fine silk, so run a fingernail along the chain first and save anything delicate for a smooth belt.
A Note On Weight Before You Tie Anything
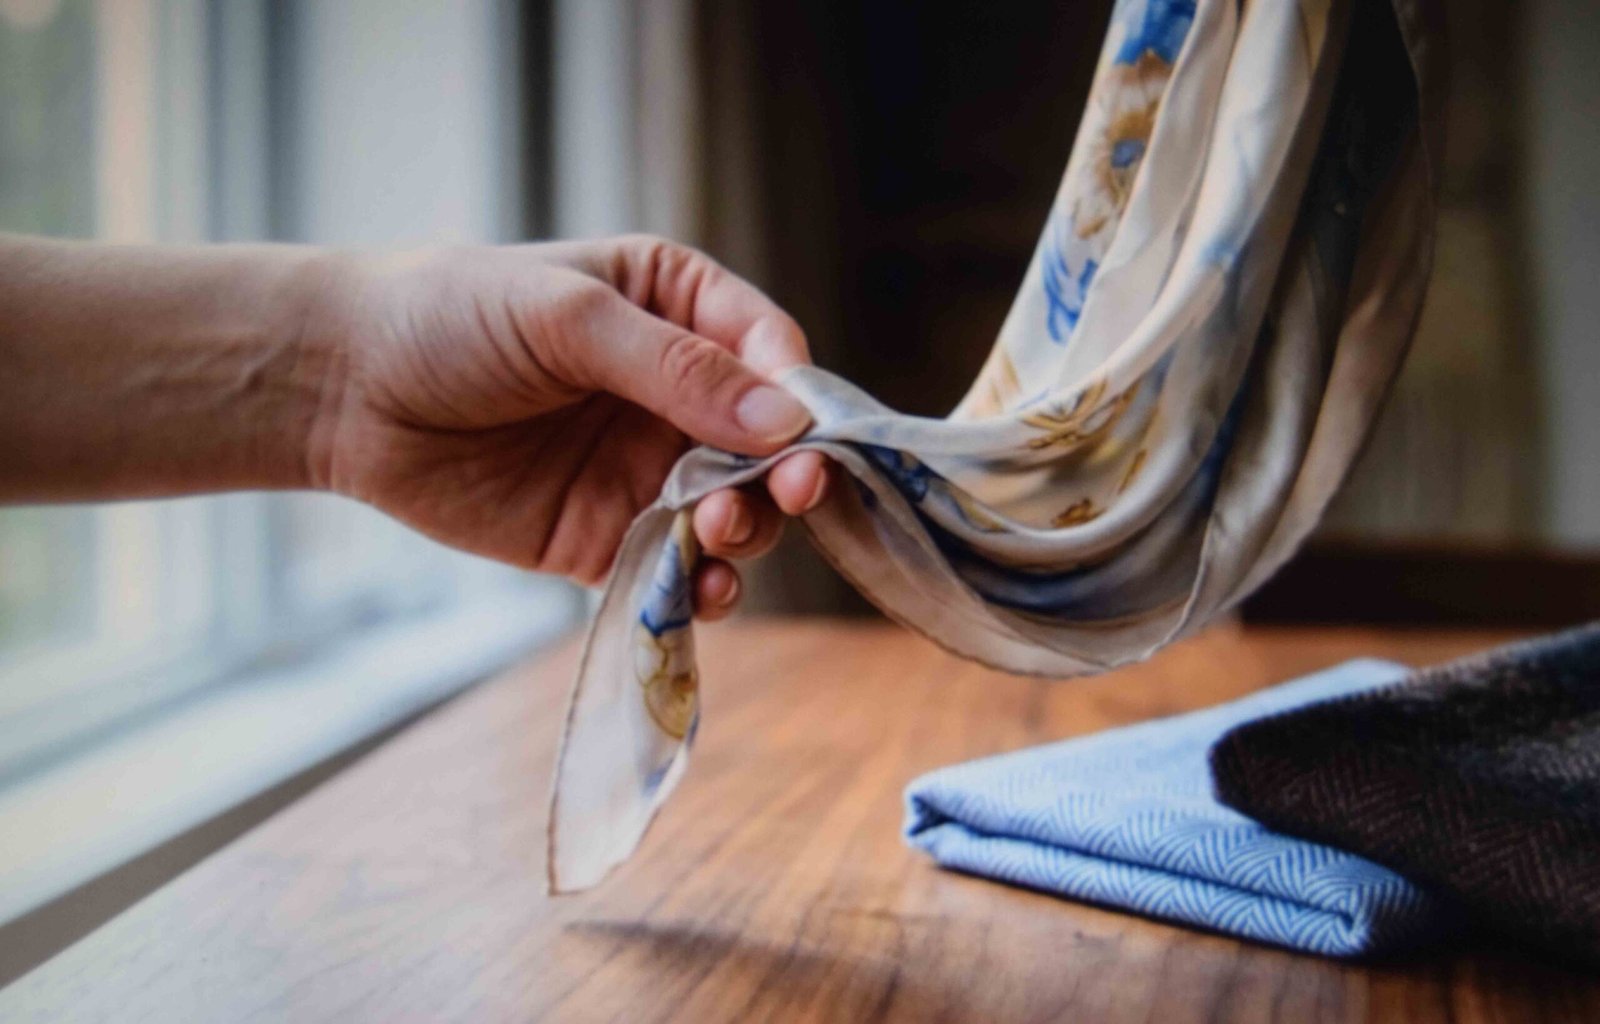
Hold the scarf by one corner and let it hang to check the drape. If it falls in a straight line, it will drape well. If it holds an S curve in the air, it has enough body to hold a knot. Silk under eight momme slides out of every knot. Heavy wool adds so much bulk at the waist that trousers sit unevenly. Check the hem as well. A rolled hand hem builds thickness at the edge and grips the fabric. A flat machine hem provides no friction and works loose. Do not use the loops stitched to a dress or trousers. Those date as one unit and you lose both pieces if one wears out. A separate square moves across your wardrobe for years, which is the main benefits of wearing a scarf. Guides on how to wear large scarf squares skip the weight question, yet it decides whether the knot holds.
8. Over A Shirt Dress At The Natural Waist
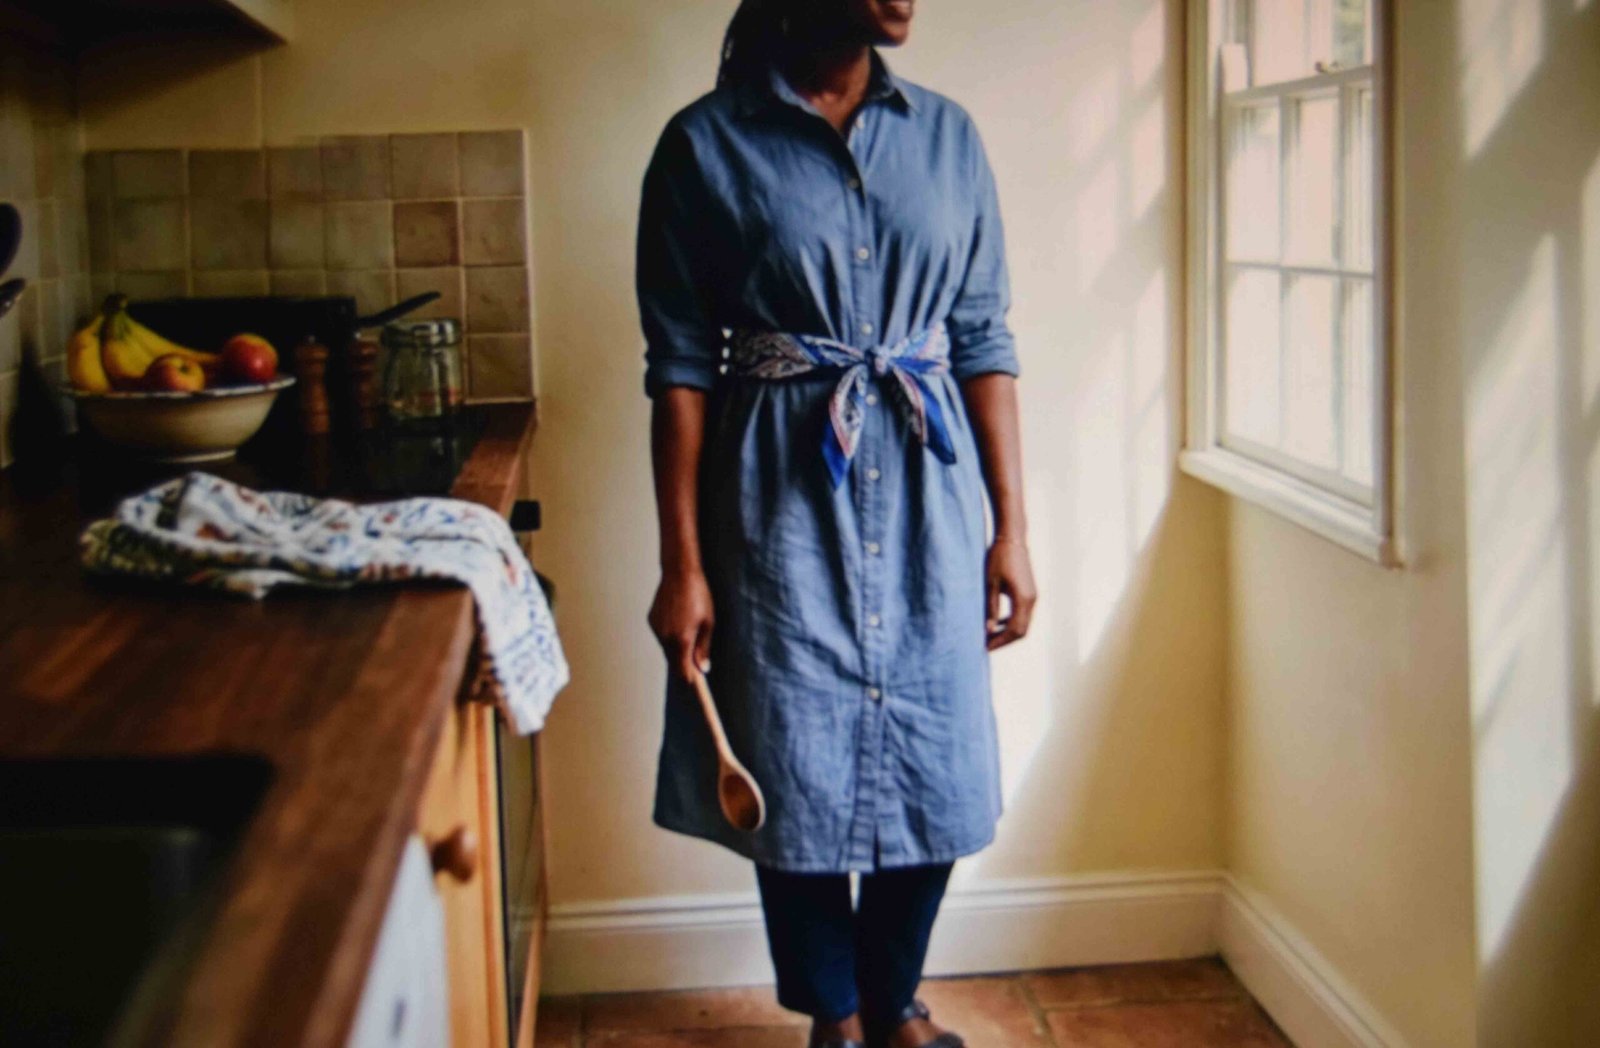
Placement carries this one, not the knot. Find the narrowest point of your torso, usually about an inch above the navel, and sit the scarf there. Avoid the hip, where a standard belt sits. Placement at the hip creates a dropped waist effect that visually cuts your leg line short. Thread the band behind the button placket so the front stays flat instead of bubbling between buttons. Then pull an inch of dress fabric up over the band all the way round and let it drop back. That small blouse of cloth covers the scarf edge and stops the dress pulling tight across the front. Use narrow bands for slip dresses, because a wide scarf ruins the bias drape. Reserve the search for how to wear a wide scarf for heavier cotton fabrics.
9. The Back Knot For Days You Sit Down
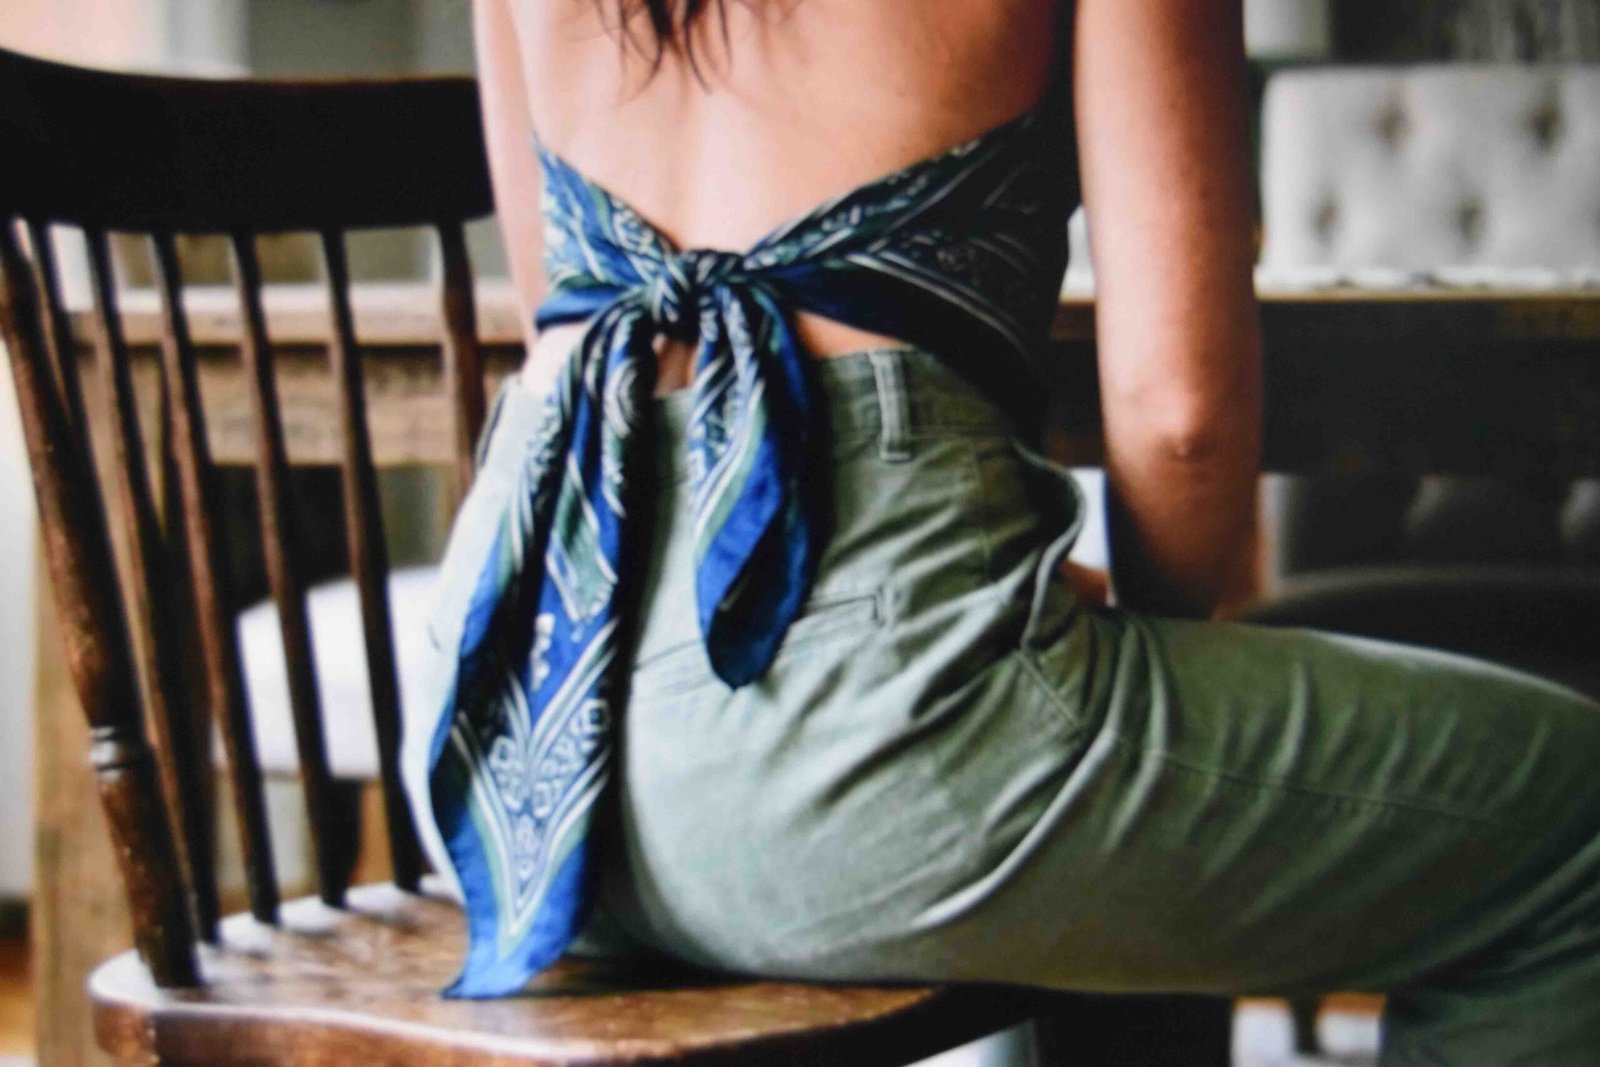
Turn the knot around and tie it at the small of your back, both tails equal, falling over the seat. Why bother. Because a front knot presses into your stomach against a desk edge or a seat belt for an hour and you will untie it before lunch. Check the height before you commit. Sit down in a hard chair and reach behind you. If the knot lands against the chair back rather than below it, move the whole band up an inch so it sits above the contact point instead of under your spine. Keep the tails to around six inches. Longer ones trail into the seat and come out creased. A backpack ruins this one. The straps flatten the knot and set a crease across the fabric that steaming only half removes.
10. Layering It Over A Cropped Jacket
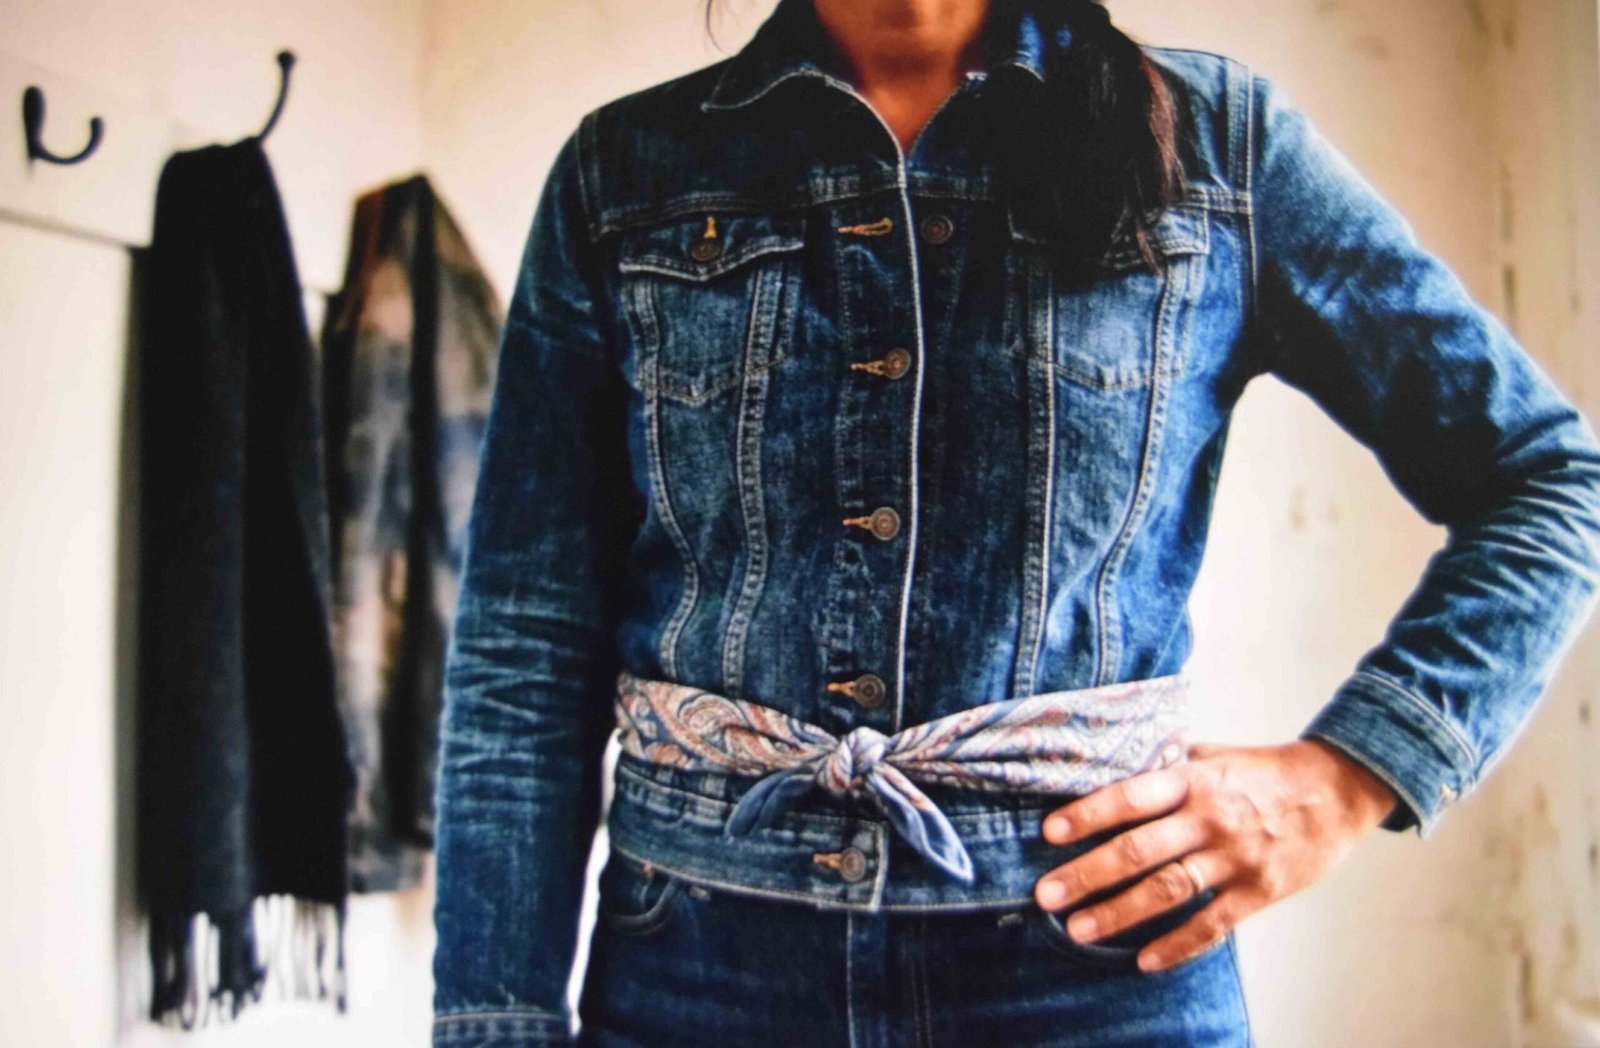
Outerwear changes the order of dressing. Put the jacket on first, then tie the scarf over the closed hem so it defines a waist that the jacket alone hides. Pull the scarf tight enough to compress the hem but leave enough room to slide one finger under the band. Denim and cotton twill jackets hold the knot firmly without slipping. Avoid jackets with boxy drop shoulders because the extra fabric above the scarf creates a top heavy silhouette. Keep the scarf at the jacket hem exactly rather than above or below it, so you get one clean line instead of three competing ones. Check that the scarf width does not exceed two inches, as wider fabric will fold over itself and create a bulky, uneven line around your midsection.
11. The Head Scarf Moved Down To The Waist
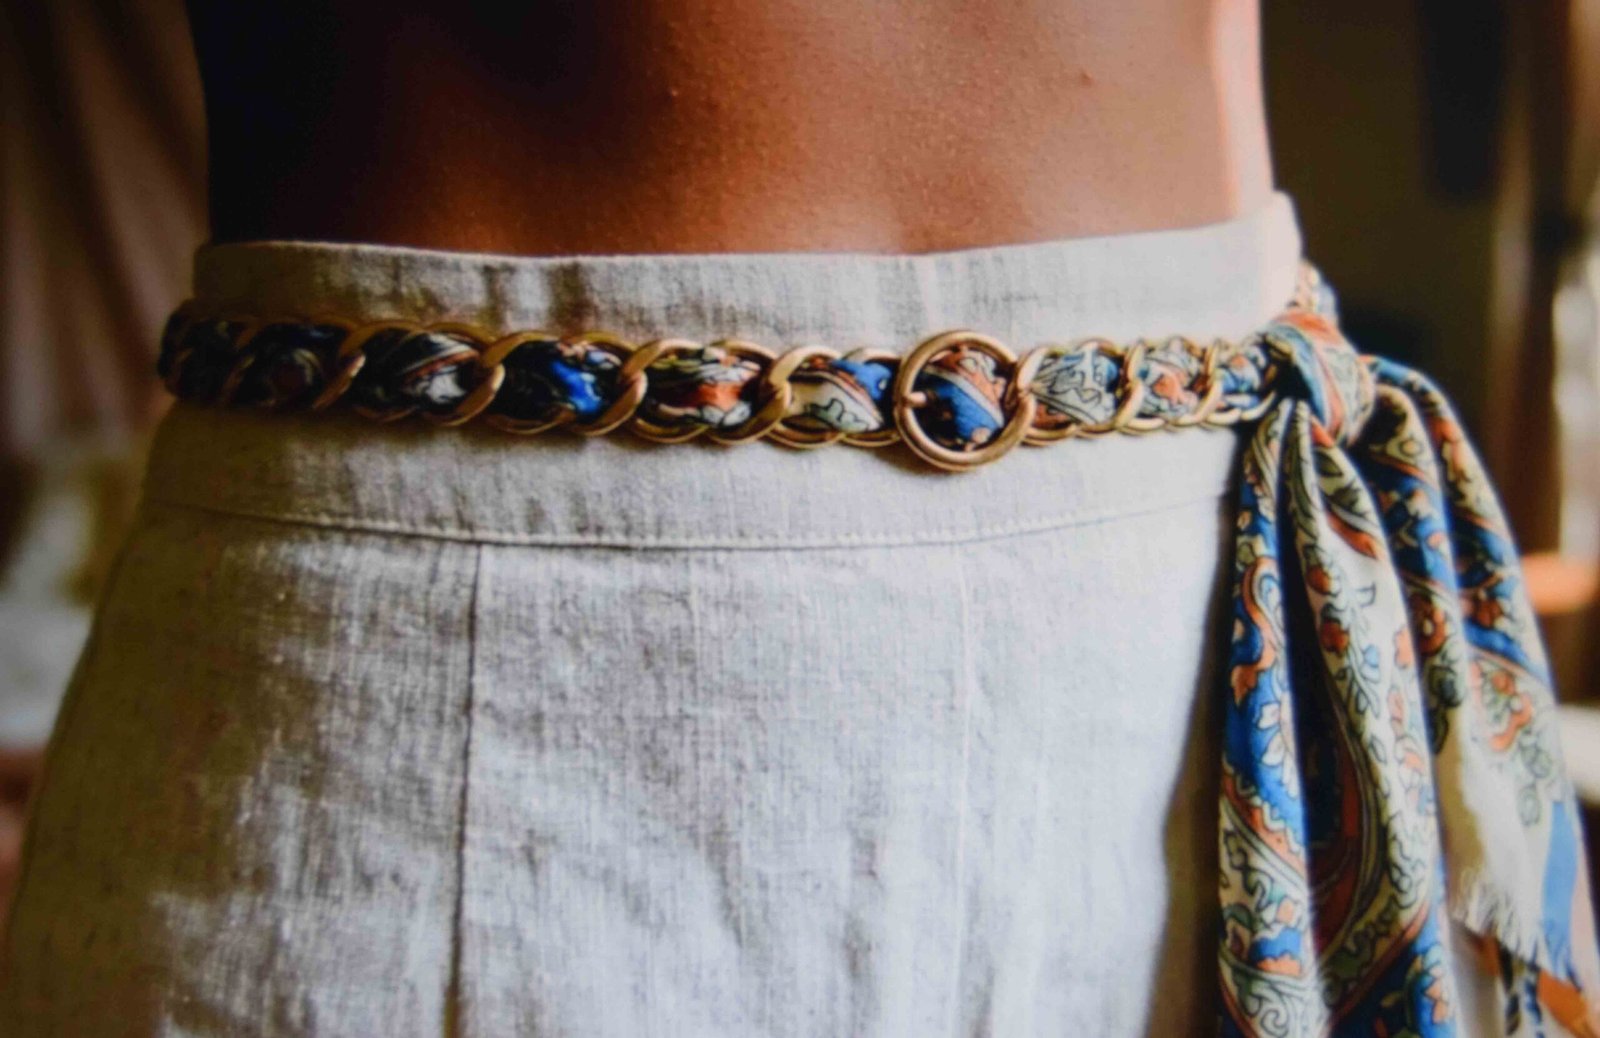
One square covers both jobs. A standard size for hair squares is thirty five inches. A thirty five inch silk square is the standard size for hair, and that same square is long enough to tie once around most waists after a corner fold. Ensure your waist measures under thirty inches to keep the tails visible. Build the outfit with head scarf first if you plan to swap it during the day, since hair oils transfer to fabric and you want that on the last stop rather than the first. Choose a silk blend for the outfit with head scarf to help the fabric grip better. Wash it after a hair day before it goes anywhere near a light coloured waistband. Check for colour run before you let the damp silk touch white fabric.
12. Pulling Four Colours Out Of One Print
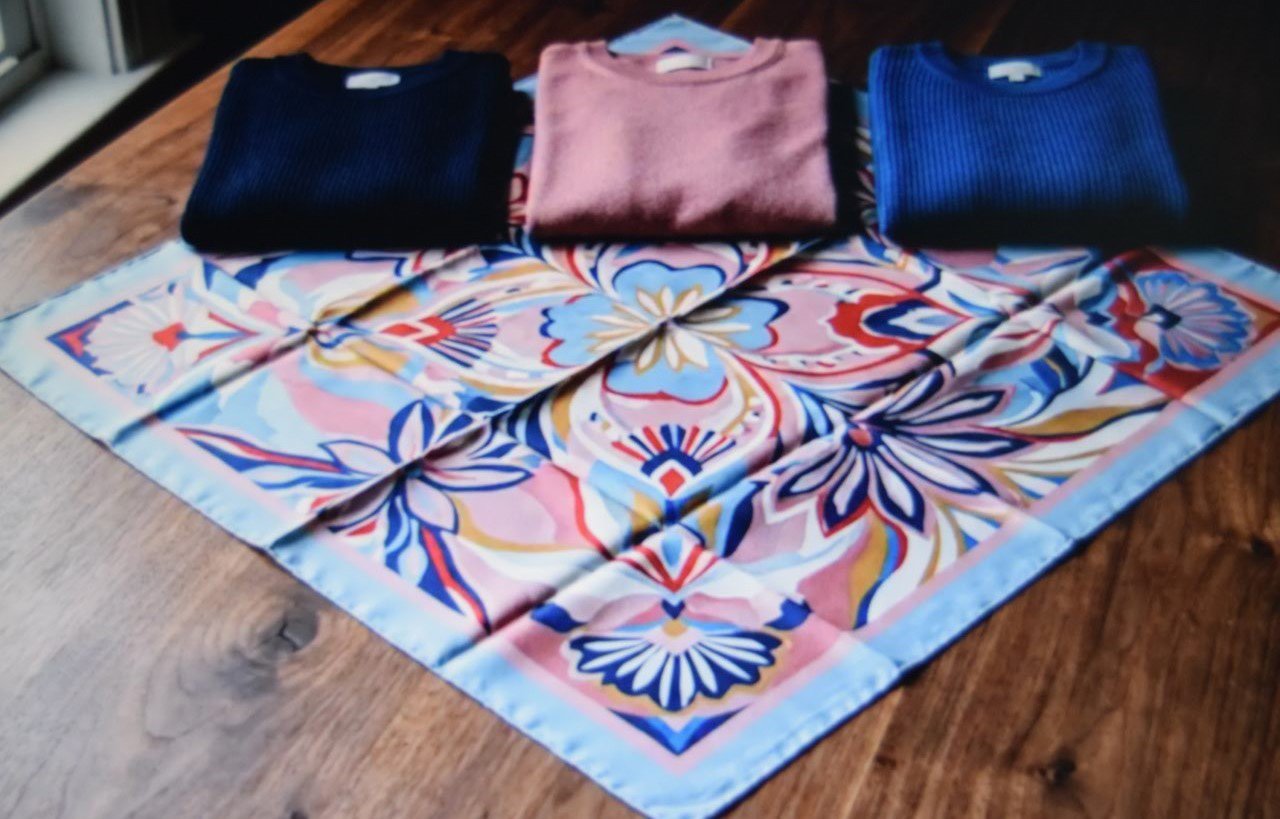
Count the colours in the print before you decide what goes with it. A square carrying light blue, pink, navy and red is really four scarves, because you match your top to whichever shade you want leading that day and the same piece looks different each time. Match the quietest colour, not the loudest. Matching the dominant one makes the whole outfit look like a boxed set, and that single error kills it faster than anything else on this list. Lay the scarf on the bed and hold the candidate top beside it in daylight. Indoor bulbs shift the smaller colours inside a print and you will choose wrong under them. Sitting at the waist rather than the neck helps too, since the print is nowhere near your face and cannot fight your skin tone. That is the practical case for it over a neck knot.
13. The Tucked Tail Version
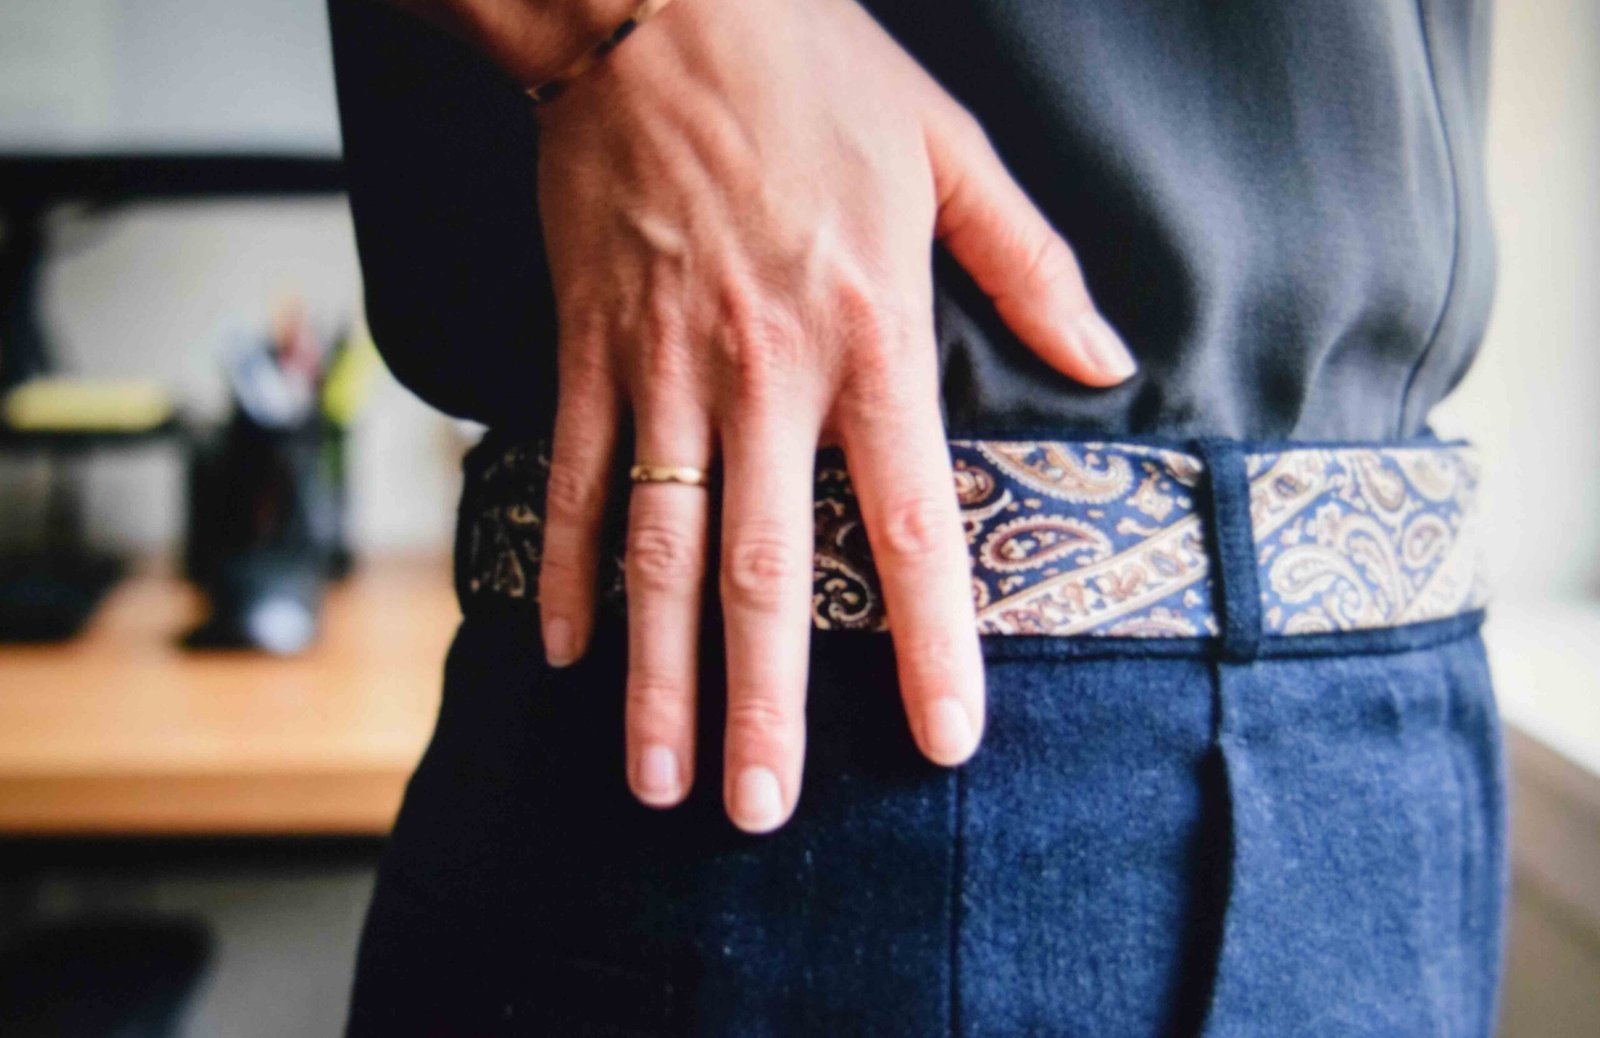
Loose ends read casual, so get rid of them. Tie the knot, then push both tails up underneath the band itself until only the horizontal line shows. Press it flat with your palm for a few seconds and the fold holds through the morning. Tuck them in opposite directions, one to the left and one to the right. Both on the same side builds a lump you can see through a fitted top. Business casual, yes. A formal dress code, no. However tidily you tuck it, a scarf at the waist still reads as a styling decision rather than a belt, and in some rooms that is the wrong register. A waist scarf outfit lands best where the dress code has a little give in it.
14. Belting A Long Cardigan With It
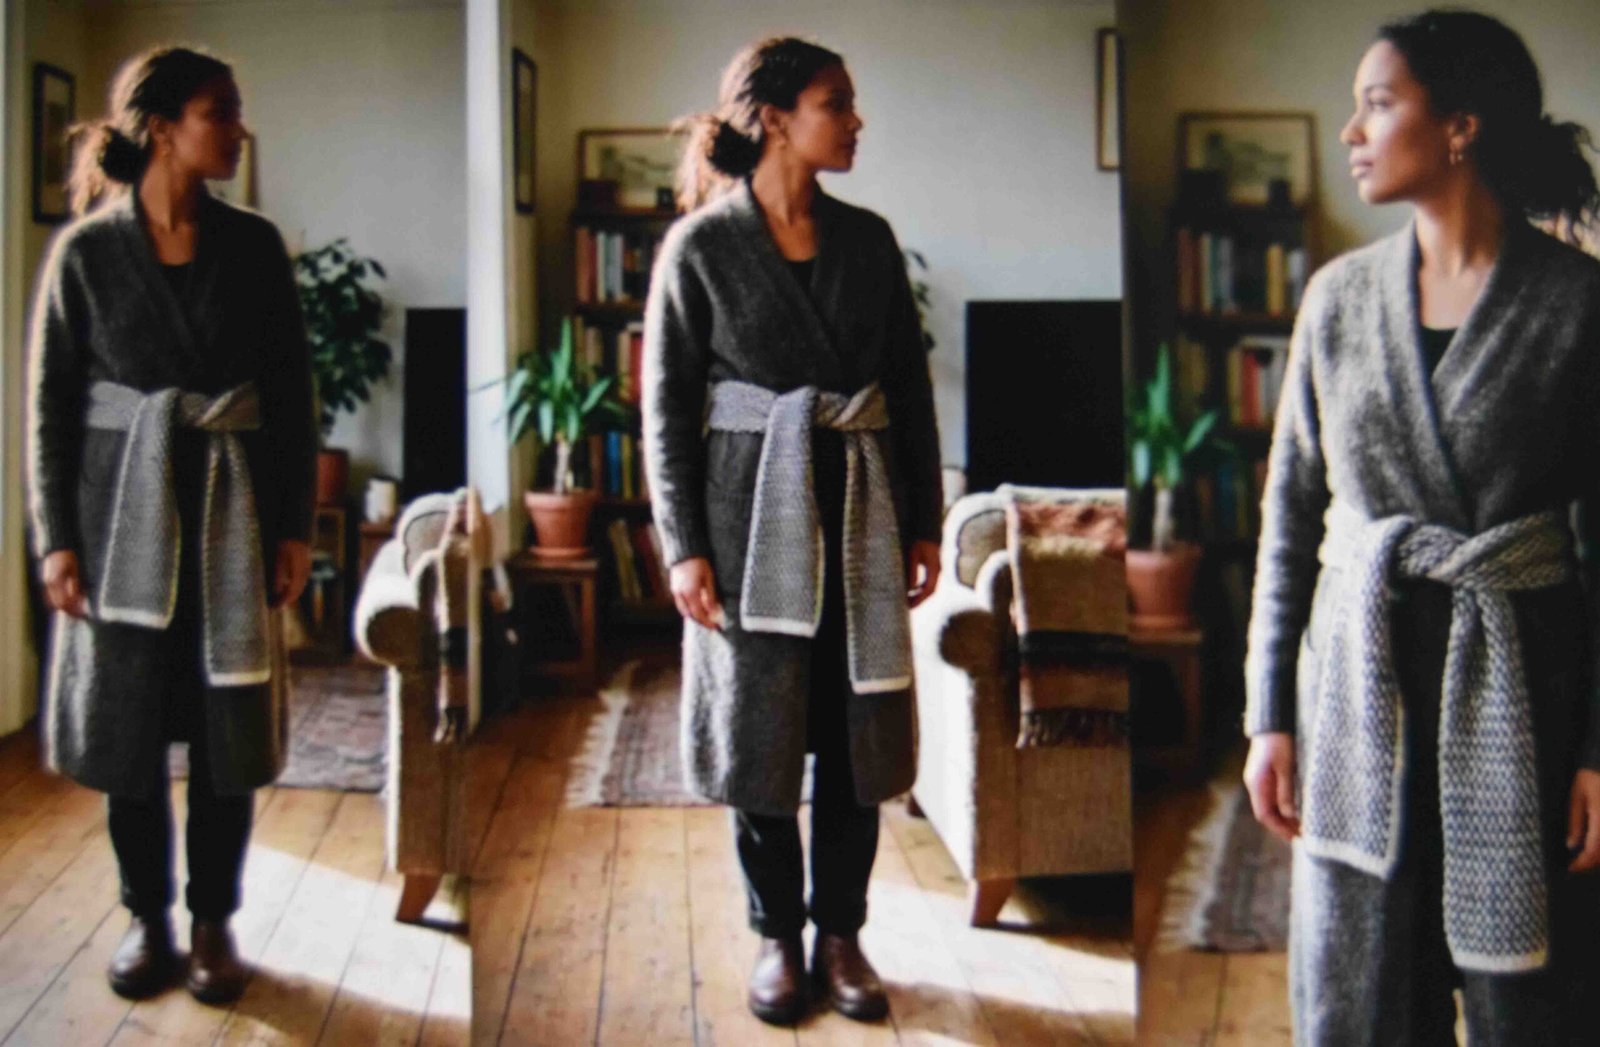
Cross the cardigan fronts first, then tie the scarf over both layers at the natural waist. The fabric knot lies flatter than the belt that came with the cardigan, and it will not press a ridge into your back under a coat. Pull the back panel of the cardigan down before you knot anything. Tie it over rucked fabric and the hem hangs crooked for the rest of the day, which is what nearly everybody gets wrong on the first attempt. Chunky knits swallow anything narrow. If your cardigan is a heavy rib, use the broadest scarf you own and accept that a delicate one disappears into the texture without changing the silhouette at all. Anyone looking up how to wear a decorative scarf without it turning fussy will find this the easiest way in, because the cardigan does the shaping and the scarf only holds it.
15. The Spring And Summer Version With Bare Skin
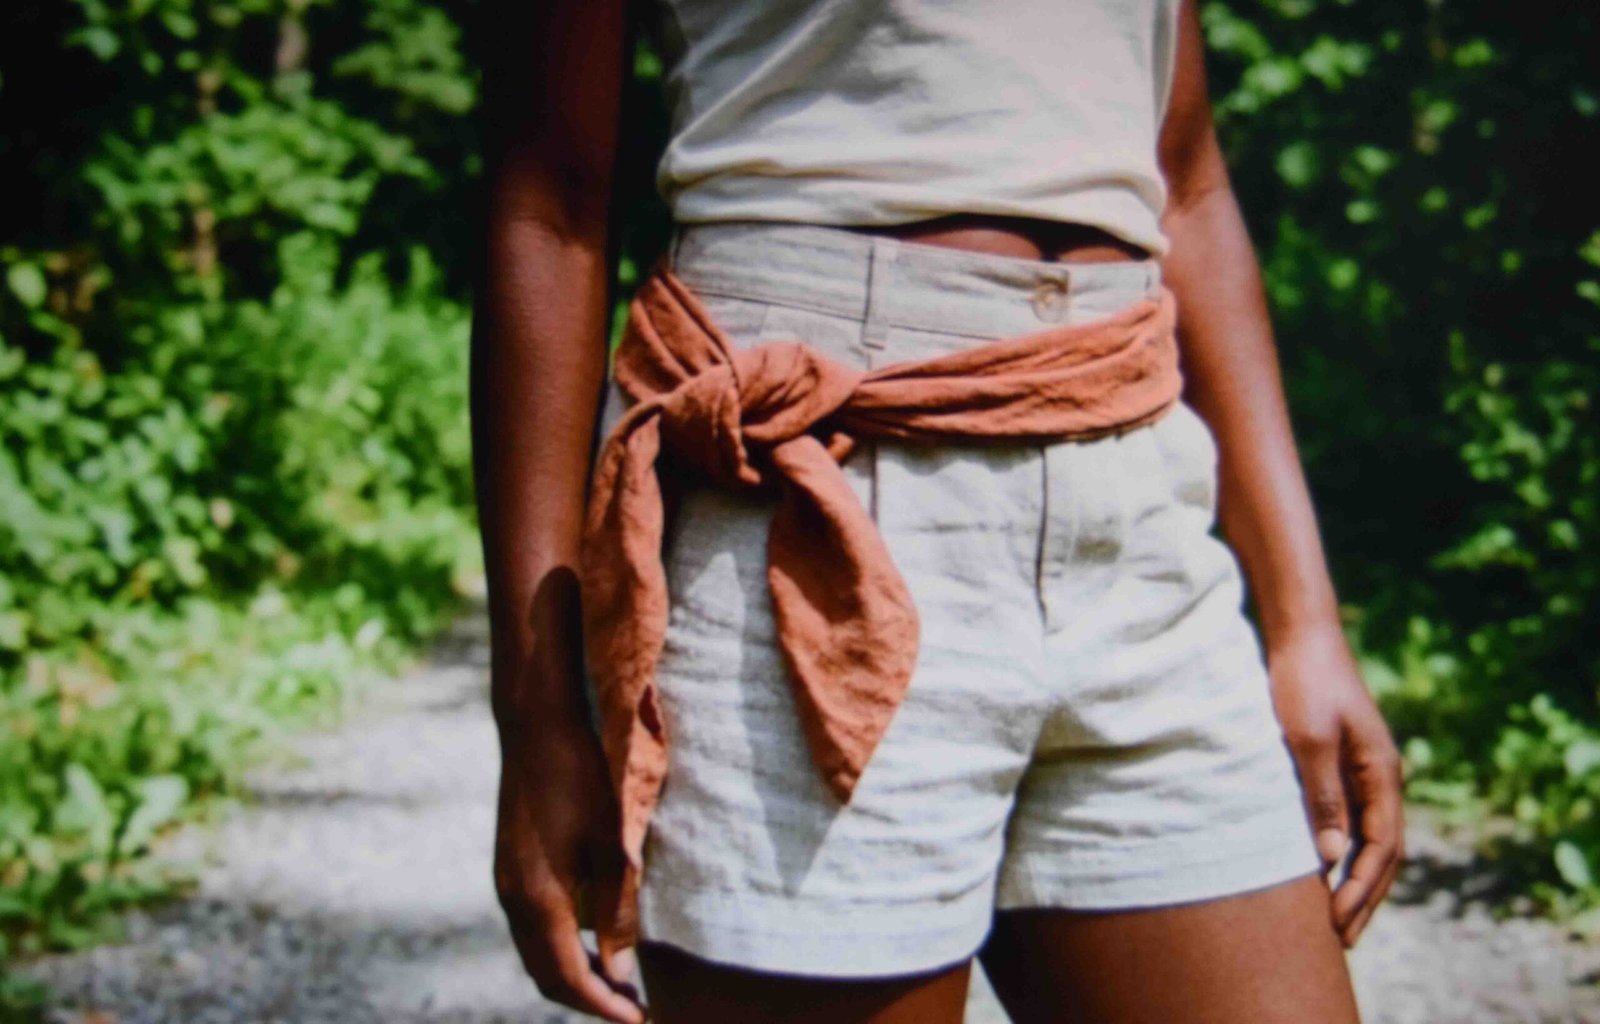
Season changes the fabric. Cotton voile and linen breathe against skin where silk sits hot and sticky by midday. Tie it over a cotton tank or directly over a swimsuit at the hip, and keep the knot loose enough to slide a finger underneath so it does not print a line into your skin in the heat. This is where the trend actually earns its place, since the scarf becomes the one point of colour in an outfit that is otherwise plain. Winter layers bury it under coats and the whole effect is lost.
Five Things People Ask About Tying A Scarf At The Waist
How long does a scarf need to be to go around my waist? Measure your waist and add sixteen inches for a knot with short tails, or thirty for tails that hang. A standard thirty five inch square creates a fifty inch band when rolled, offering enough length for most waistlines. Will tying it tightly ruin a silk scarf? Repeated knots in the same spot break down fibres over time and leave a permanent crease line. Shift where the knot sits by an inch or two each wear, and untie it rather than pulling it off over your hips. Does this work if I carry weight around the middle? Yes, with placement changes. Position the piece on your ribcage and let the tails hang vertically to create a long line that avoids cutting across your midsection. Can I iron the creases out before wearing it? Steam rather than press. Hold a steamer four to six inches away, or hang it in the bathroom during a shower. Direct iron heat flattens the weave on silk and leaves a shine that does not come back out. Is this trend actually being worn in real life? Online it is everywhere and on the street it is still uncommon, which is worth knowing before you commit. Anyone learning how to properly wear a scarf this way should expect to be the only person doing it in most rooms.
The Version To Try First
Start with the flat belt fold through your belt loops. It needs one scarf you already own, it takes under a minute, and the belt loops do the holding rather than the knot, which removes the single thing that goes wrong for everyone. Once that feels normal, move to the corner fold on a square, since that unlocks the silk in your drawer. Build a waist scarf outfit twice a week for a month and the tying stops being a decision and becomes the thing you do while walking out the door. Prices mentioned are estimates and vary by retailer and season.
16. The Panel From A Twenty Inch Square
Twenty inches will not reach around a waist, so stop trying to make it a belt. Fold it into a triangle and knot the two long ends around a belt you are already wearing, placing the knot at the front of one hip. The triangle hangs as a panel over that thigh, and the whole thing reads as deliberate asymmetry rather than a scarf that failed to reach. Set the point at mid thigh. Shorter and it looks like a pocket square that escaped. Past the knee and it tangles every time you walk. Most guidance on how to wear a small scarf gives up and moves it to the neck. This is the version that works lower down, and it needs a plain outfit underneath so nothing else competes with it.