




Somebody is doing math at the kitchen table right now with a cereal bowl pushed to one side. That is most families.
The picture in your head involves a dedicated room with matching bins. The reality involves a corner, a cart, and whatever surface is free at nine in the morning.
Good homeschool room ideas have to survive that. So this covers the decisions that actually matter. Where the desk goes. How books get stored without swallowing a wall. What makes a space work when three people share it.
Why Layout Beats Square Footage Every Time
Pinterest classrooms are lovely to look at. They are also a poor guide, because the best setup is whatever makes your mornings run smoother rather than whatever photographs well.
Here is what usually goes wrong. Families buy furniture first and discover afterward that the room cannot hold it, or that nobody can reach the supplies without getting up.
Space matters less than reach. A cramped corner where everything sits within arm’s length beats a generous room where the pencils live across the floor.
Think about traffic too. If the setup blocks a doorway or a path to the kitchen, it gets moved within a month.
So start with the room you have and the way people already move through it.
1. Homeschool Room Ideas Start With Choosing the Right Space
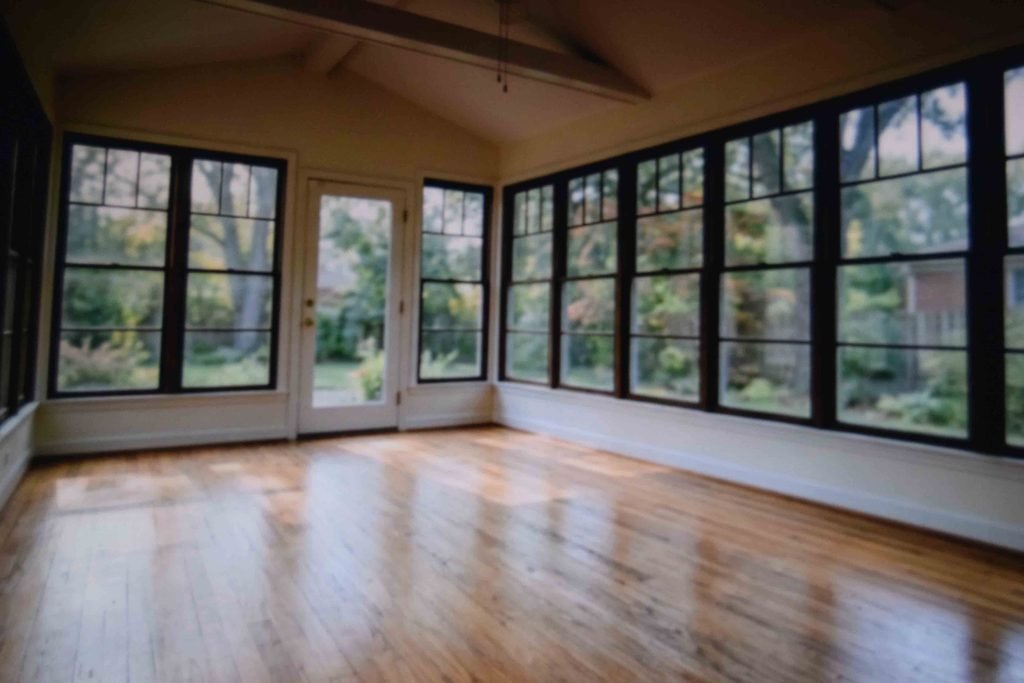
Walk the house before buying anything. The room that feels obvious often is not the one that works.
Sunrooms are a strong option. Light comes in all day, the space usually sits apart from the noise, and it rarely has another job competing for it.
Basements are the trap. They look promising because they are empty, but poor light and cold floors make them tiring to work in for hours. That does not make a basement useless. It makes an excellent book room and storage zone even when teaching happens upstairs.
A craft room can take on double duty easily, since the surfaces and supply storage are already there.
Sit in each candidate room for twenty minutes before deciding.
2. Run the Desk Along a Wall Instead of Floating a Table
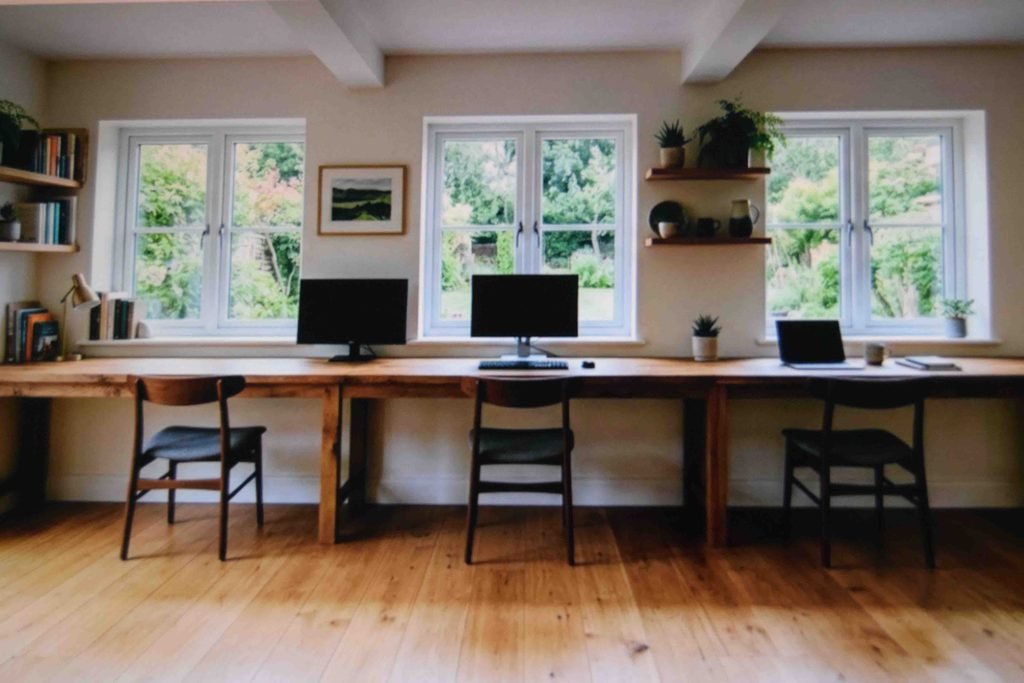
A table parked in the middle of a room eats floor space from every direction and gives nobody a back to lean against.
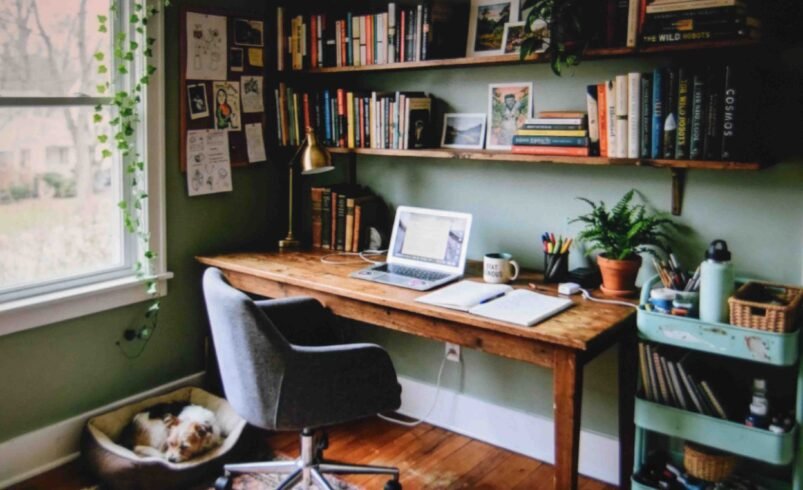
Build a long work surface against one wall instead. Two or three kids fit side by side, everyone faces the same way, and the middle of the room stays open for whatever else happens there.
The surface needs to hold more than a notebook. A computer, a lamp, and whatever organizers keep the supplies upright all need to live there without crowding out elbow room.
Measure the wall before ordering anything. Baseboards push furniture out from the wall by an inch or so, which is enough to block a door swing you did not account for.
3. Set the Working Height to the Child, Not the Adult
Standard desk height is built for grown bodies. A child at an adult desk sits with shoulders up around their ears within ten minutes.
Elbows should rest at roughly a right angle when hands are on the surface. Feet should reach the floor flat.
Neither of those usually happens straight out of the box. So adjust what you can. Raise the chair and add a footrest underneath, or lower the surface if the desk allows it. A sturdy box or a stack of books works as a footrest while you figure out whether a proper one is worth buying.
Recheck the fit every few months. Kids outgrow a setup faster than anyone remembers to notice.
4. Choose Seating for Kids Who Cannot Sit Still
Wiggly is normal. Fighting it wastes energy.
A chair that supports upright posture handles the working part of the day. Wood frames with a cushion on the seat cover this well, since they are firm enough to keep a body aligned but not punishing over a long morning.
Then give them somewhere else to go for reading. A bean bag in a corner does more for reading stamina than any desk chair ever will, because slouching over a book is fine and slouching over handwriting is not.
Two seating positions per child is the goal. One upright, one relaxed.
Skip anything on wheels for young kids. Rolling chairs and floors turn into a distraction you will regret.
5. Paint the Walls Something Calm and Save the Color for Accents

Wall color sets the temperature of a room more than anything else in it.
A pale gray works as a background because it stays out of the way. Bright walls compete for attention during work that already demands attention.
Put the color into accents instead. Mint, dusty rose, a soft yellow. Cushions, bins, a rug, one painted shelf. Those are swappable when tastes change, and a wall is not.
Renting or unsure? Removable wallpaper on the back wall gives pattern without commitment. Chalkboard paint on one panel earns its place too, though it needs ventilation while it cures and a proper seasoning coat before the first use.
Test any color on the actual wall before committing to a gallon.
6. Plan the Lighting for Cloudy Days and Bright Ones
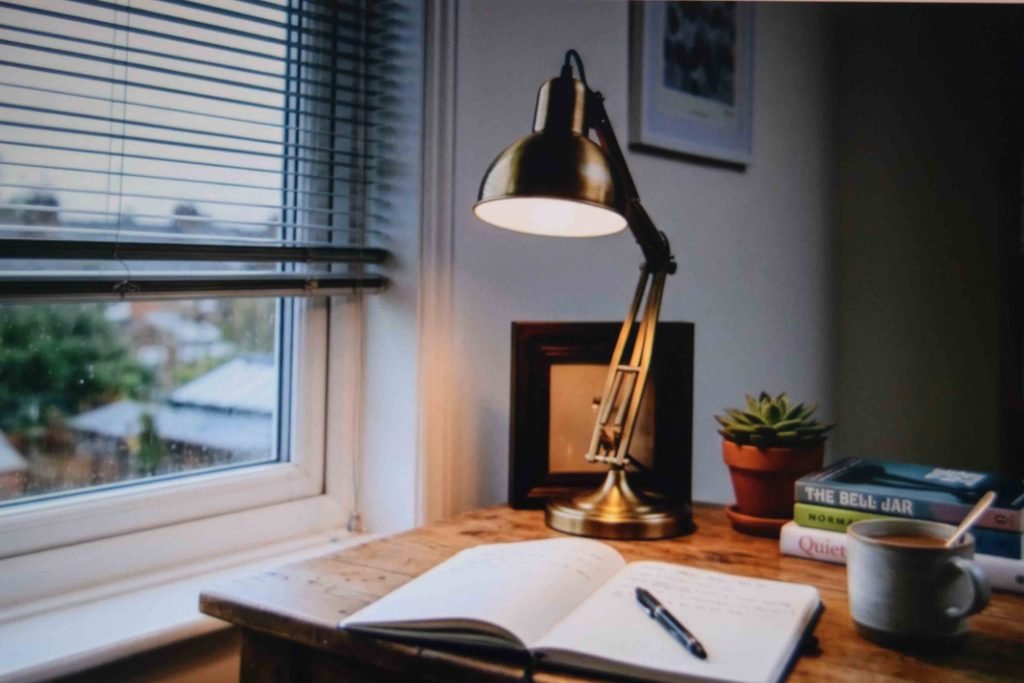
Natural light is the whole reason people choose certain rooms, and it is unreliable.
Layer for the days it fails. A lamp beside the work surface covers the gray afternoons. String lights along a shelf are not decoration alone, since they lift a dim corner cheaply.
Then handle the opposite problem. Direct sun across a desk creates glare on screens and makes paper painful to read. Pull-down blinds solve that in one move, and they double as a way to cut the visual distraction of whatever is happening outside during focused work.
Position matters as much as fixtures. A desk facing a window puts glare straight into the eyes, while a desk beside one gets the light without the burn.
7. Put a Rug Down if More Than One Kid Works at Once
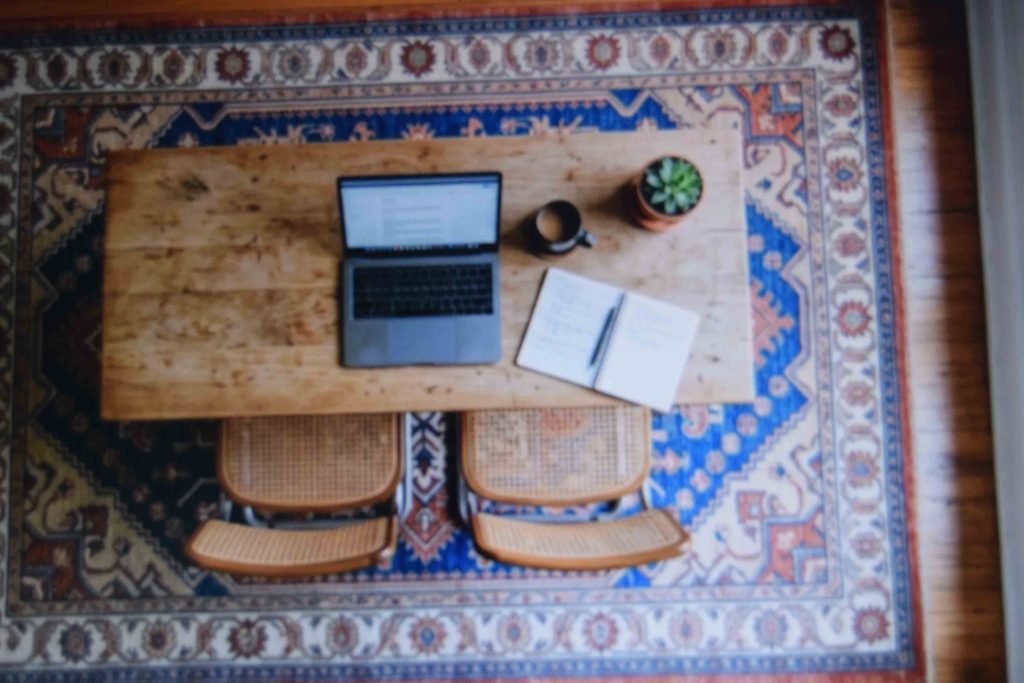
Hard floors bounce sound. Two kids reading aloud in the same room turns into a competition nobody wins.
A rug absorbs a surprising amount of that. It also warms up a floor that gets sat on constantly, since younger kids end up working on the ground no matter what furniture exists.
Size it to sit under the work area rather than the whole room. Anything that ends in a doorway becomes a trip point.
Choose something with pattern and a mid tone color. Solid pale rugs in a room with markers and glue is optimism, not planning.
Low pile beats shag here. Chair legs catch in deep pile and small objects vanish into it permanently.
8. Homeschool Storage Ideas You Would Keep in a Living Room
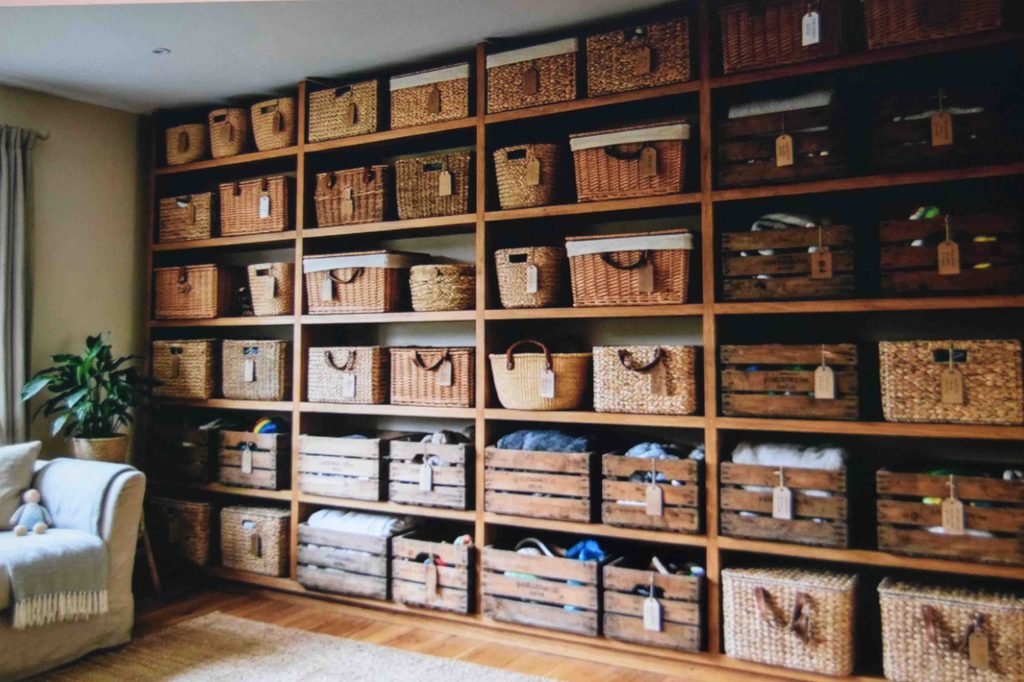
Supplies multiply. Books, pencils, half finished projects, the science kit somebody opened in October. All of it needs a home or it lives on the table.
The trick is finding storage practical enough to work and pleasant enough that you want it in the house. Plastic bins in a shared living space feel like an office supply closet within a week.
Baskets with lids, wooden crates, and fabric boxes hide clutter while looking like furniture. Closed storage matters more than open storage in any room that doubles as living space.
Label everything, including the closed containers. A lidded basket nobody can identify becomes the place things go to be forgotten.
9. Homeschool Book Storage Ideas That Build Upward
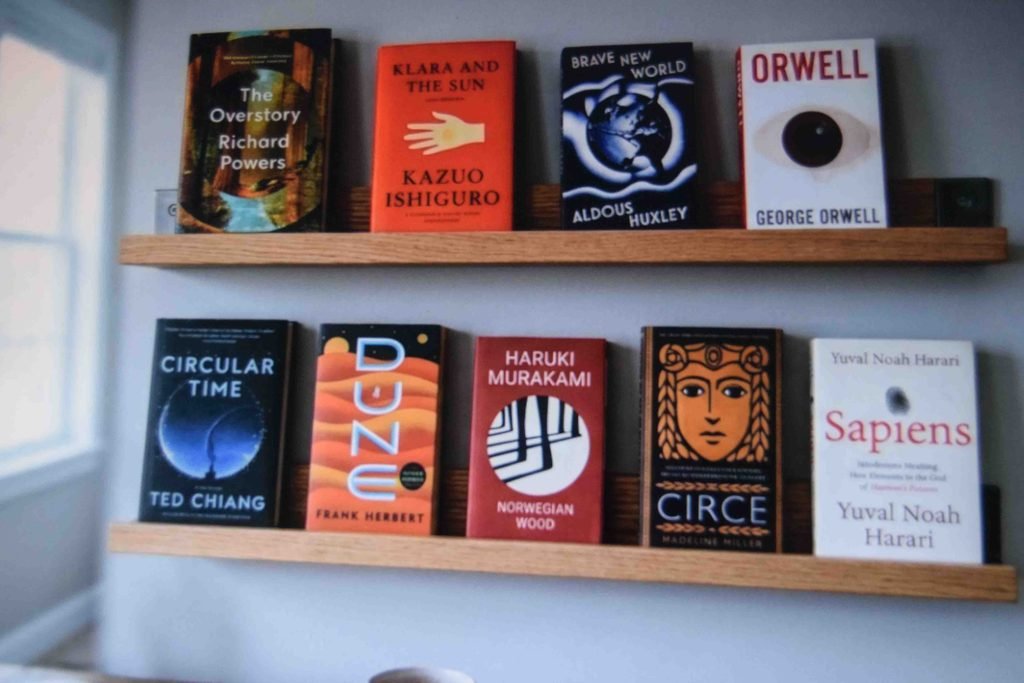
Books are the volume problem in homeschooling, and floor space is what you have least of.
So go vertical. Wall mounted shelves above the work surface hold a full year of curriculum without touching the floor plan. Picture ledges work well for younger kids because the covers face out and small hands can reach.
Anchor anything tall to the wall. A loaded bookcase is heavy enough to be genuinely dangerous if a child climbs it, and the brackets cost almost nothing.
Sort by subject rather than size. It looks less tidy and works far better.
Keep the current term at arm level and put finished material higher up or elsewhere in the house entirely.
10. Homeschool Cart Organization by Color Coded Tier
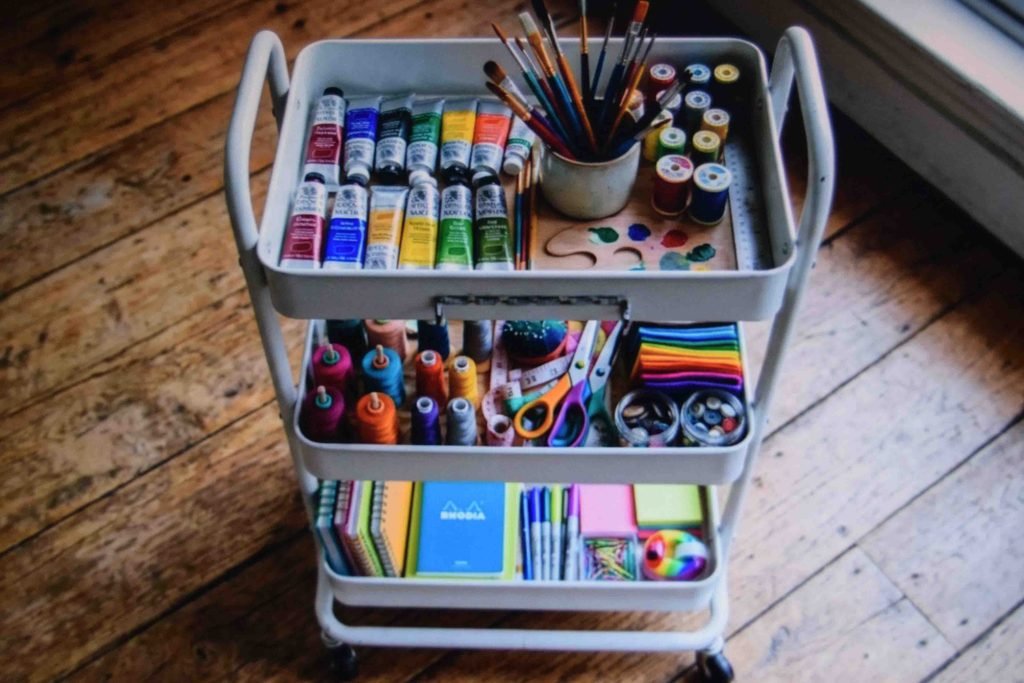
A rolling cart is the single most flexible thing in most homeschool setups, because the space itself moves with it.
Assign each tier a job. Color code them, either by subject or by child, and the arguing about whose scissors those are drops noticeably.
One approach that holds up is top tier for daily use, middle for weekly subjects, bottom for bulky supplies that stay put. Heavy things on the bottom also stop the cart tipping when it is pushed across a threshold.
Carts do have a limit. They hold consumables and thin workbooks, not a full curriculum library, and overloading one turns it into a wobbling mess that nobody wants to move.
11. Give the Room One Surface You Can Wipe Down
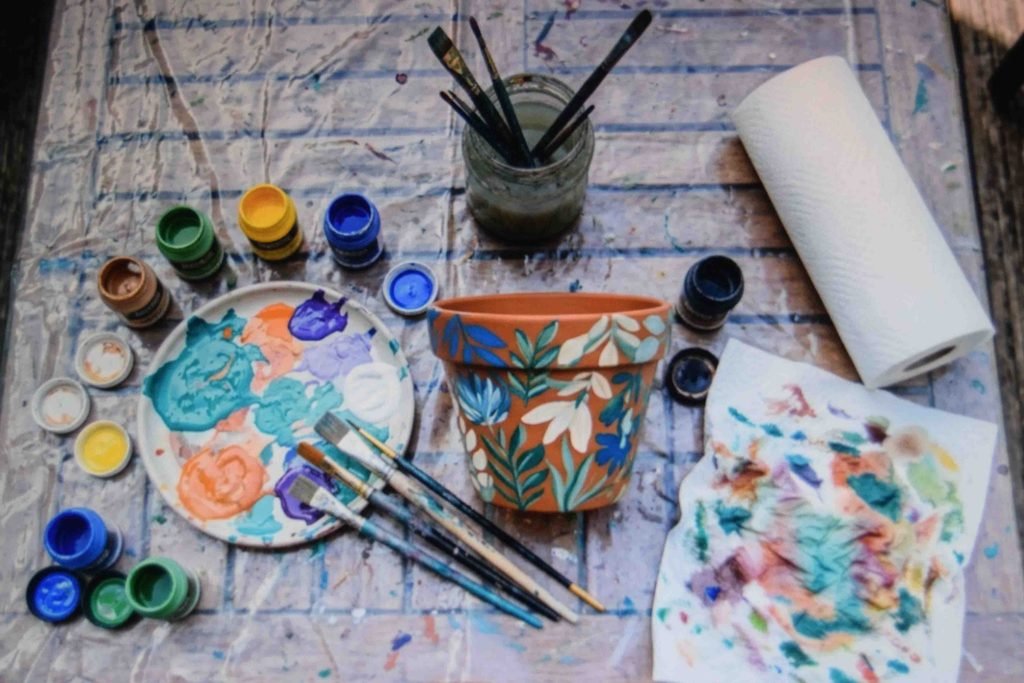
Hands-on learning gets messy. Paint, glue, baking soda volcanoes, whatever the science kit demands this month.
Protecting the main desk with your body and hope does not work. Designate a separate surface for it instead.
A wipeable table is worth it if you have room. If not, a plastic tablecloth thrown over the existing surface does the same job for almost nothing and folds away afterward.
Keep it near a water source. Carrying a dripping tray across carpet is how good tables get ruined.
Store the messy supplies with the messy surface, not with the pencils. Splitting them means somebody always fetches paint to a table that was not covered.
12. Use the Wall for Display Rather Than Decoration
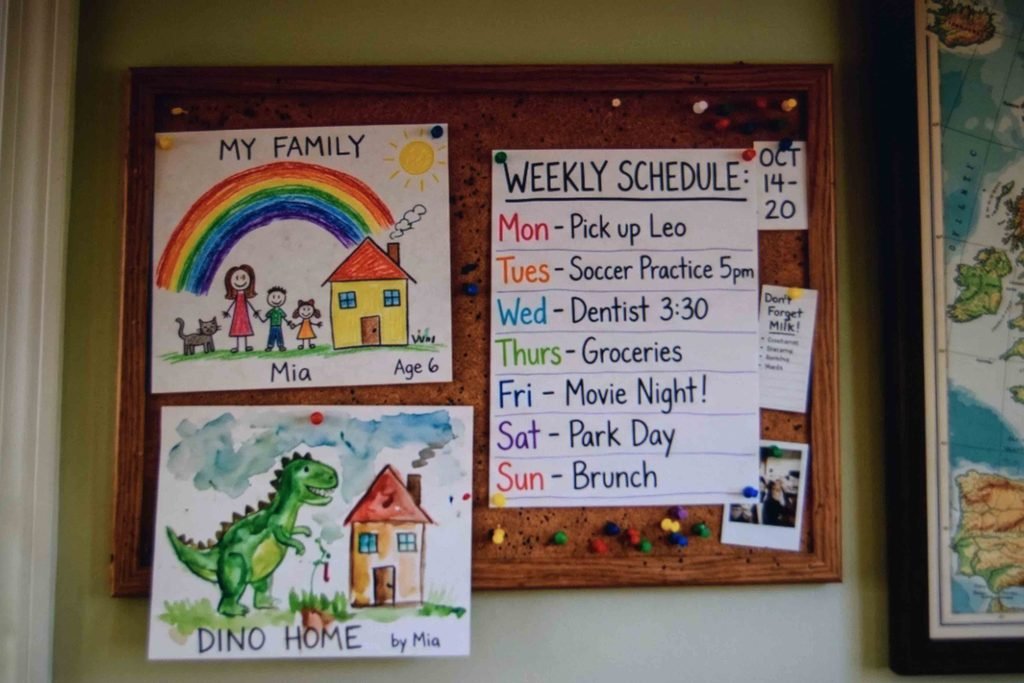
Blank walls are wasted capacity in a working room.
A corkboard or magnetic board above the desk holds the week’s schedule, artwork, and whatever needs to stay visible. Rotating it weekly keeps it useful rather than becoming wallpaper made of old worksheets.
Frame the maps and prints you want to keep up. Taped paper curls at the corners within a season and starts looking neglected, while a frame makes the same print read as intentional.
Then leave one shelf for the things kids collect. Pinecones, rocks, shells, pressed flowers. A nature shelf costs nothing and does more for curiosity than most bought decor.
13. Draw a Line Between School Time and Home Time
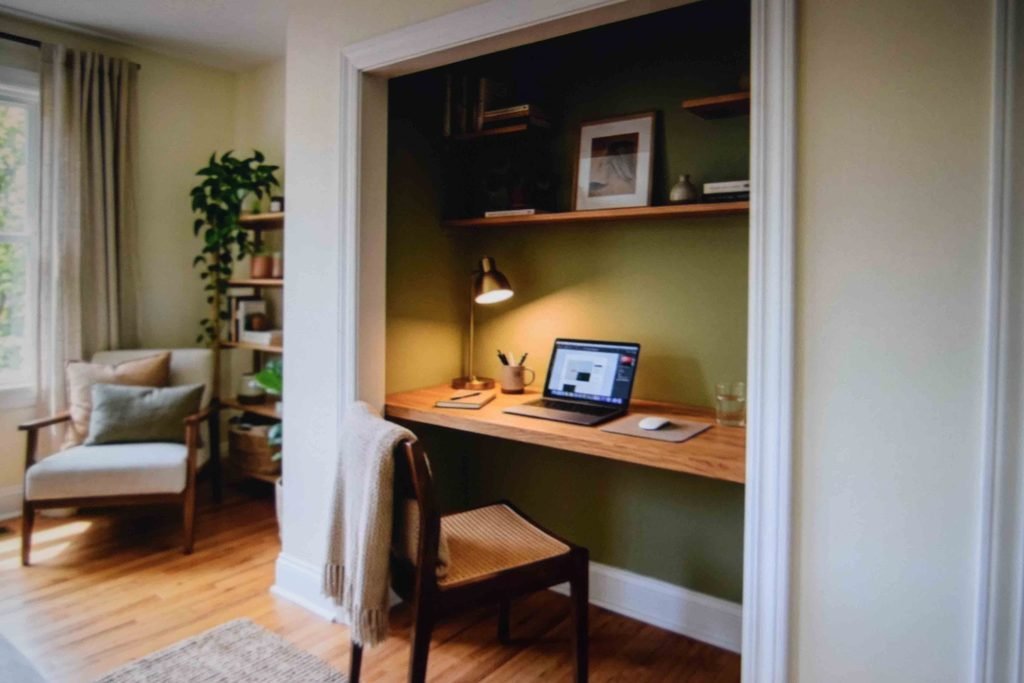
Learning at home blurs everything together. The table where you do fractions is the table where you eat dinner.
Fixing this is mostly spatial. Give school materials one designated side of the room and keep household things off it. That physical boundary does more for the mental one than any schedule does.
Labeled shelves reinforce it, since everyone can return things without asking. Good homeschool organization ideas usually come down to reducing the number of decisions per day rather than buying better containers.
Then close it at the end of the day. Lids on, cart pushed back, surface cleared. That five minute reset is what stops the setup collapsing by week three.
14. Homeschool Corner Ideas When There Is No Spare Room
Most houses do not have a room going spare, and homeschooling in a small space is the normal case rather than the exception.
Closets convert surprisingly well. Remove the door, add a shelf at desk height, and the depth that made it a bad closet makes it a workable nook.
A fold-down wall desk works where nothing else fits, since it disappears completely when the school day ends.
The dining table stays the most common answer and there is nothing wrong with it. Keep supplies in a nearby cart, clear it for meals, and it functions.
Whatever the footprint, keep the palette light and storage closed. Homeschool room ideas for small spaces fail when the corner starts feeling boxed in.
15. Setting Up a Homeschool Room on a Budget
New furniture is rarely necessary and often the wrong choice anyway.
Secondhand marketplaces and local listings turn up school desks constantly, and the older ones are built at genuinely child-appropriate proportions rather than shrunken adult sizes. A coat of bright paint takes an ugly find to something kids like sitting at.
For a longer work surface, base cabinets with a solid slab across the top costs a fraction of built-in cabinetry and gives you closed storage underneath in the same move.
Check stability before buying anything used. Wobble in a desk gets worse, not better.
Buy the chair new if the budget only stretches to one thing. Seating is where secondhand compromises show up fastest.
Practical Tips and the Real Homeschool Room Must Haves
Strip the list down. A work surface at the right height, a chair that supports posture, task lighting, closed storage, and one wipeable area. Everything past that is preference rather than necessity.
Set it up and live with it for two weeks before buying anything else. Half the things you thought were essential turn out to be clutter, and something you never considered turns out to matter daily.
Photograph the space when it is tidy. It becomes the reference for what “reset” looks like when you are asking a seven year old to put things back.
One honest downside worth naming. A dedicated setup takes maintenance, and a room that never gets reset works worse than a kitchen table that gets cleared every night.
Frequently Asked Questions
How do I set up one space for kids at very different ages? Separate the zones by activity rather than by child. Put the youngest closest to wherever you sit, since they need the most interruption, and give older kids the position furthest from foot traffic. Shared supplies live in the middle. Age-specific materials stay in each child’s own container so nobody has to negotiate over them.
What if the space has to double as a home office? Split it by time rather than territory where possible, since two people needing quiet at the same hour rarely ends well. If it must be simultaneous, put the adult desk facing a different direction. Backs to each other cuts eye contact, which is what actually breaks concentration.
Do we really need a whiteboard? Probably not, and it is the most commonly bought thing that goes unused. Most teaching at home happens sitting beside a child rather than presenting to a group. A cheap desk-sized lap board covers the occasional demonstration. Buy the wall-mounted version later if you find yourself wanting it.
Should the space be visible from the rest of the house or tucked away? Visible works better for younger kids who need supervision while you cook or work. Tucked away suits teenagers doing independent study. Families with both usually end up running two locations, and that is a reasonable outcome rather than a failure of planning.
How often should the setup change? Reassess at the start of each school year and whenever something starts annoying you weekly. Small irritations are data. If somebody gets up eight times a morning to fetch the same item, that item is stored in the wrong place and the layout needs adjusting rather than the child.
Getting the First Version Set Up
Pick the room this week. Sit in it, check the light at different hours, and see whether the traffic through it makes sense.
Then set up the surface and the seating before anything else, because those two decisions determine everything that follows. Storage can be solved gradually. Bad ergonomics cannot be worked around.
The homeschool room ideas that last are rarely the ones with the best photos. They are the ones where everything sits within reach and the whole thing resets in five minutes.
Start with what you already own. Buy the gaps later.