
The style looked right on Monday. By Thursday you are picking at a knot behind your ear with your thumbnail and losing hair to it.
That part is avoidable, and it has nothing to do with the style you picked. It comes down to how firmly the band went on and how you plan to get it off.
So here are hairstyles with rubber bands sorted by difficulty and hair type, with the sectioning method, the tension rule and the removal step for each one.
What decides whether hairstyles with rubber bands hold or hurt
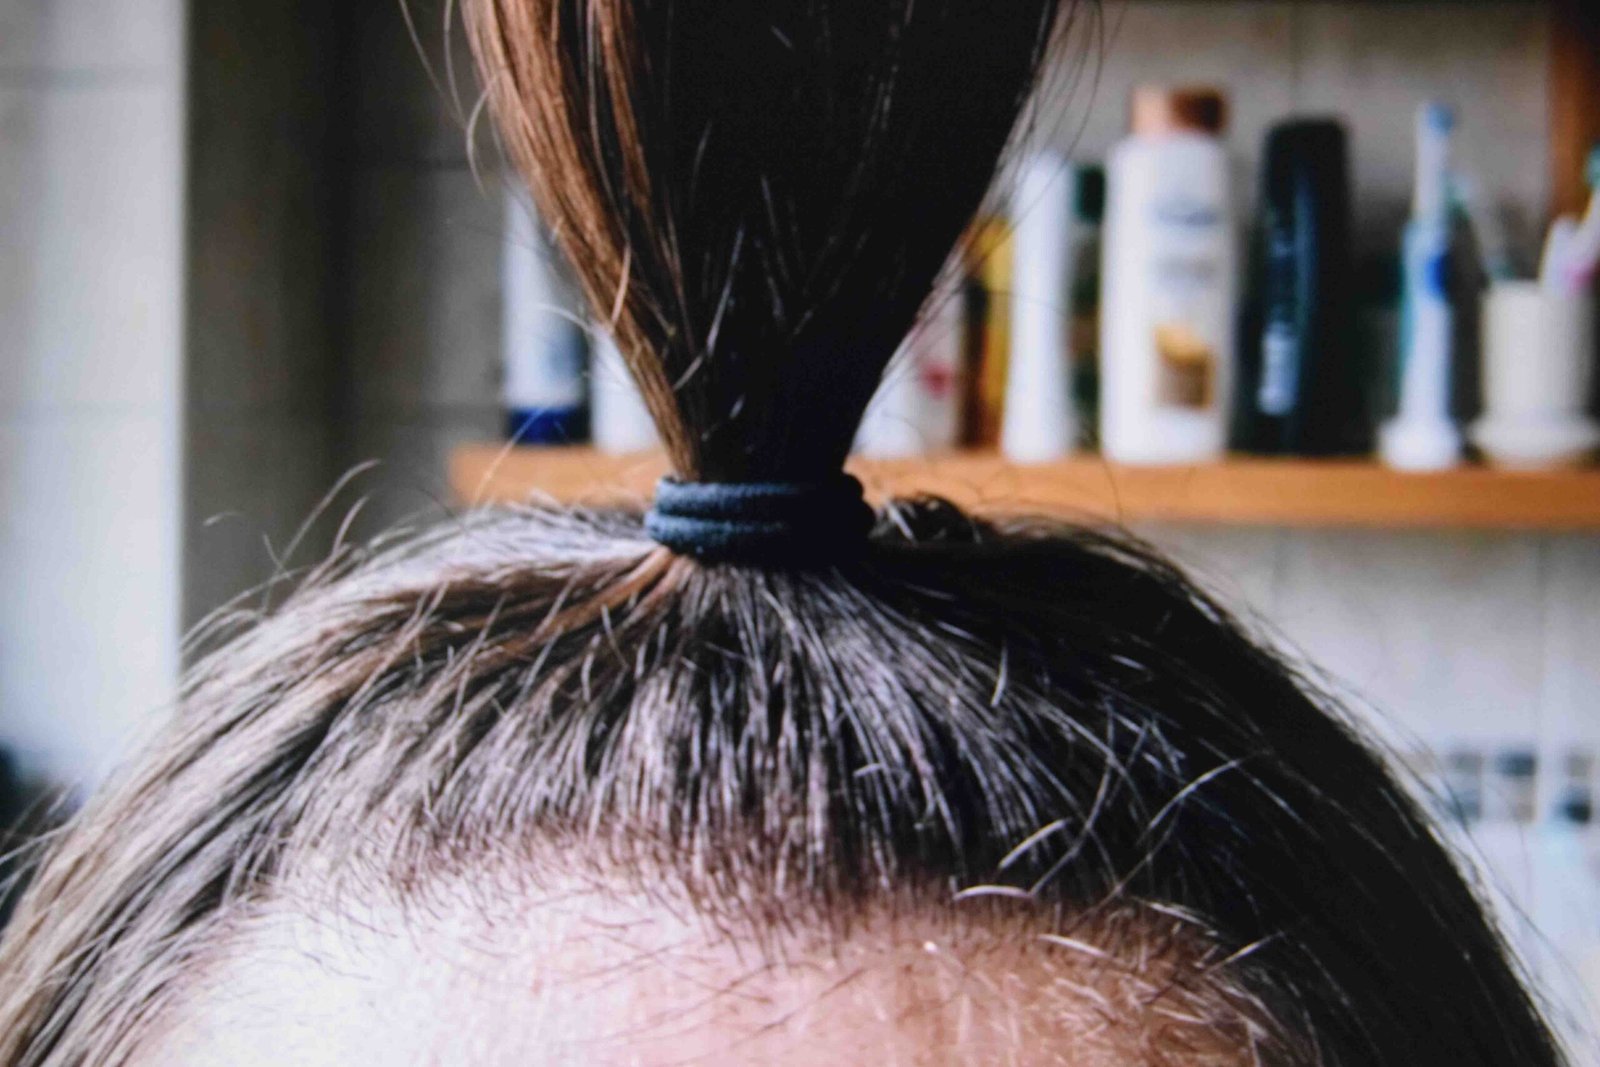
Tension is the first variable. A band should hold the section without moving the skin around the follicle, and if you can see the scalp lifting or turning pale, it needs to come off now rather than later. Parting quality is the second. Uneven sections make one band carry more weight than the others, and that band is where breakage starts. Grip is the third, and this catches everyone out. Freshly washed hair has almost none, so bands slide within the hour. Wait a day after washing, or work a leave-in through the lengths and ends rather than the roots where the bands will sit.
1. The single banded ponytail, done without the dent

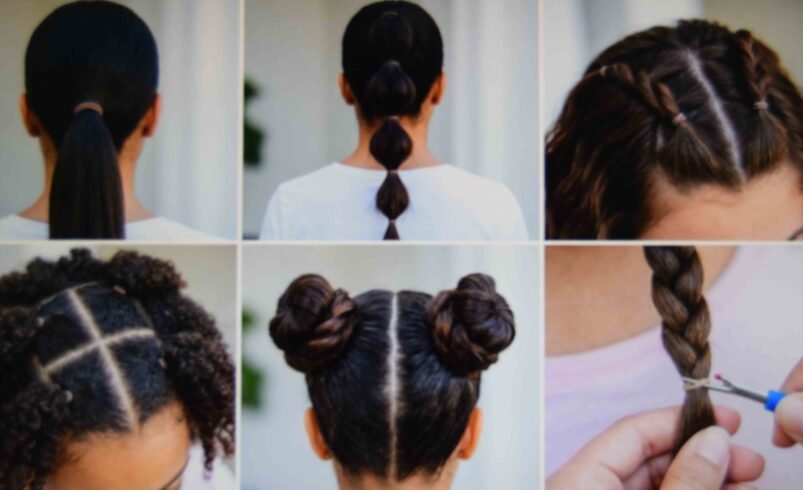
Elastic dents come from stacking the band in one spot. Wrap it three times at most and shift the final wrap slightly higher than the first two so the pressure spreads across a wider stretch of hair. Gather with your head tipped forward for root lift, then set the band a finger’s width slacker than your instinct says. Skip this on a day you plan to work out. Sweat plus a band in one fixed position is how a horizontal crease sets in, and once it does, only washing removes it. Position the band below the crown, never on it, or the tail flops forward.
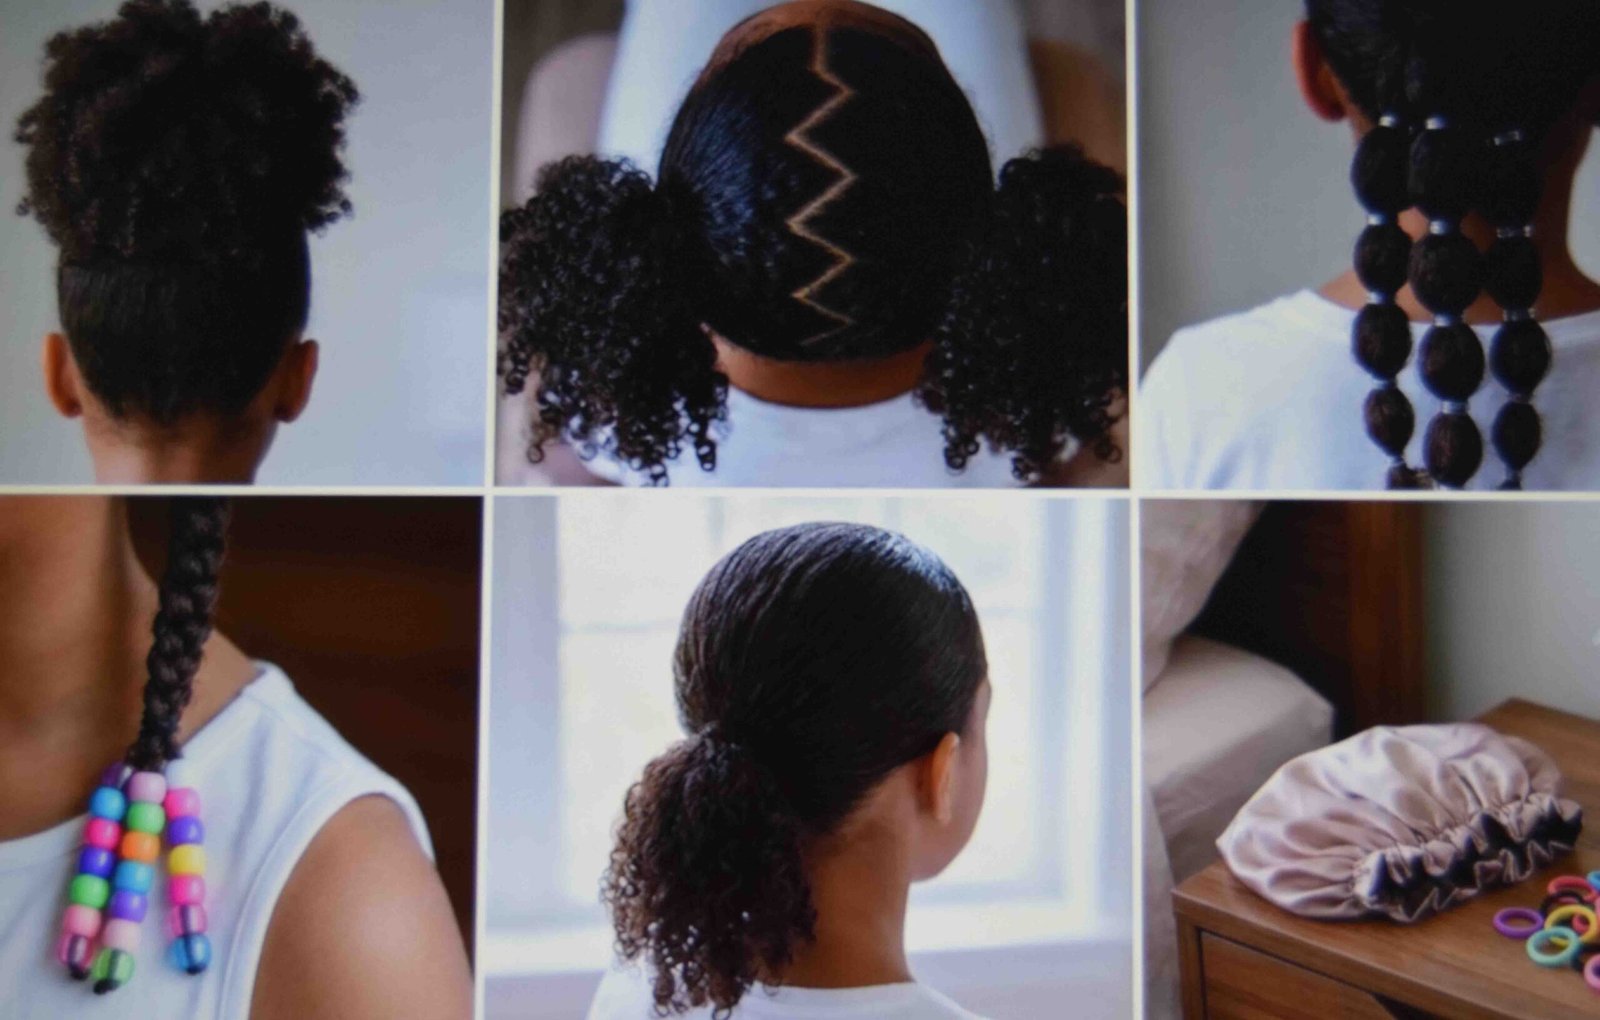
2. Stacked bubble ponytail with even segments

Cut a strip of paper to the segment length you want and use it as a spacer between bands, because eyeballing the gaps is what makes bubble ponytails look lopsided. Place your first band at the base, then work down the length with matching spacing. Four to six bubbles suits shoulder length hair. More than that on shorter lengths crowds the segments and the bubbles flatten out. Pull each puff outward on all sides immediately after its band goes on, not once you reach the end, or the tension locks and you cannot fluff it back open.
3. Easy hairstyles with little rubber bands for a half up look

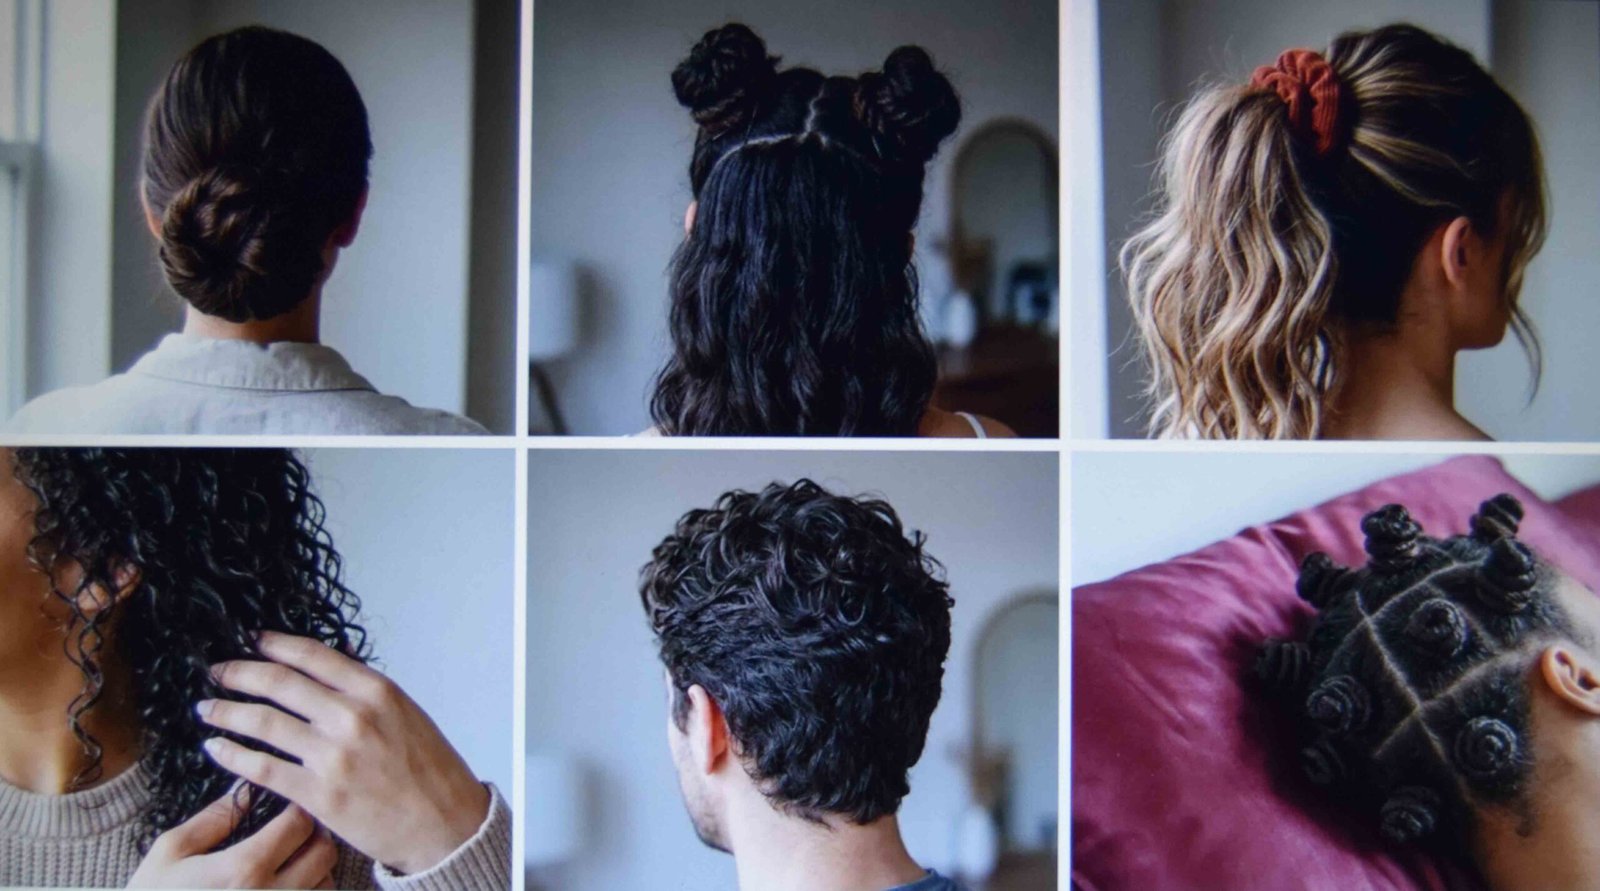
Tiny bands give you control that a full-size elastic cannot, especially on hair that slips. Take a section from each temple, twist each one backward and join them at the crown with a single band. Keep each section no wider than two fingers. Grabbing more leaves a heavy tail dragging at the back that pulls the join apart by lunchtime. This works on any length past the chin. On layers cut above the shoulder the ends slide free within a couple of hours, so add a pin at the join or pick a different style.
4. Cute hairstyles to do with rubber bands using a triangle part
Triangle sections read as deliberate design work rather than a rushed parting job. Use the tip of a rattail comb to draw two lines meeting at a point, then band the section at the base of the triangle. Six to nine triangles across the front suits most head sizes, and measuring each one against your comb handle keeps them matched. Work from the hairline backward, since the visible sections get your steadiest hands that way. Coily textures hold these edges cleanly. Straight hair lets the parting lines blur within a few hours, so this is the wrong shape for a long day out.
5. Banded braids down the back for length and grip
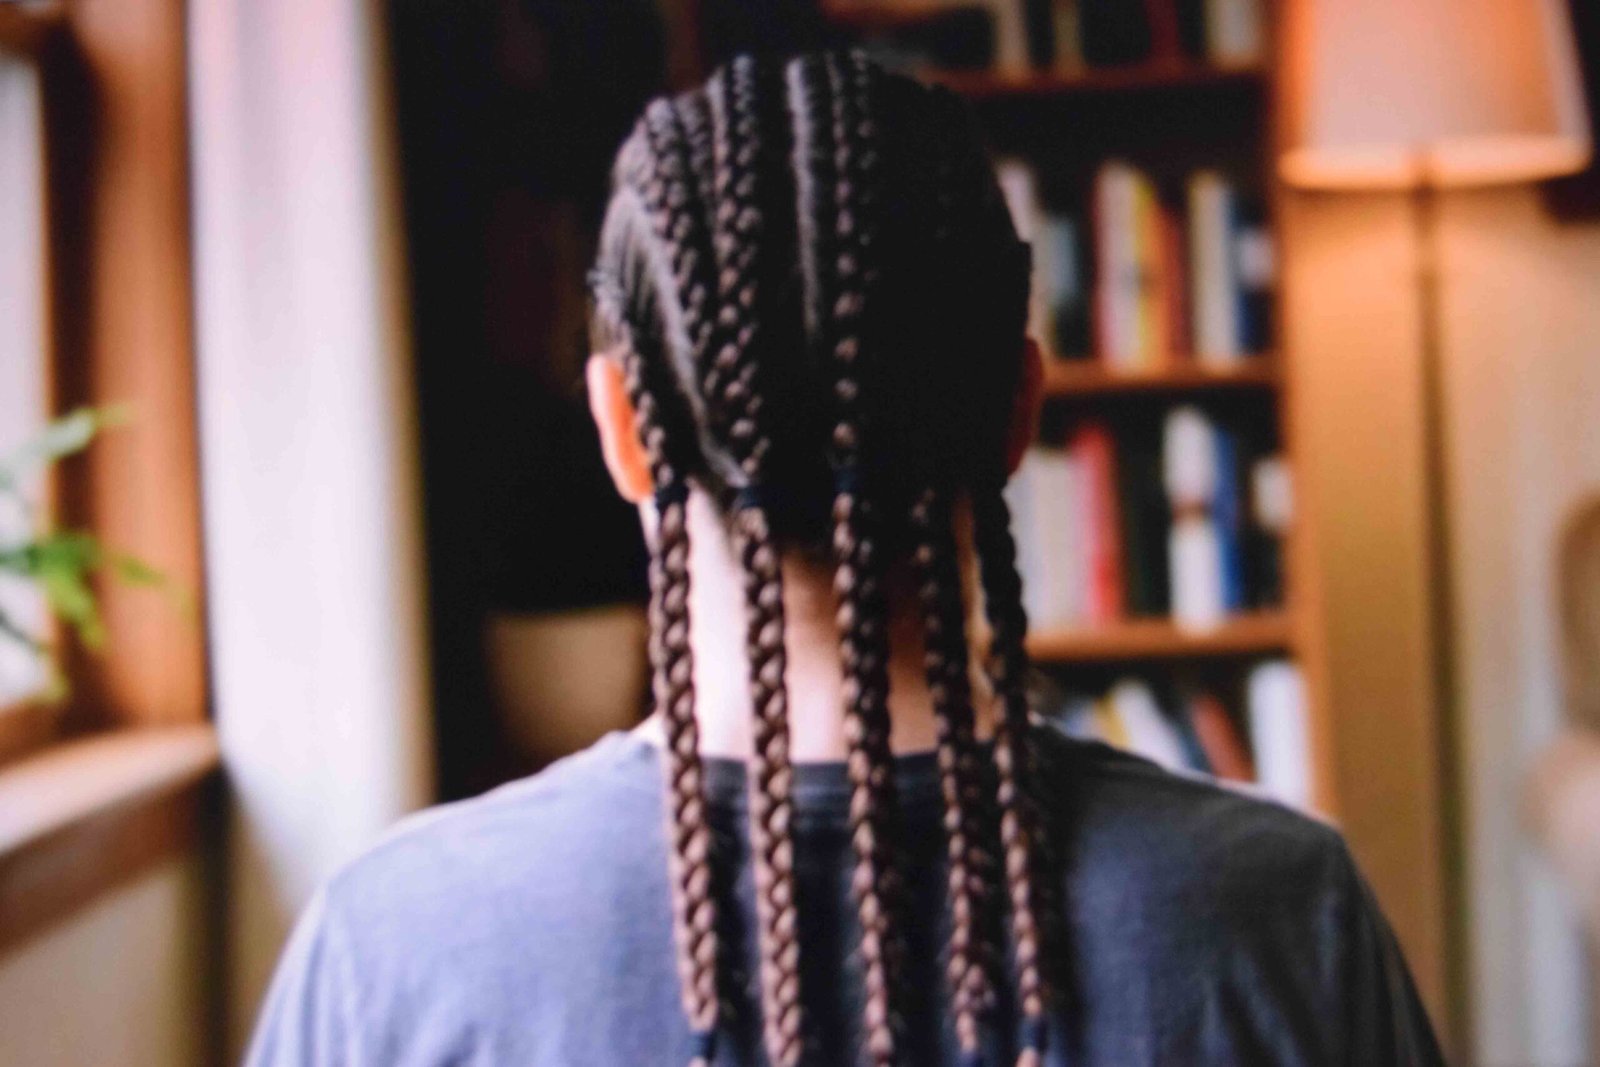
Banding the base before you braid stops the plait unravelling at the root, which is where most braids fail first. Section, band at the scalp, then braid from just below the band down to the ends and finish with a second band. Leave roughly an inch of hair past the closing band so it has something to grip. Removal time is the real cost. Two bands per braid means a head of twelve braids costs you around twenty four cuts, so budget a full evening rather than squeezing it in before bed.
6. Space buns anchored with a base band
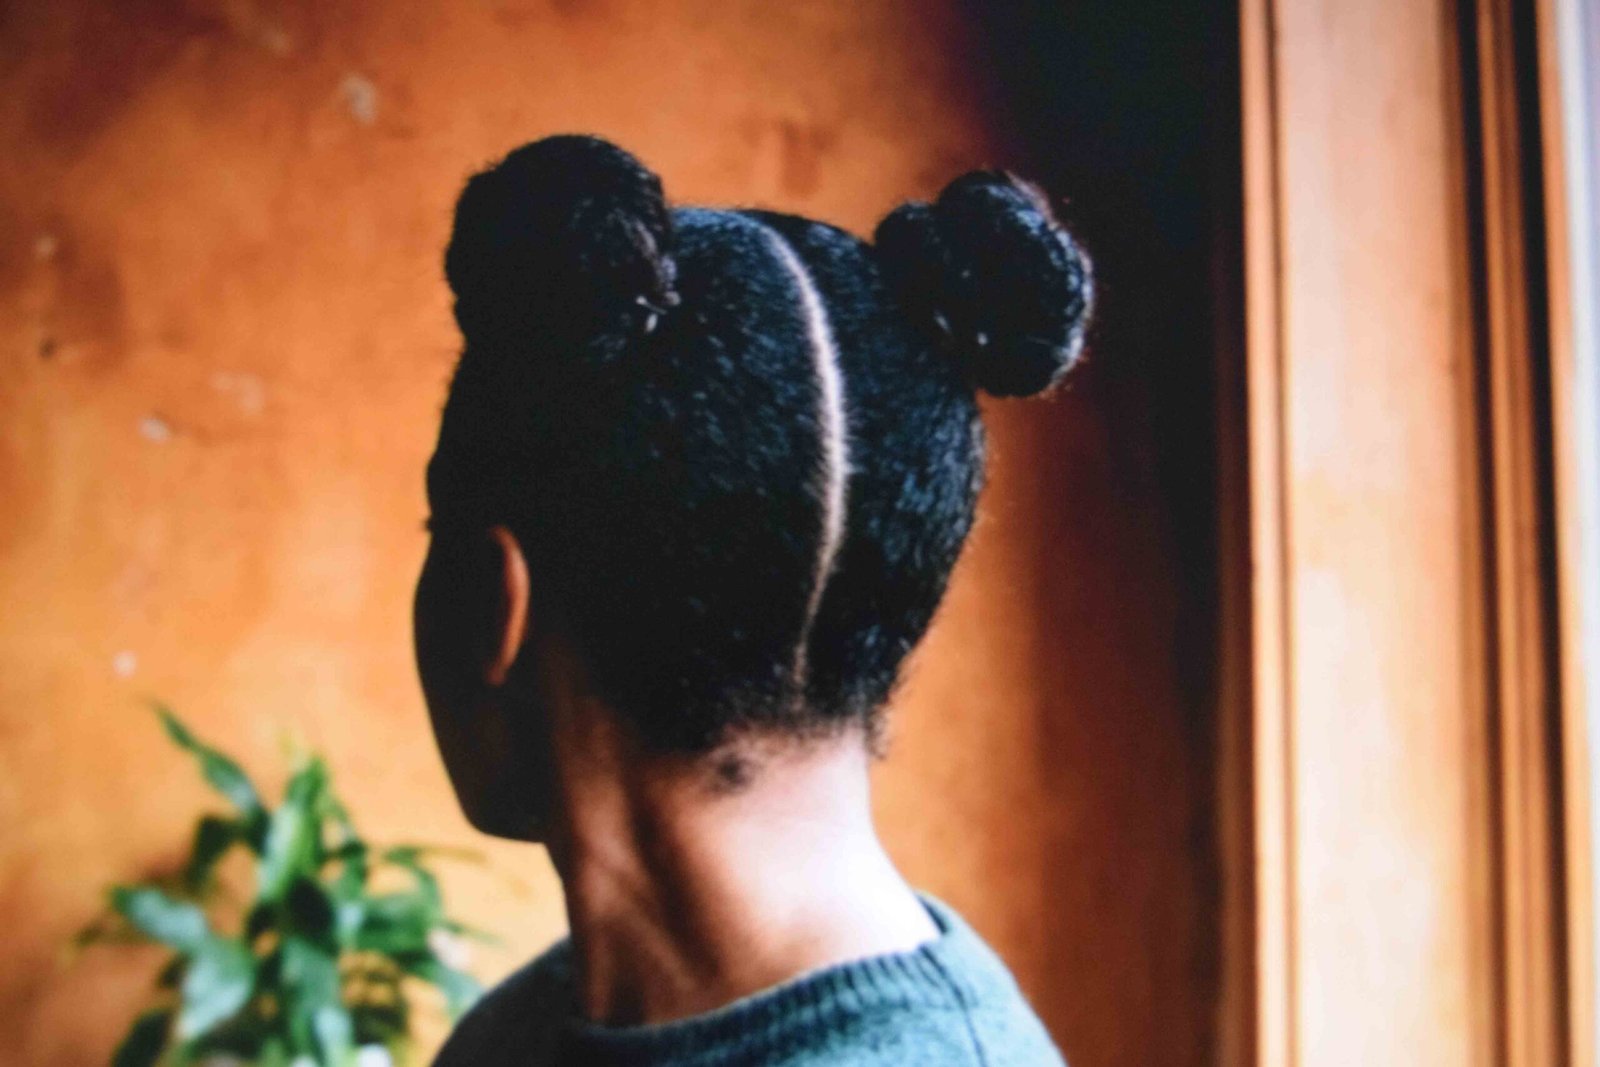
Secure the ponytail at the base first, twist the length, then coil it around that base band and fasten with a second band placed over the top of the coil rather than around it. Coiling around an unbanded ponytail is why space buns unravel by mid afternoon. Draw the centre part with a comb tip in one continuous stroke, since a wobbly line shows more on buns than on any other style. Match the heights before fastening either side by pressing a fingertip to the top of each ear and following that line straight up.
7. Hairstyles with rubber bands for little girl mornings under five minutes
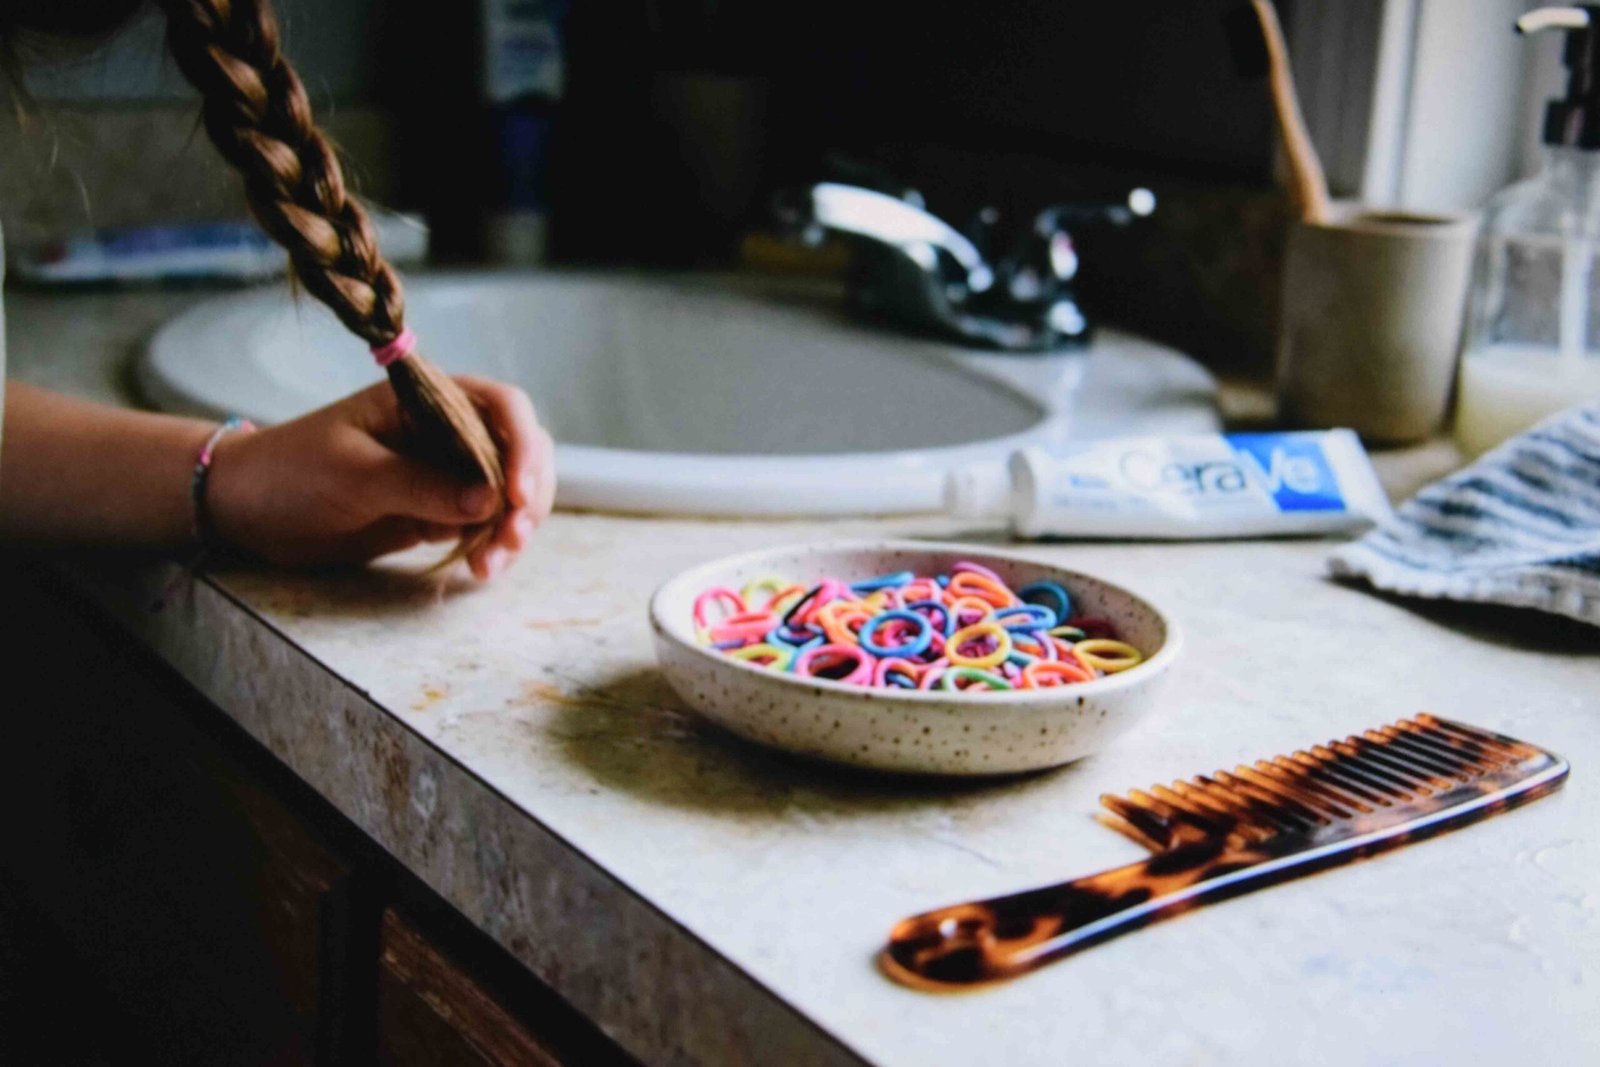
Detangle the night before and keep the hair in two plaits, so the morning job is unbanding, smoothing and rebanding rather than fighting knots. Sit the child at eye level with something to watch. Keep bands in a shallow dish rather than a bag, because digging one-handed is where the spare minutes disappear. Use snag-free bands only, since metal-clasp elastics catch on baby-fine hair and pull. Take shallow sections no deeper than your comb tip. Deeper sections need more force to gather and a crying start to the day undoes any time you saved.
8. Hair rubber bands black versus clear, and when each one wins
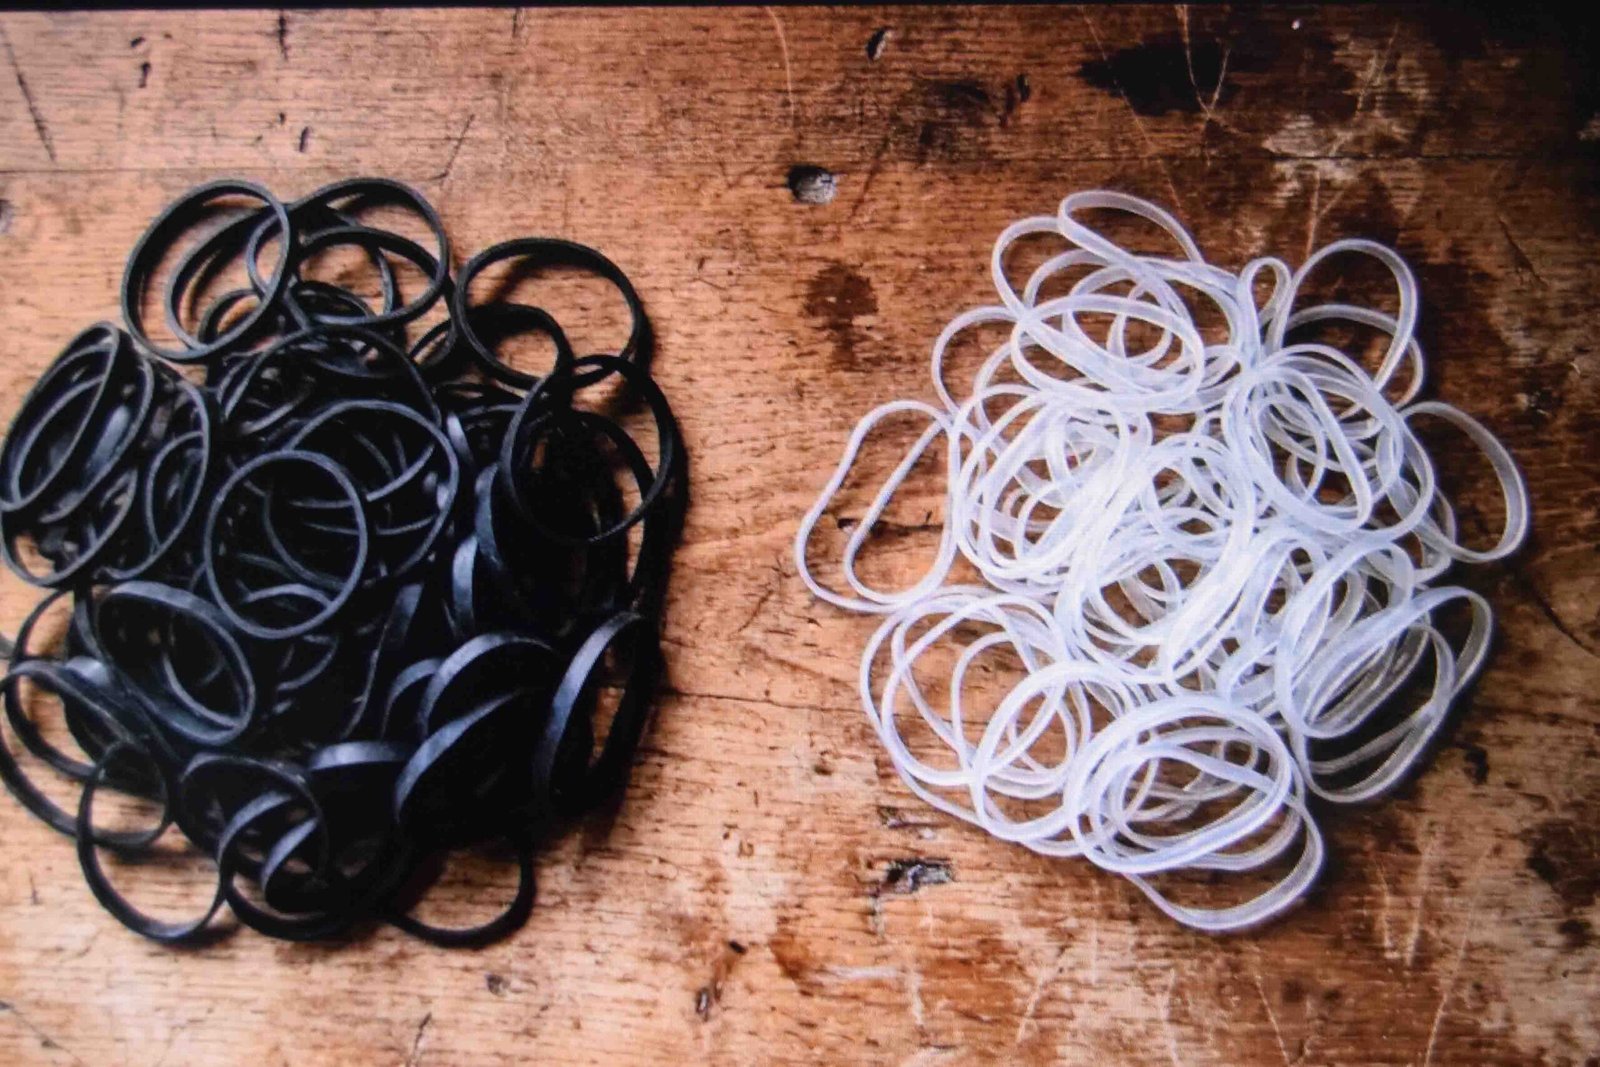
Black bands vanish into dark hair and become part of the style. Clear bands sit almost invisible on any shade, which is what you want at the ends of braids or under a style where the fastening should disappear. Snapping rate is the trade. Clear polyurethane gives way more readily than black rubber, so buy roughly twice as many if you are working a full head, because losing one mid-style means redoing the whole section. Clear versions also yellow as they age, so check a packet in daylight before using them on pale blonde.
9. Cool hairstyles with rubber bands using a geometric grid
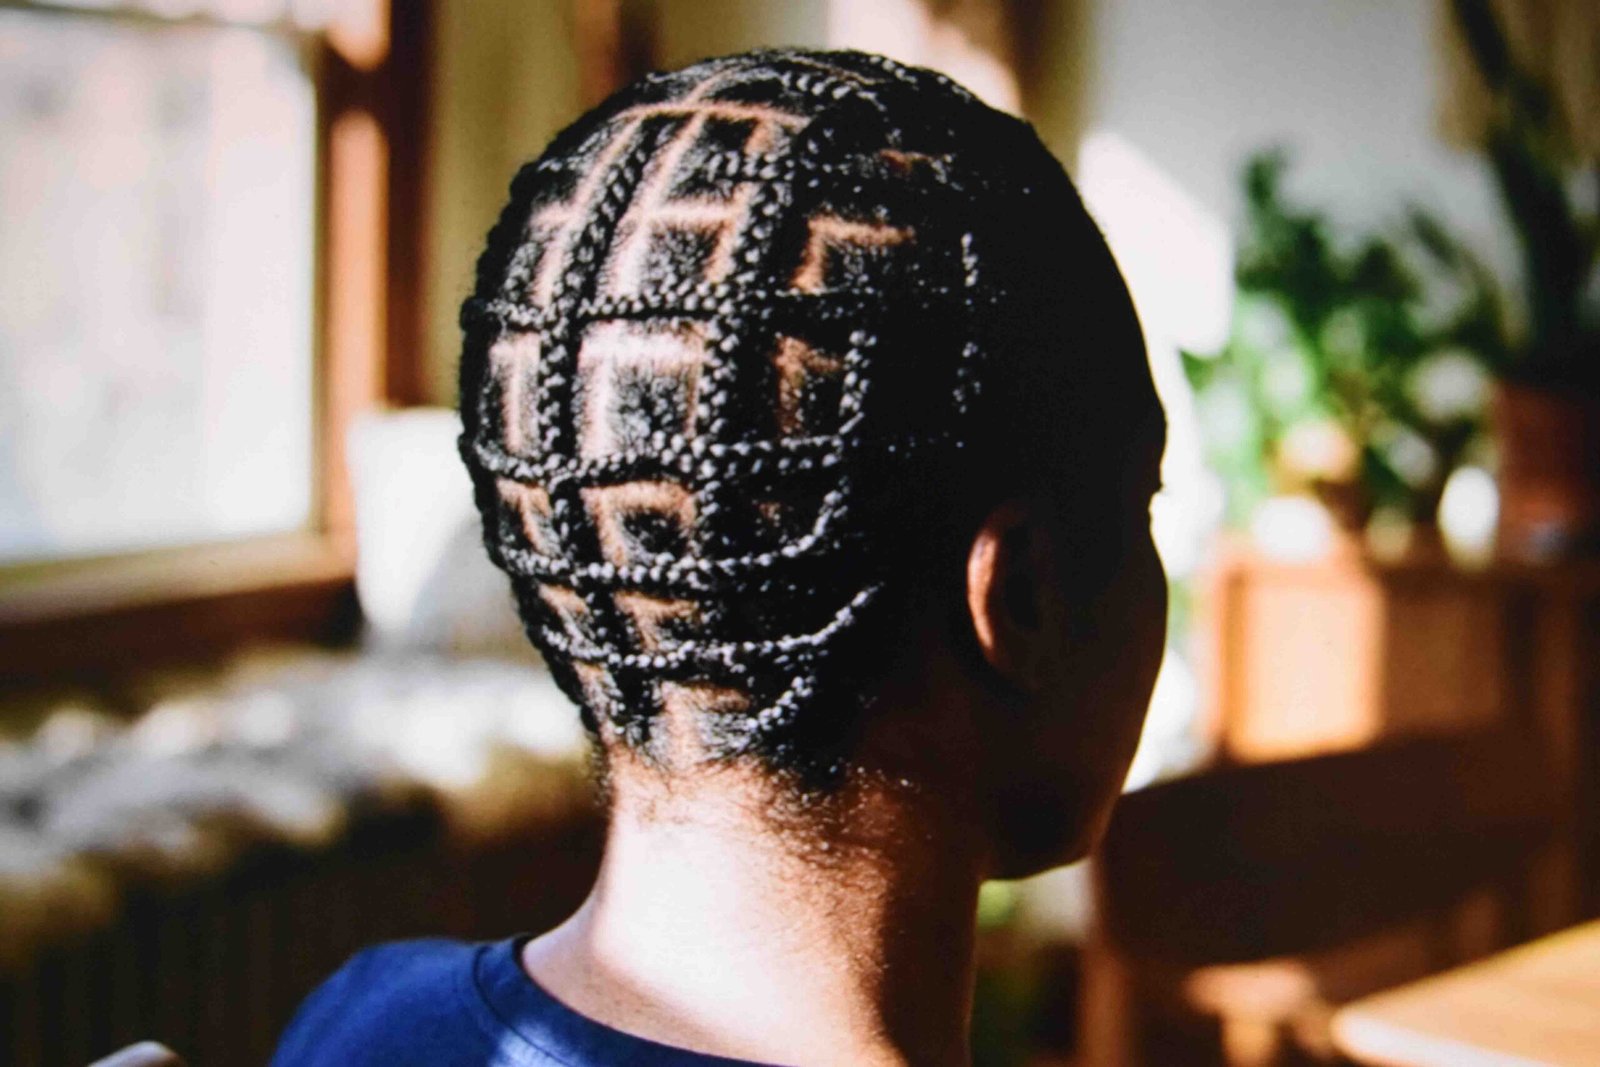
Map the full layout with a comb tip before a single band goes on, then check it in a hand mirror from behind, because a grid that reads even from the front usually skews at the crown. Fasten every intersection, working row by row from the hairline back so the parting lines stay sharp. Nine to twelve sections gives enough pattern without turning removal into an ordeal. Skip this if the same head was banded within the last few days, since a tender scalp under a full grid is painful and there is no way to release just one row.
10. Simple hairstyles with rubber bands for second-day hair

Dry shampoo goes in before the band, not after. Spray the roots, count to sixty while it absorbs, then twist the front section back and fasten it while the rest falls over the top. That order matters, because a band set on oily roots slides within the hour and dry shampoo applied afterwards cannot rescue it. Avoid reaching for cream or oil to hide the grease, since anything slippery at the band line defeats the whole thing. One band carries this entire look, so place it where you can see it in the mirror.
11. Two-strand twists with banded ends
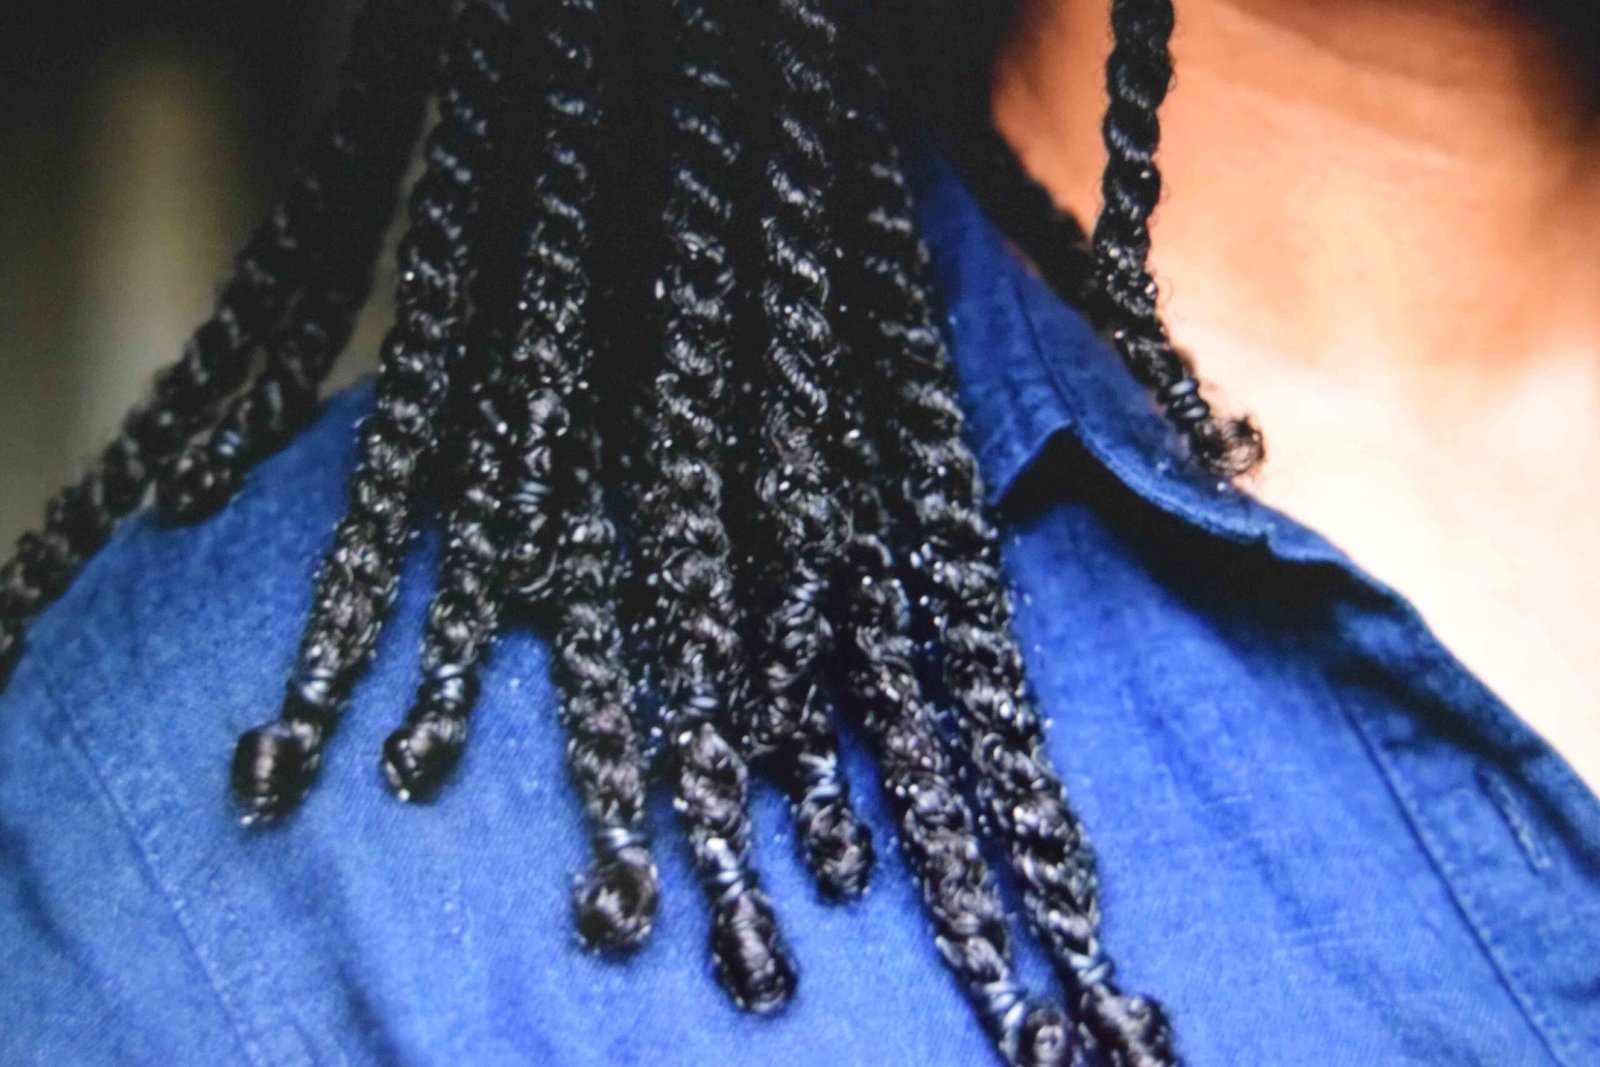
Twisting without securing the tip means the twist unravels overnight. Use the narrowest band you own on each end, because a wide one on a slim twist bunches the hair into a lump that has to be cut out rather than slid off. Twist every section in the same direction, since mixing directions makes them sit at odd angles against each other. Mist lightly before starting, as damp hair holds a twist far better than dry. Take them down inside a week. Past that the ends begin locking together right where the bands sit.
12. Hair with rubber bands under a wig or a protective style
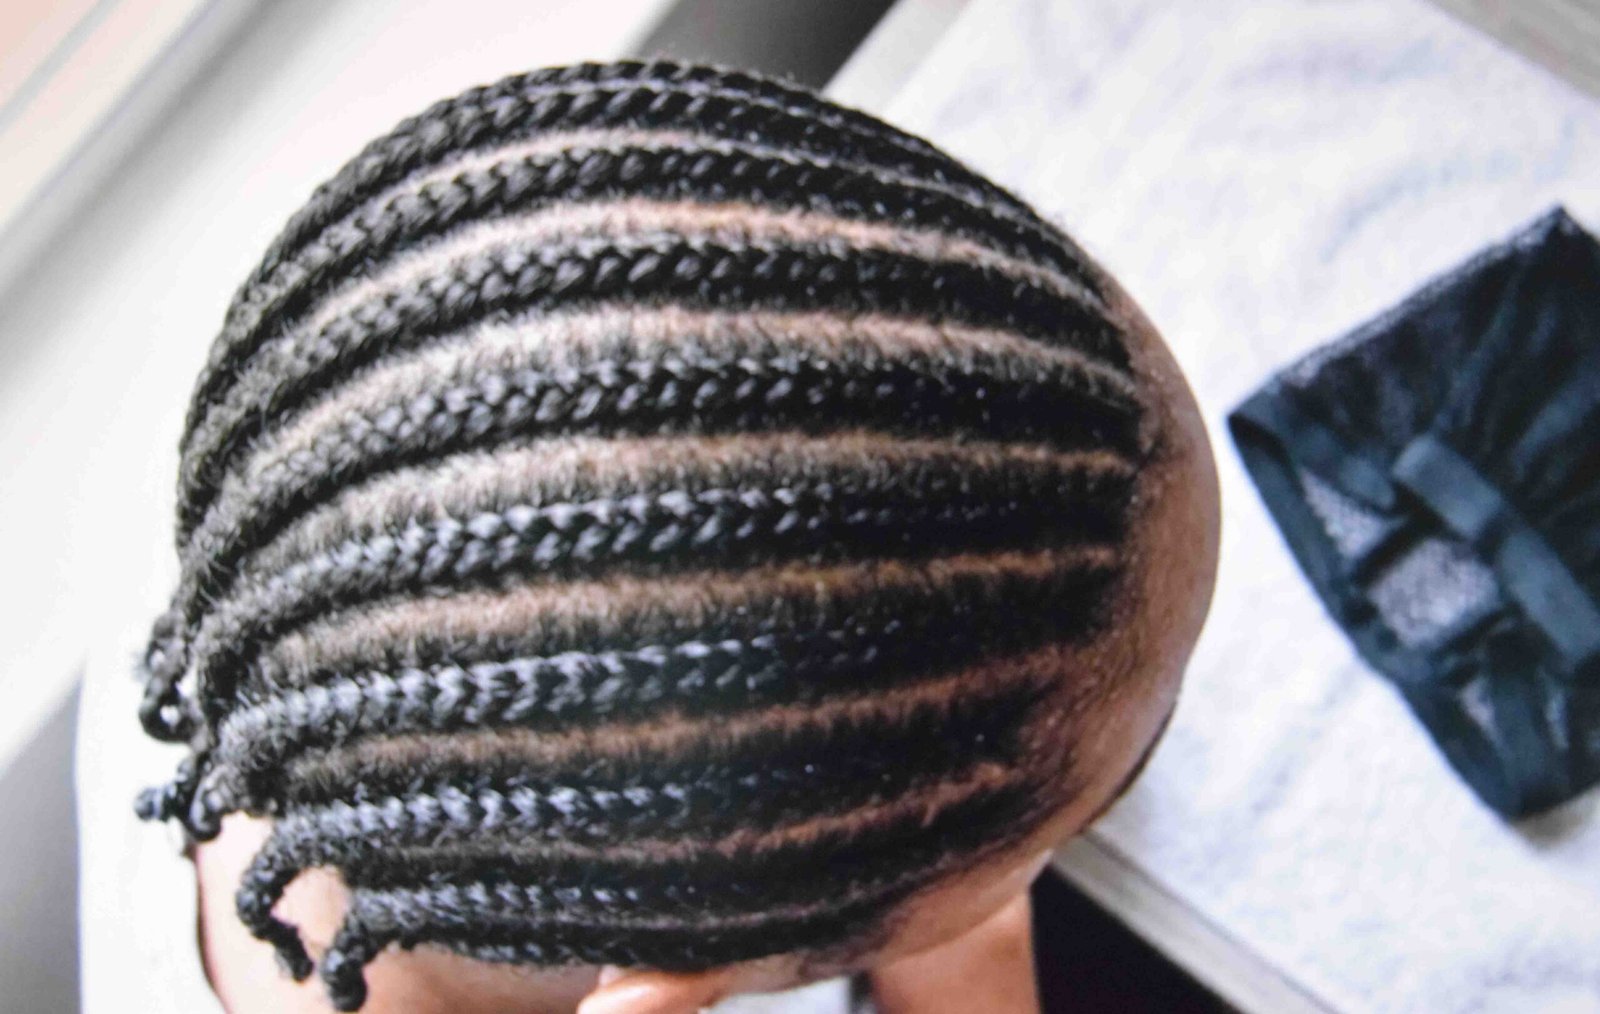
Flat rows are what stop a lump pressing through the cap, so keep every row horizontal and low against the scalp. Hold matching tension across all of them, since one row pulled harder creates a ridge you will feel for hours. Stay off the temples entirely, where the hair is thinnest and least able to take repeated pulling. Two to three days is a sensible ceiling for a base like this. Unband, moisturise and let the scalp breathe between wears rather than treating the rows as a set-and-forget foundation for weeks.
13. Hairstyles with rubber bands easy enough for a lunch break
Two bands total is the working limit for anything done in five minutes, so spend them well. Gather a low ponytail, split the tail into halves, wrap each half around the base in opposite directions and fasten the tucked ends underneath. Pull each wrap snug before securing. Slack wrapping is the single reason this collapses on the walk back to your desk. Carry a comb rather than smoothing with your fingers, because finger-smoothed hair over a band always shows ridges, and that is what makes a quick style look rushed instead of chosen.
14. What to use instead of rubber bands for braids
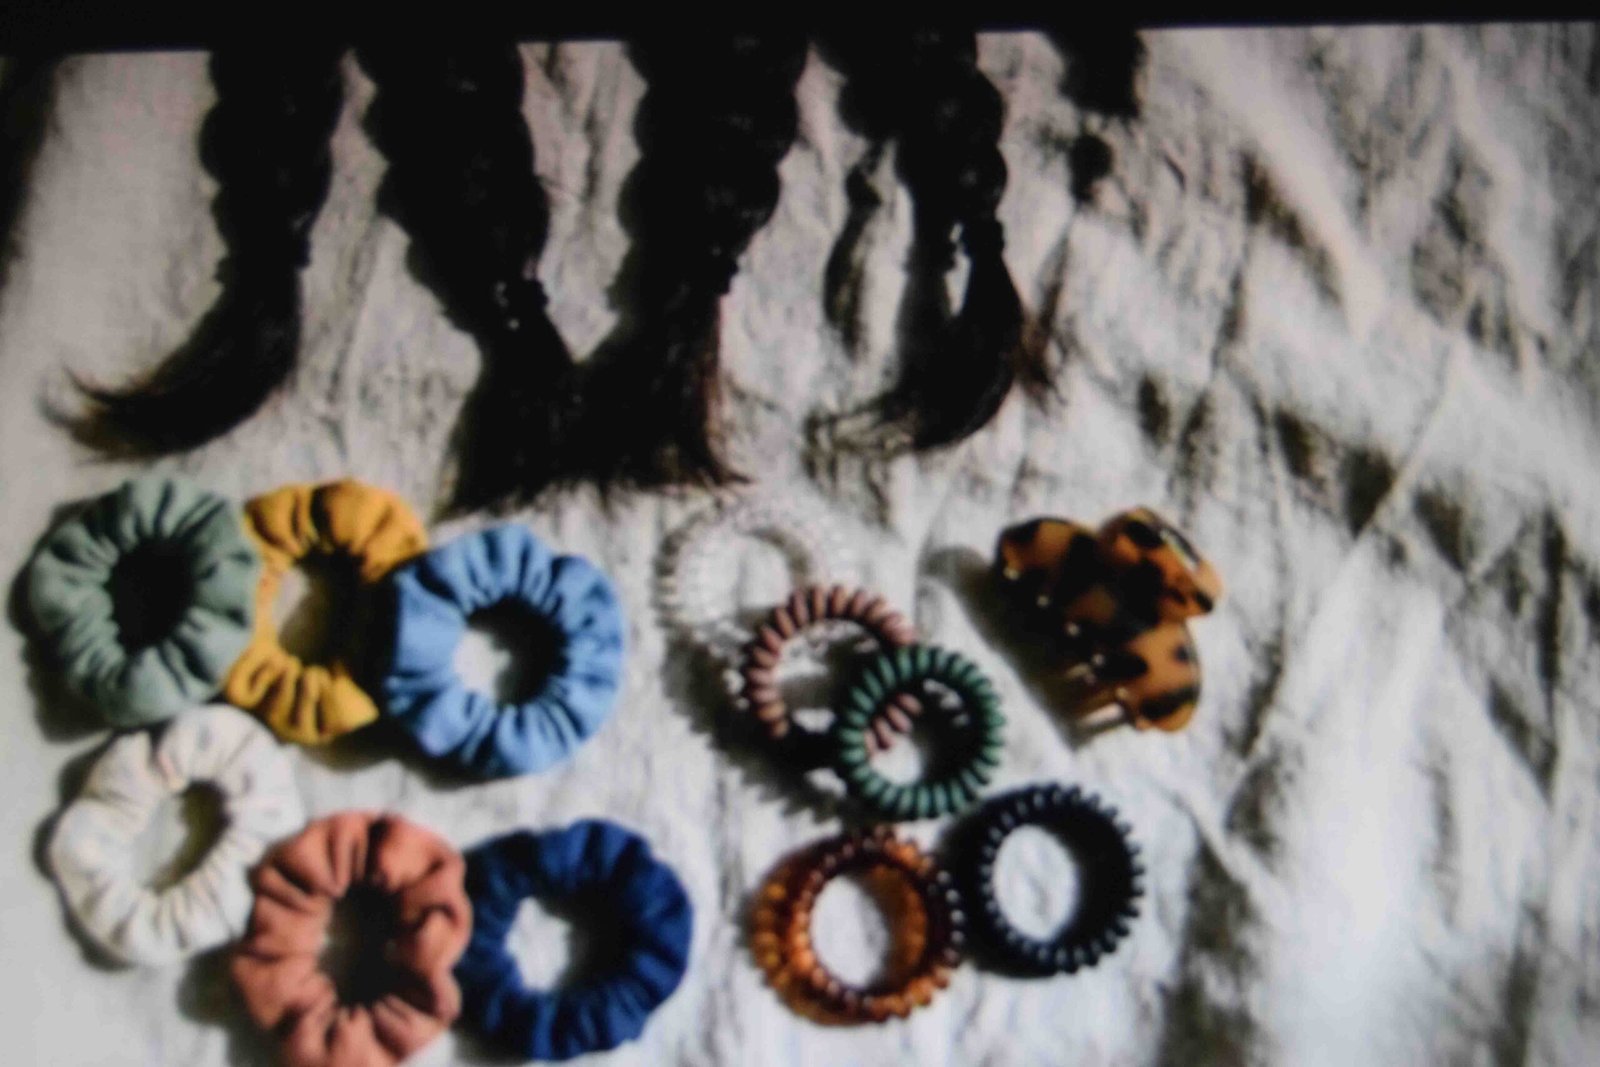
Fabric-covered elastics and spiral coils both hold a braid end without gripping individual strands, and either one slides off with a gentle pull. Thread wrapped and knotted around the tip is another route, though it needs snipping and you must cut above the hair rather than into it. Claw clips handle a temporary hold but will not survive a night’s sleep. None of these anchor as firmly at the root as rubber does, so any style built on tight scalp tension still needs the real thing.
Taking them out without losing hair
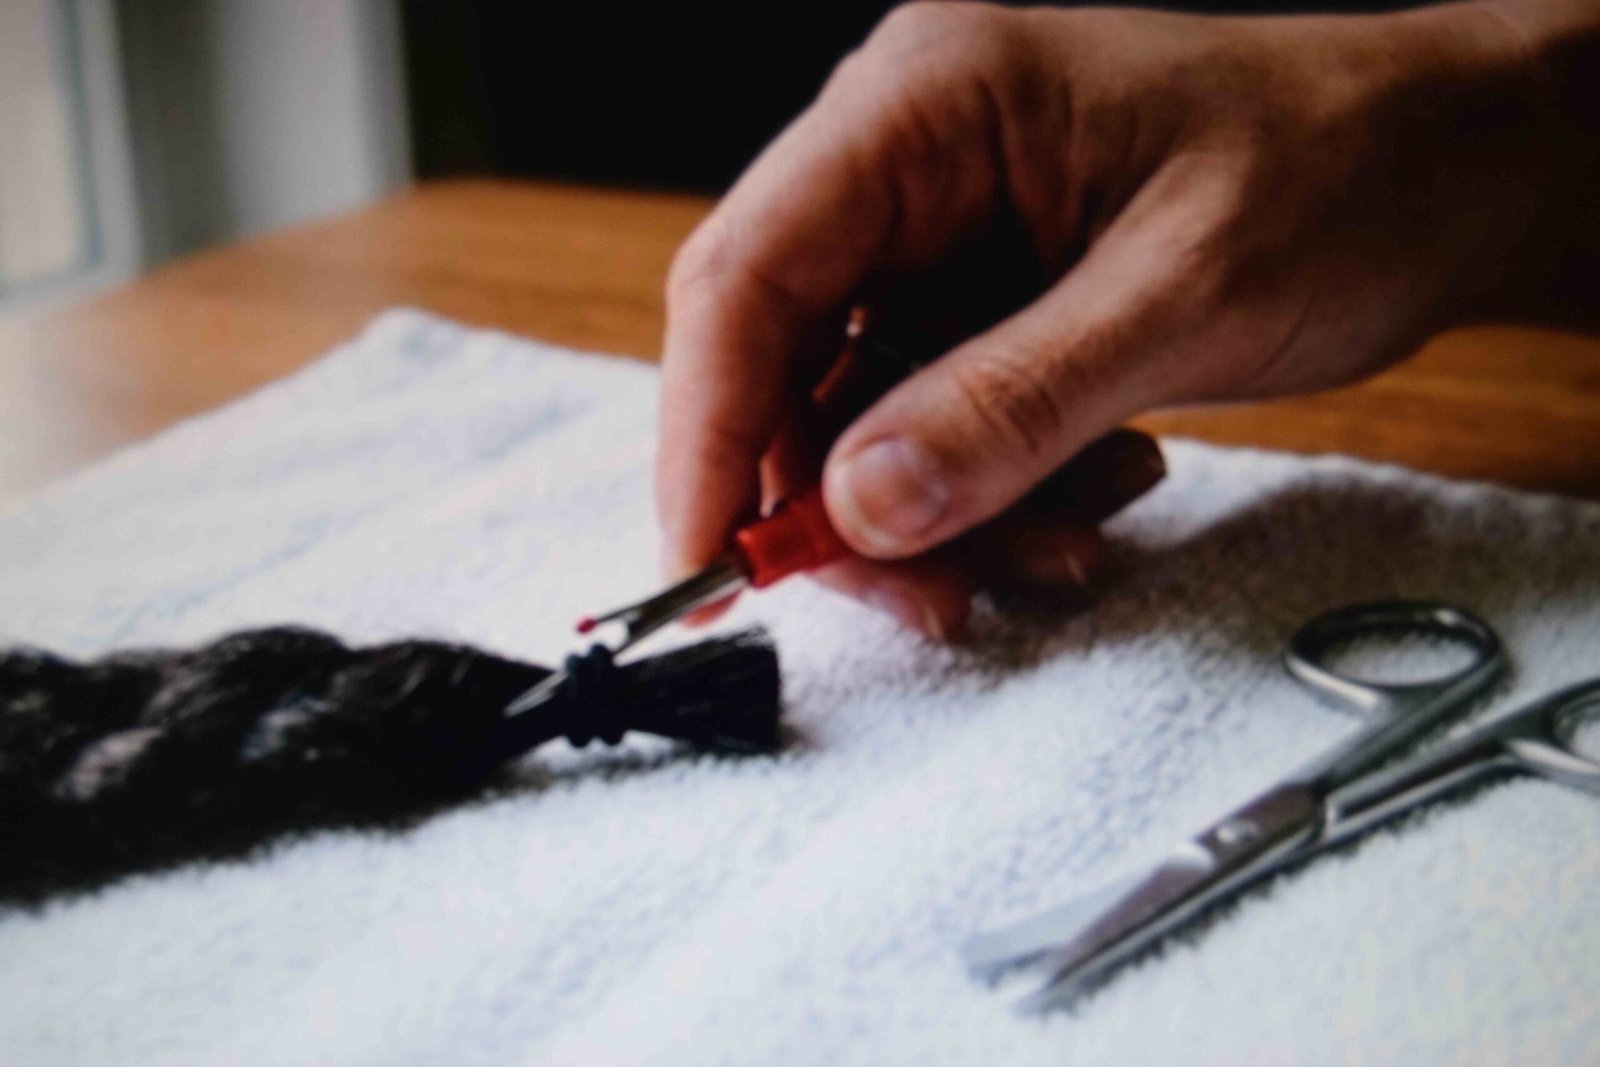
Removal is where most damage happens, and rushing it undoes every careful thing you did on the way in. Snip each band with the point of a seam ripper or blunt-tip scissors rather than rolling it down the length, since rolling drags strands with it. Slide the tool under, cut, then lift both halves clear without pulling. Move slowly through the edges and hairline where the strands are finest. Never yank a band that has bonded to dry hair. Wet that spot with conditioner, give it a moment to soften, then cut. Moisturise the whole head afterwards.
FAQ
How long can bands stay in before they need to come out? Under a week for anything fastened at the scalp, and sooner if the scalp feels tender at any point. Bands lose elasticity while they sit in the hair, and a brittle one is far harder to cut cleanly than a band still holding its stretch.
Can I sleep in these styles? Yes, with a satin bonnet or scarf. Cotton pillowcases pull at the sections overnight and roughen the outer layer. Release anything at the front before bed, because a band that feels acceptable standing up presses harder once your head is against a pillow.
What if the hair is too slippery to hold a band at all? Backcomb the base of the section with a few short strokes so the elastic has something to bite into. A whisper of texture spray at the section root does the same job if you would rather not tease.
Do bands work on very short hair? Only above roughly two inches, and even then the section keeps sliding out. Below that there is nothing to grip and the band pings free. Clips or a headband are the better call until the length catches up.
What should I not buy? Office stationery elastics. They are not made for hair, they lack the give that prevents breakage, and the surface is rough enough to tear at the cuticle every time one shifts.
Get the tension right and the rest follows
Keep a rough note of when you last banded. Scalp soreness builds across sessions rather than within one, so the style that hurt was usually set up by the two before it, and spacing them out matters more than any single adjustment on the day.
Firm without pinching on the way in. A cutting tool, never fingers, on the way out.
The best hairstyles with rubber bands are the ones you can undo in ten minutes with nothing left behind on the comb.
This post is general styling information only and is not medical advice. If your scalp is sore, inflamed or you notice unusual shedding, speak with a dermatologist or a licensed stylist.