
By noon your hair has gone limp. Or it has dried into a shell that cracks when you turn your head.
Gel is the default answer because the hold is instant and you can feel it working. It also leaves white dust on a dark collar and buys you stiffness where you wanted shape.
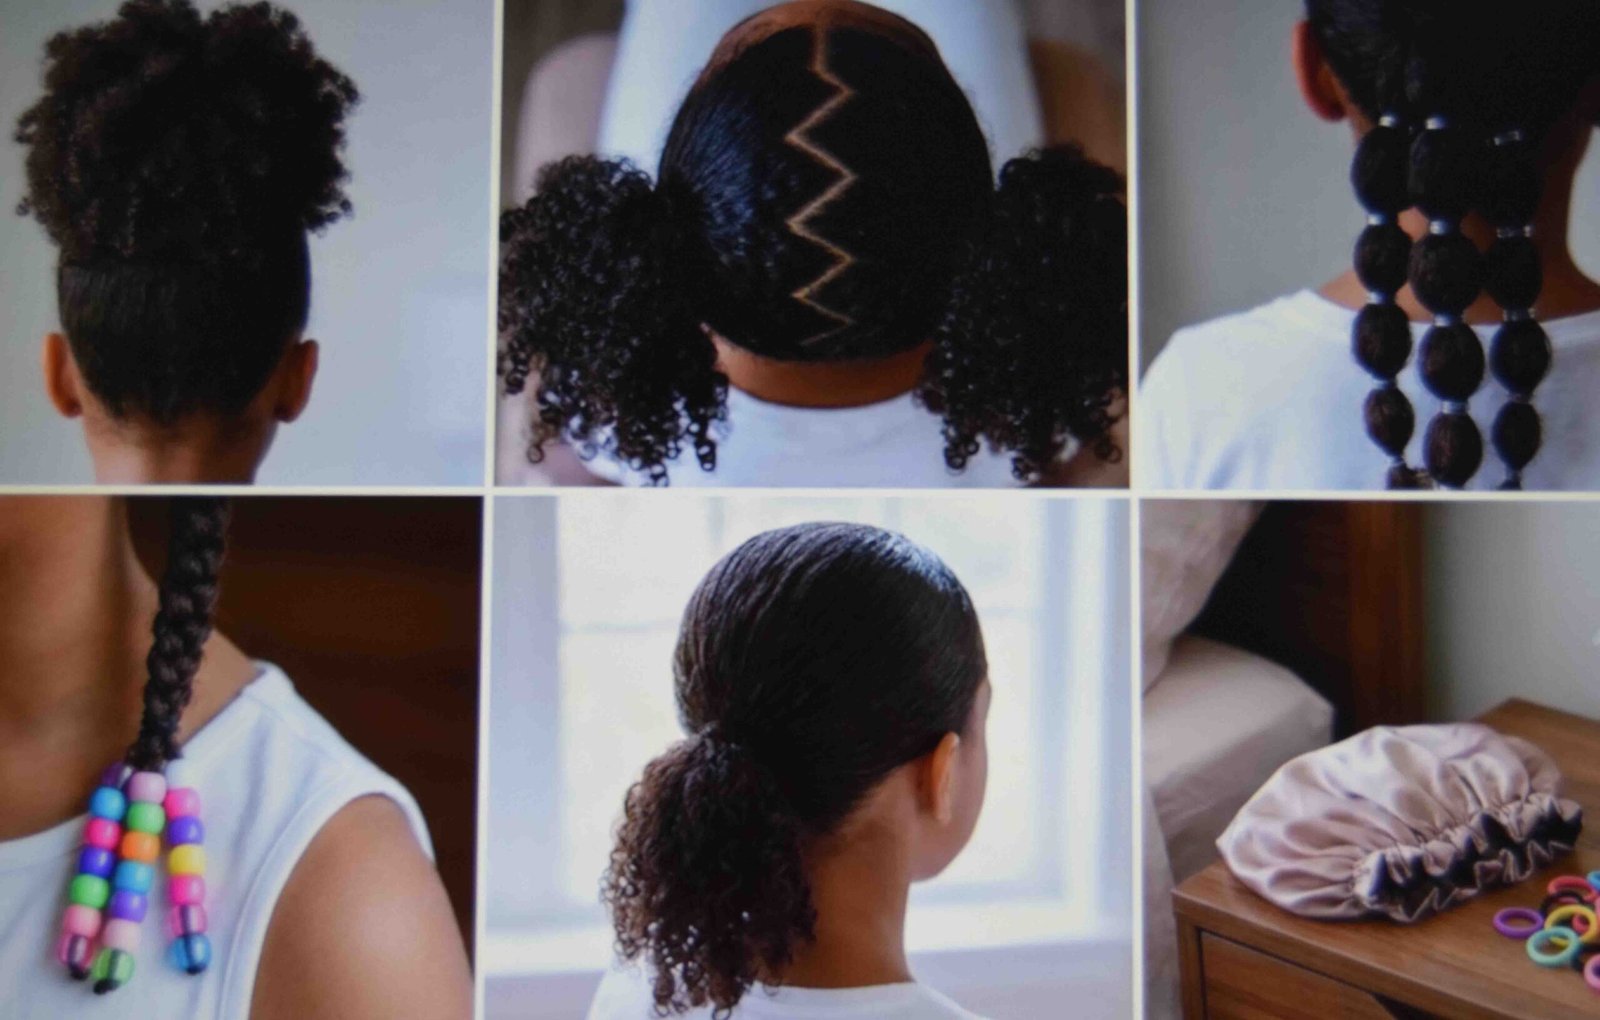
So here are twelve hairstyles no gel is required for. Each one holds through friction and direction and timing instead of a coating.
Why hairstyles no gel still hold through a full day
Hold comes from three levers and gel only covers one of them. Friction is the first. Hair washed an hour ago slides out of every twist, while day two hair grips a bun without argument. Direction is the second. A length twisted one way and then wrapped the same way tightens against itself and stays put, and a wrap that reverses halfway unravels by lunch. Section size is the third. One thick section slips as a single unit, and that same hair split into two or three anchored parts locks against itself. So when a style collapses with nothing in it, the fault is almost always the tie or the sectioning rather than the missing product.
1. The ten minute low bun that reads as done
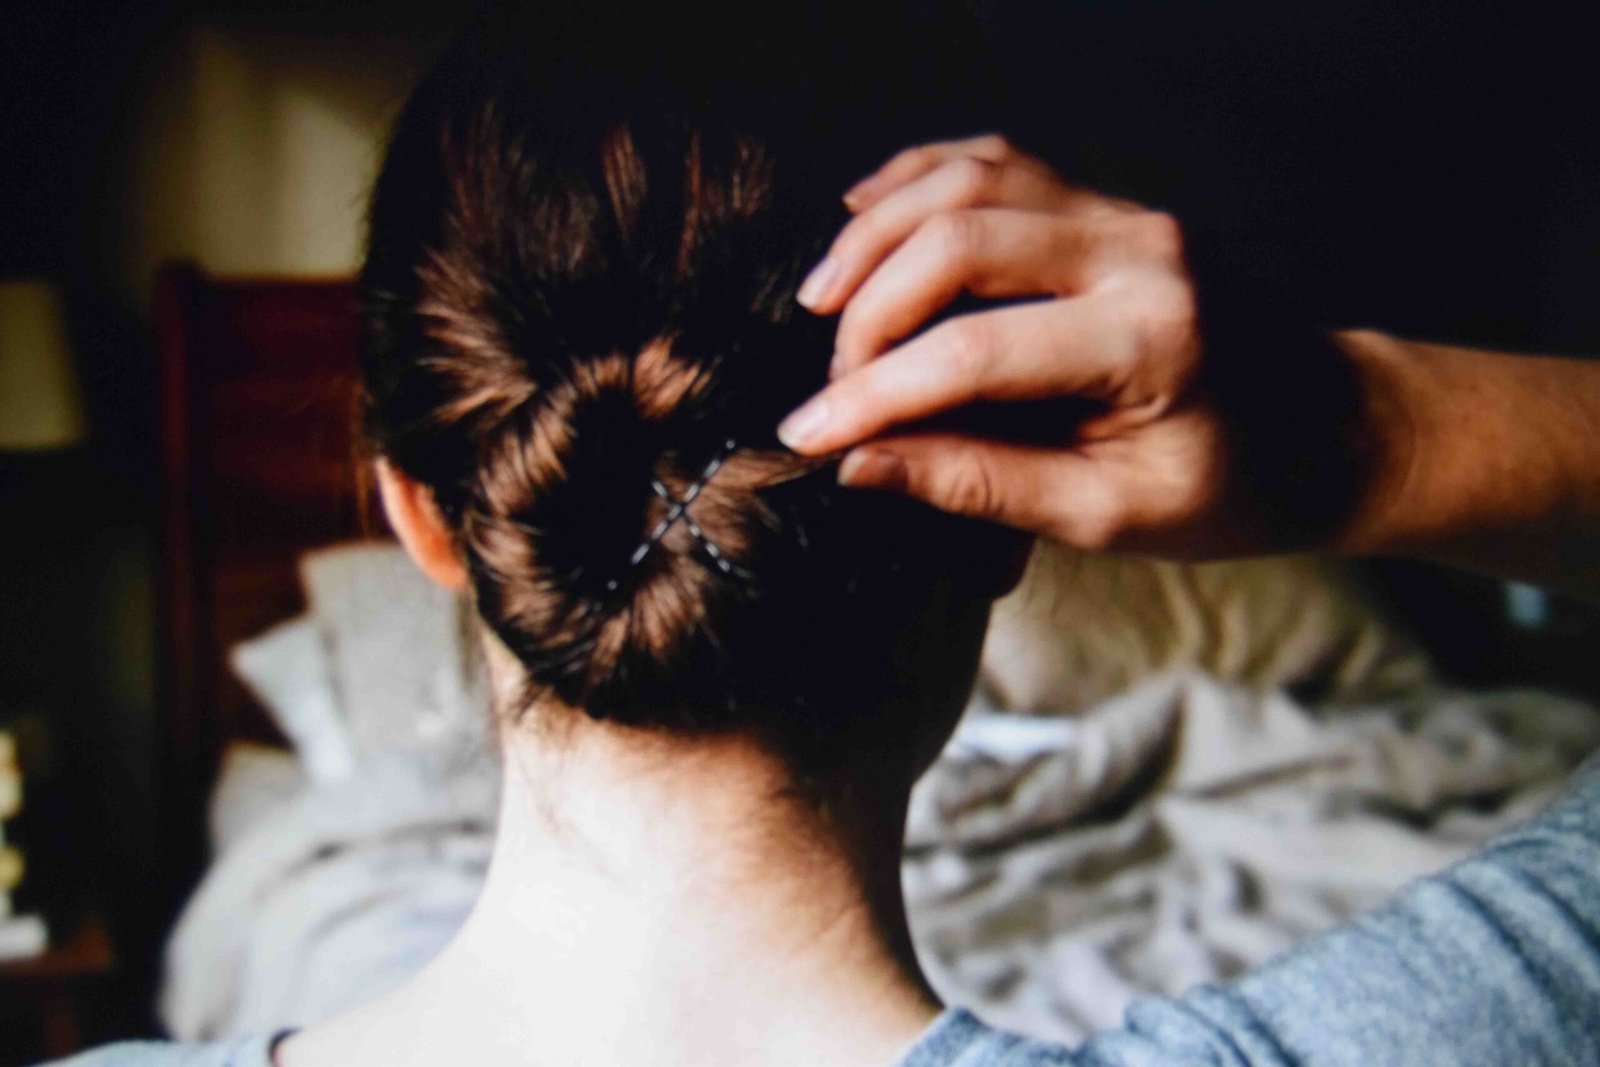
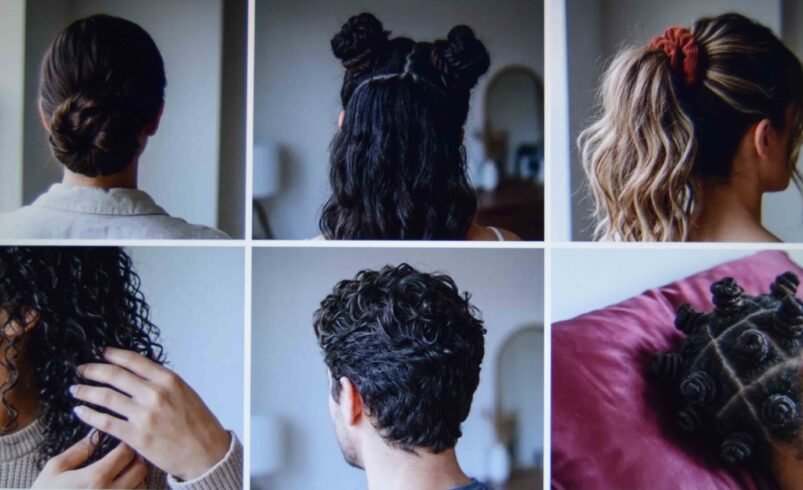
Brush everything back and gather it at the nape, at the point where your palm sits against your head when you hold it. Twist the length in one direction until it starts to coil on itself, wrap that coil around the base and tuck the tail underneath. Two pins crossed in an X hold the whole thing. Then take a pea of basic conditioner on your fingertips only and run it along the perimeter so the halo of baby hairs lies down. Ten minutes start to finish and it passes for an hour of work. The mistake is scooping conditioner into your palm and pressing it through the length, which weighs the crown down and starts the bun sliding before you get out the door.
2. Twisted space buns for a half up half down look
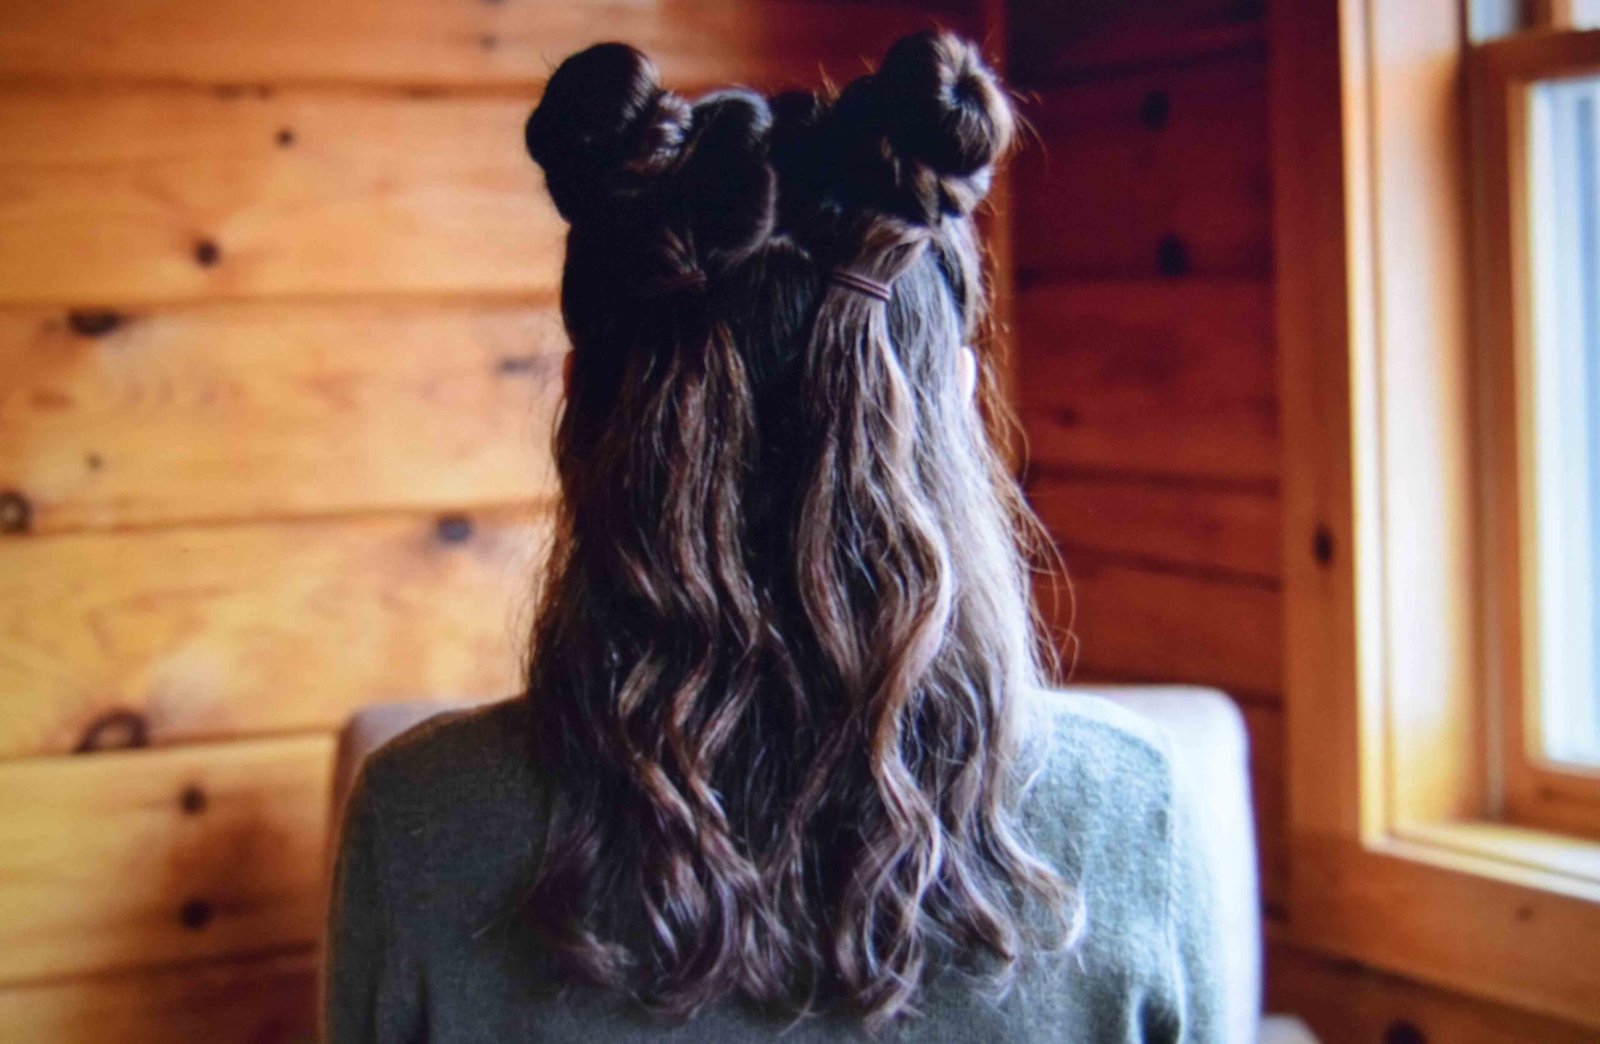
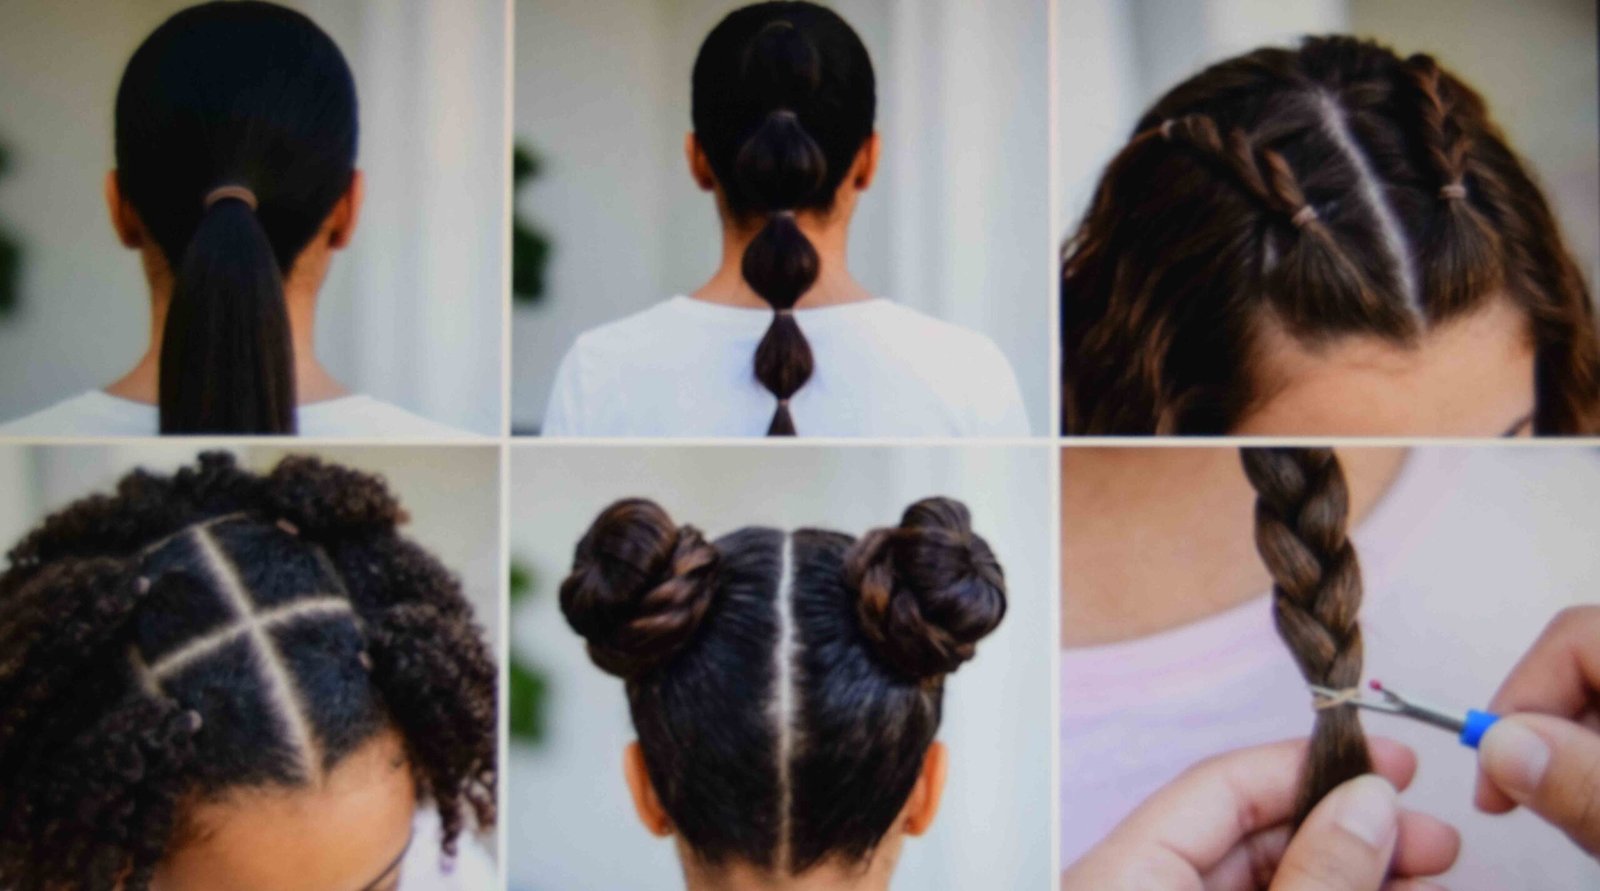
Part from the crown to each ear and clip the bottom half out of the way. Split the top into two even sections, twist each one a few rotations, then wrap it into a bun at the base of its own twist. Secure with a thin elastic rather than pins so the wrap stays anchored under tension. Do not over tighten. A bun pulled hard sits on the head like a knob and shows pale scalp lines through the part, and the whole appeal here is that it looks unbothered. It fails on hair cut in deep layers that stop above the chin, because the wrap runs out of length and the ends flick right back out of the bun.
3. A high ponytail with root lift that survives past lunch

Tip your head forward to gather, which lifts the roots before you tie anything. Secure with a thick fabric scrunchie. Thin elastics concentrate all the tension into one narrow line and cause breakage right there, and that risk climbs on natural hair. Set the tie one finger width looser than tight, then push the base gently upward so the crown keeps its height. Do not re-tighten the elastic once it is on. Pulling it up a second time strips out the lift you built while your head was down, and the only repair from there is taking the whole thing out and starting again. Heavy dense length works against this one, since the weight pulls the base lower as the day goes on.
4. A tail comb part that gives the whole style its structure
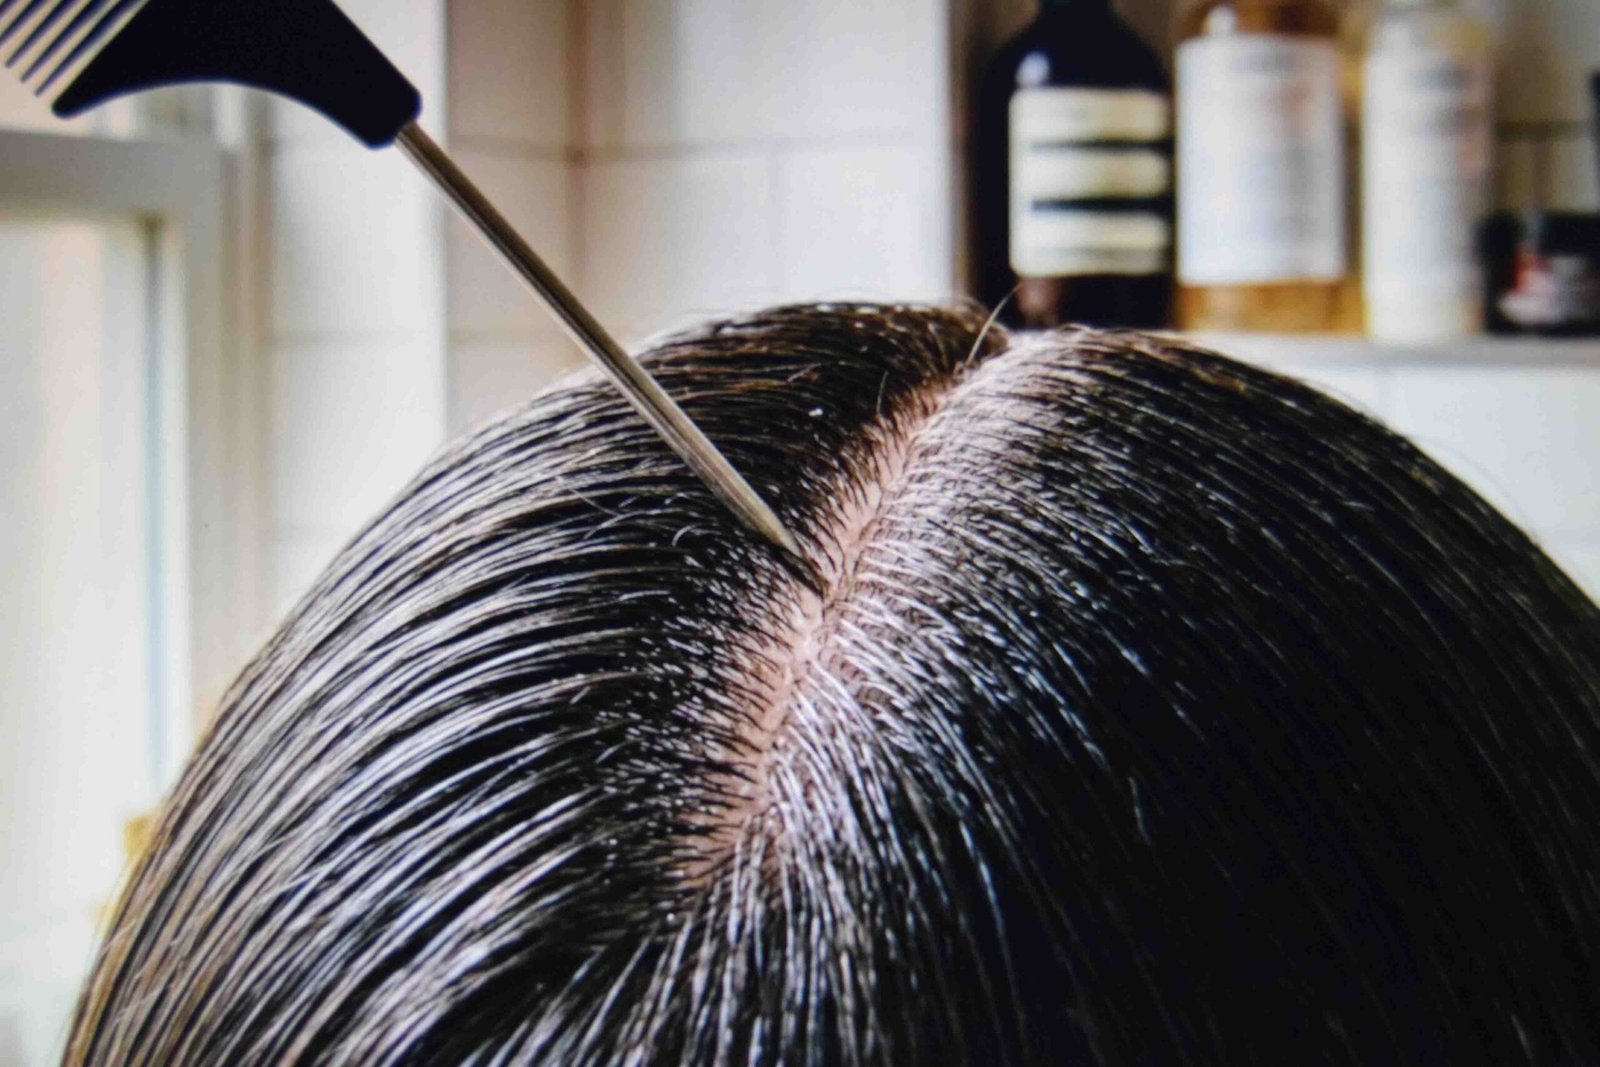
Slide the pointed end of a tail comb from the hairline back in one continuous stroke, keeping the tip resting against the scalp. One stroke. Sawing back and forth creates a fuzzy border that no amount of smoothing repairs afterward. A middle part suits anything gathered high, because it splits the weight evenly across both sides. A side part suits anything sitting at the nape. Set the part while the hair is still drying rather than after it has dried into a different direction, since dried hair remembers where it was and pulls back there. A cowlick at the crown will fight a middle part every time, so read your hairline before you commit to one.
5. Claw clip volume when your hair is on the finer side
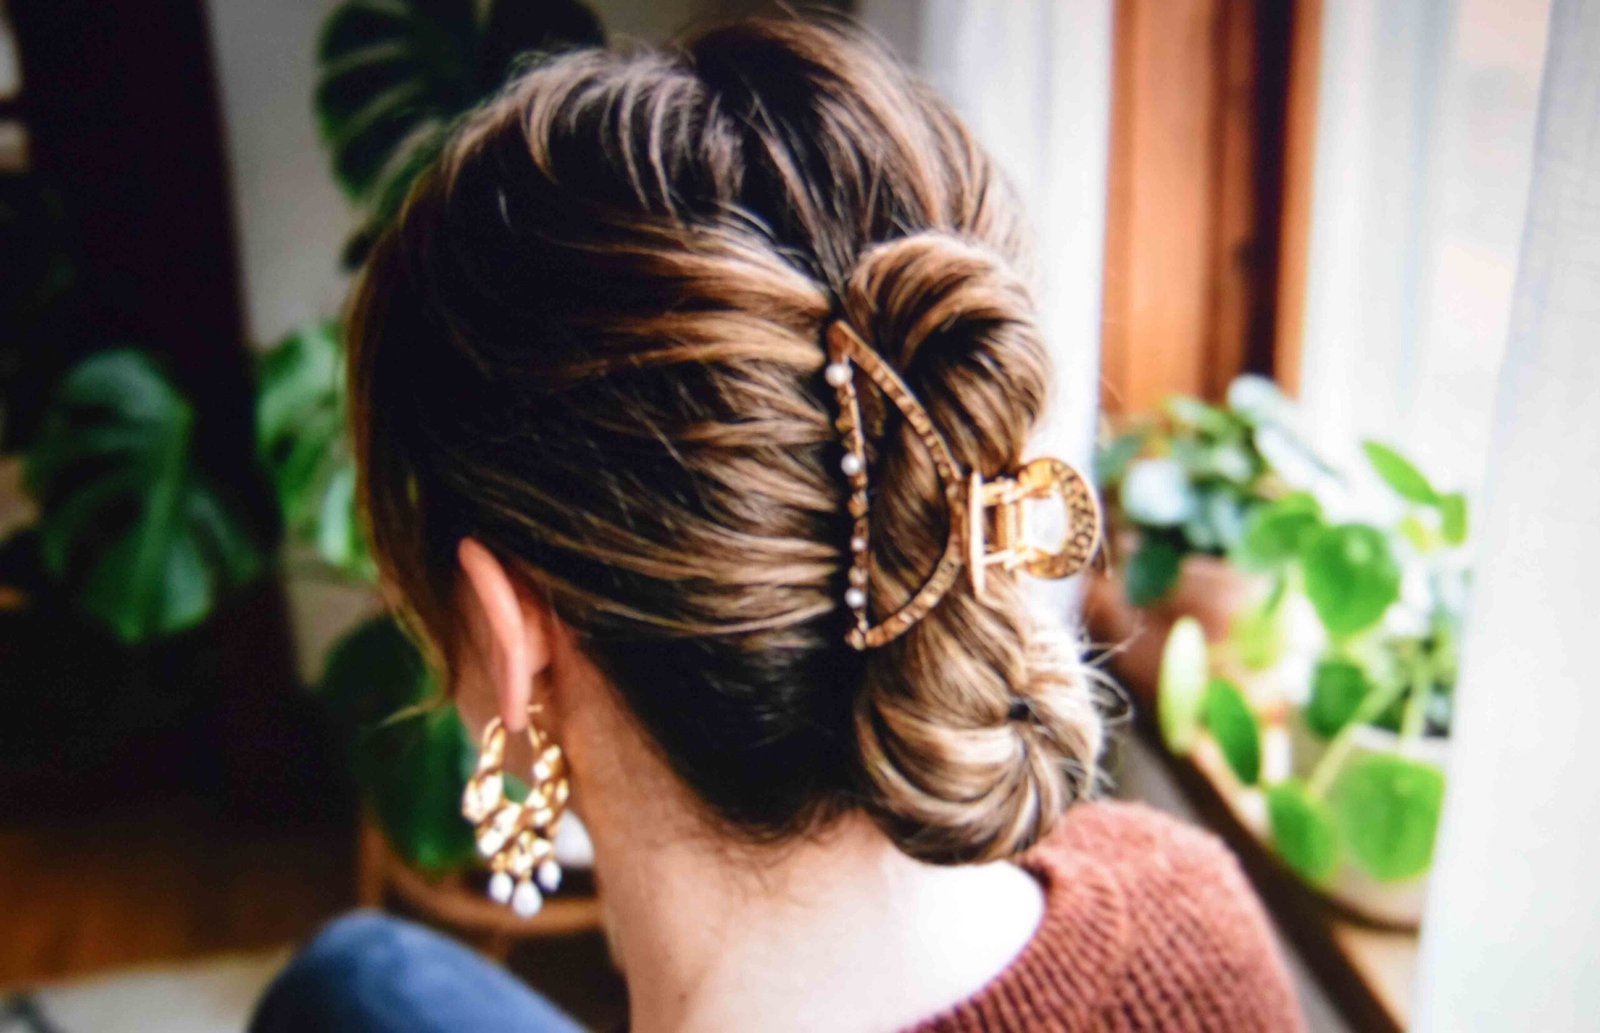
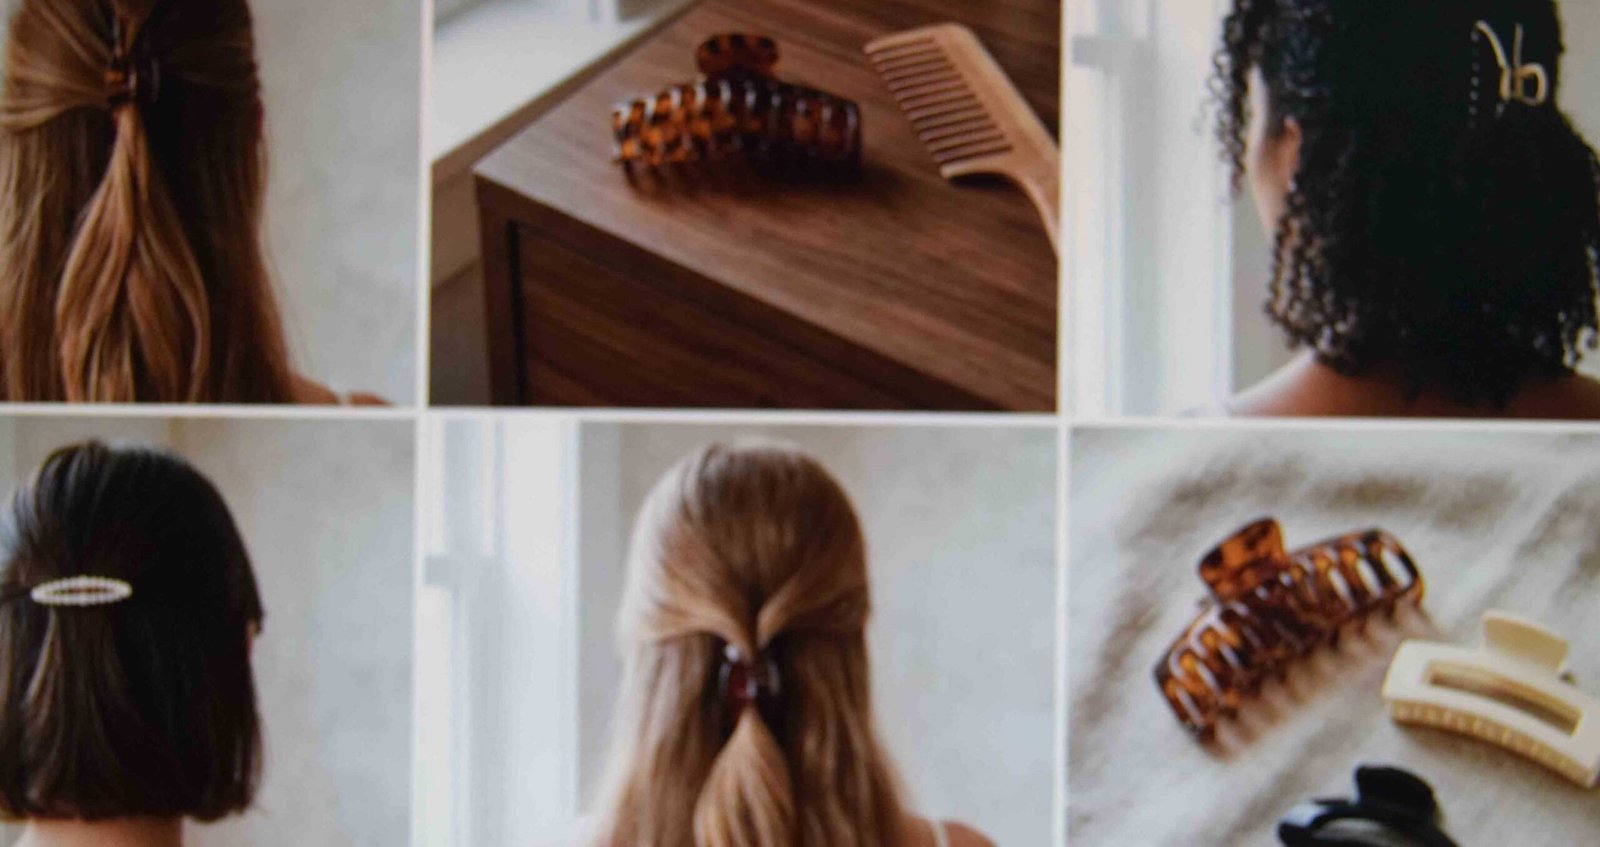
Lift the crown section forward and backcomb at the root with three quick strokes. Root only. Teasing down toward the ends builds a knot at the mid length that has to be combed out section by section afterward. Smooth the top layer back over the teased base so the surface covers the tease, then twist the length and clip it. This holds well under statement earrings and reads as deliberate in a meeting. Very short crown layers defeat the whole thing, because there is not enough length above the teased base to cover it once you smooth the top back down. Check your layer length before you spend the effort.
6. Brushed back no gel hairstyles that stay brushed back
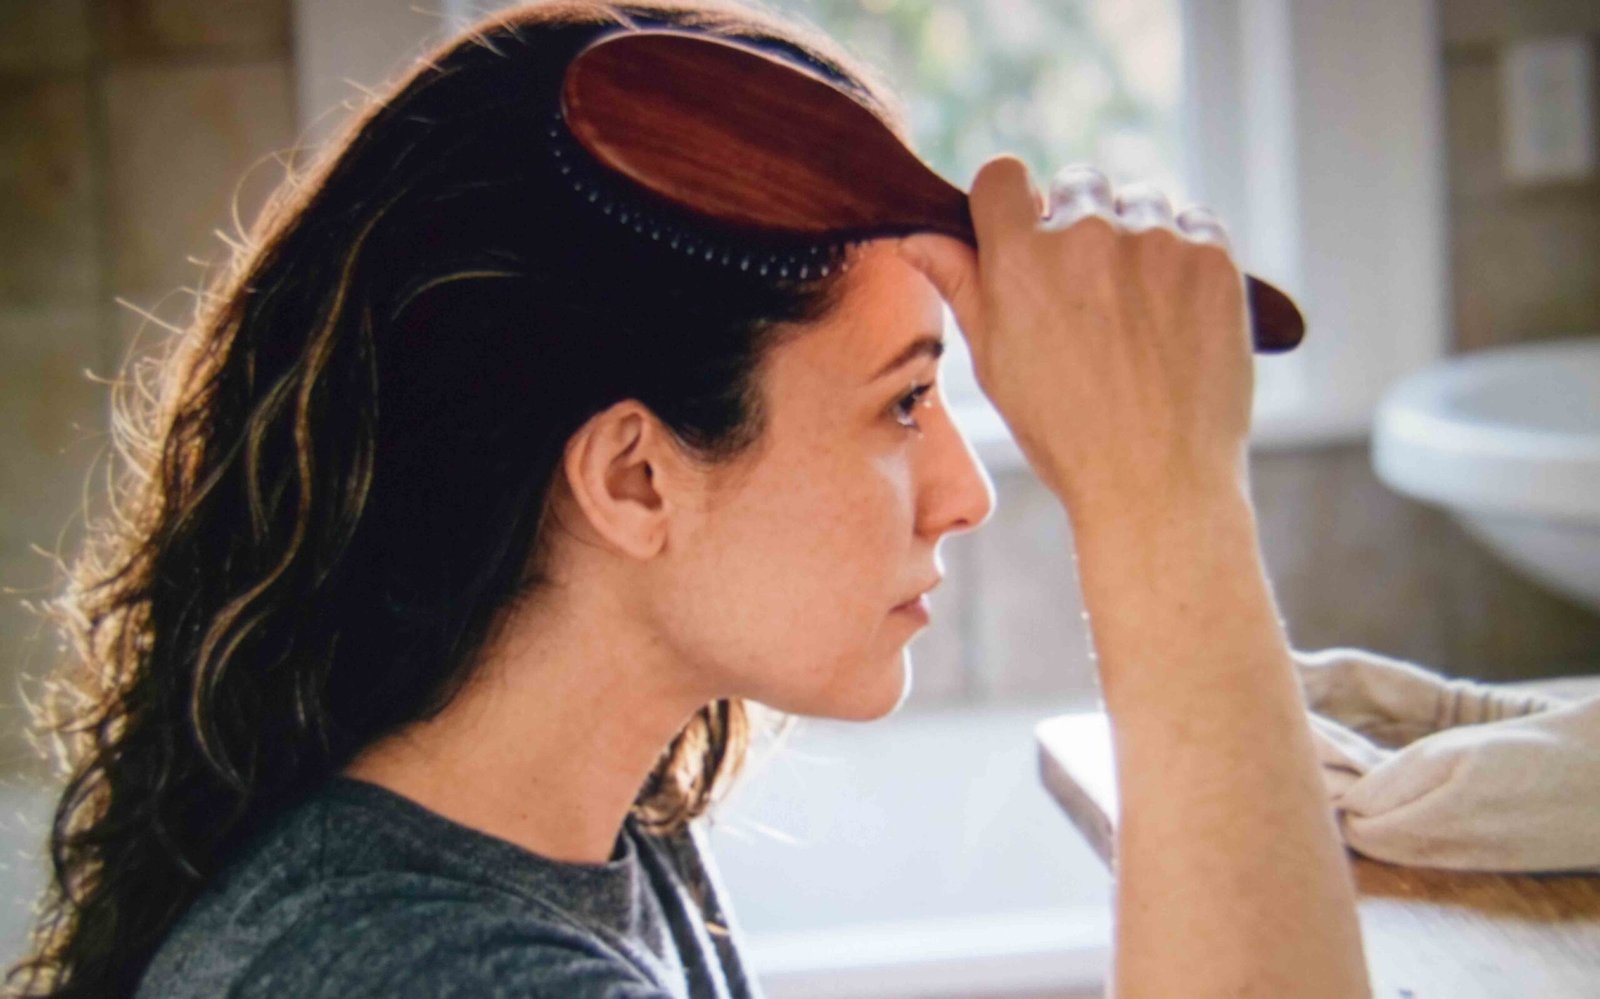
Use a boar bristle or mixed bristle brush and move slowly. Long firm strokes from the hairline up to the crown, over the same path several times, so the cuticle ends up lying in one direction. Speed is the enemy here. Fast shallow passes lift static and put every strand back where it started. Once the shape is there, slide a wide headband over it and leave it alone while you finish the rest of your routine. Coarse or wavy textures skip the headband entirely, since the bend holds its own position, but anything fine and poker straight needs those few minutes of pressure. Layers cut above your crown will pop out of the shape no matter how long you work at it, which is a cut problem rather than a technique problem.
7. Curly hairstyles no gel: seal moisture before you shape
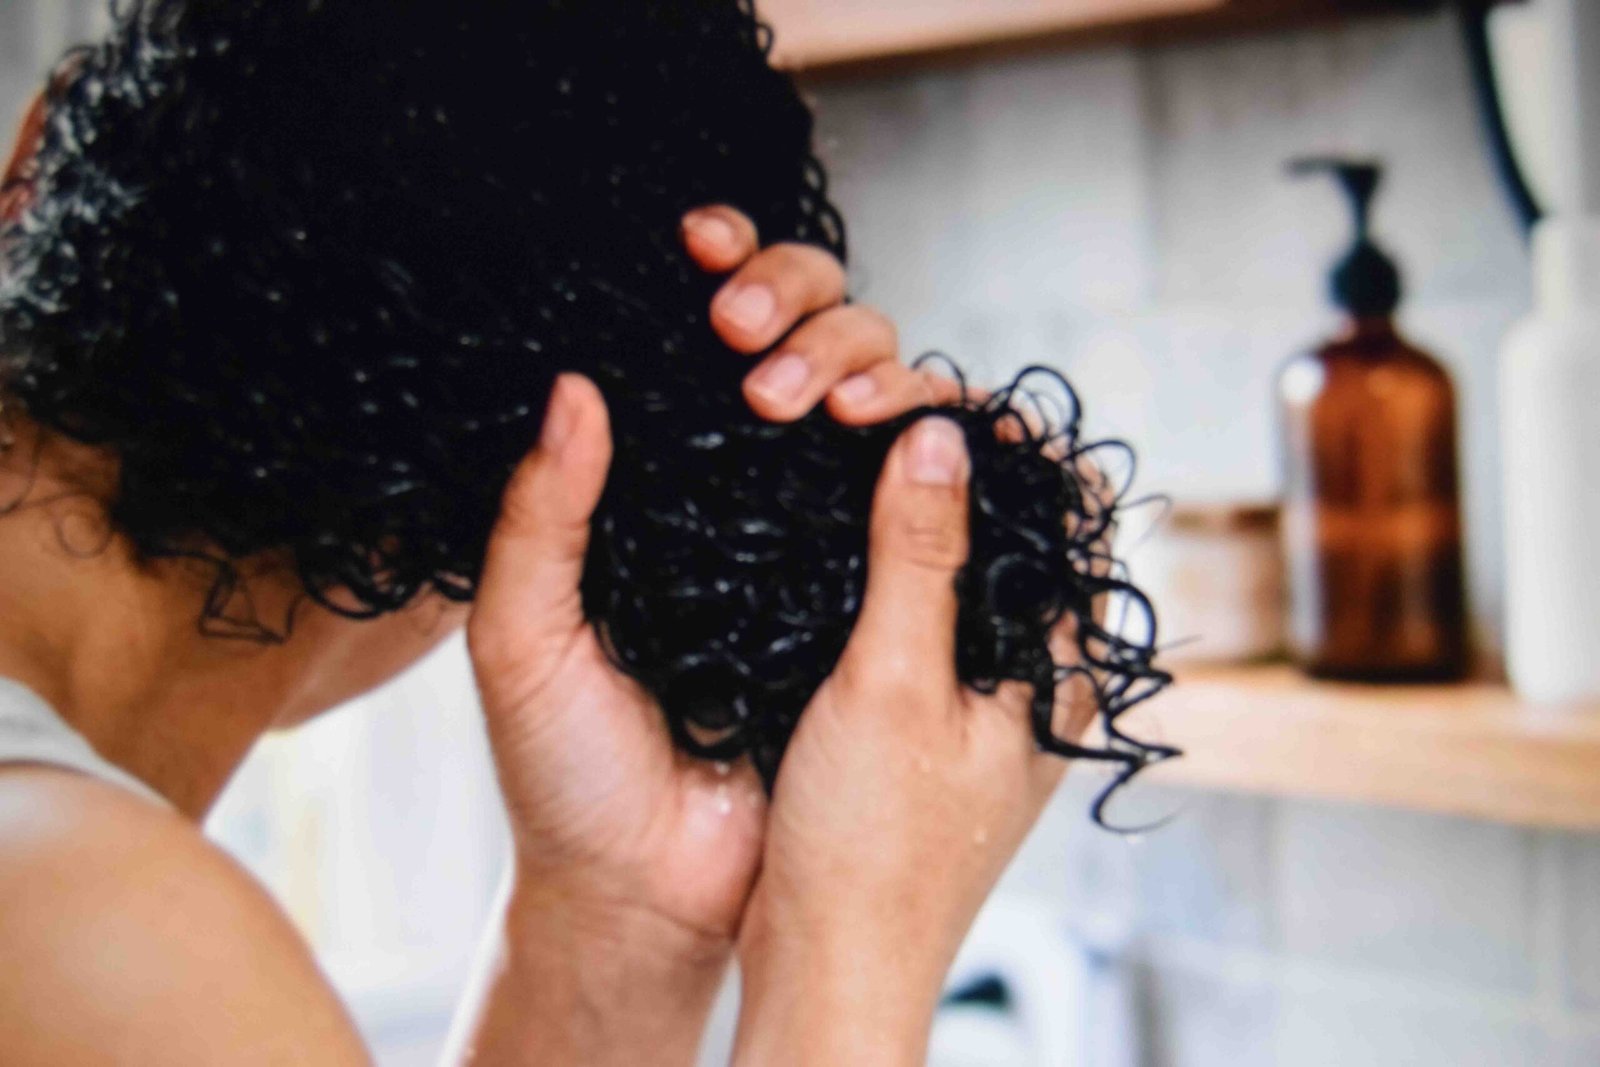
Order matters more than the products do. Water first on sections that are still soaking, then a leave in worked through with your hands, then a lighter oil last to close the whole thing in. Shape with your palms and scrunch upward toward the scalp. Never a brush. Clumps hold their own shape once they are sealed, and you get definition without the shell that cracks. The common error is reaching for the leave in after the hair has already begun drying, which splits clumps apart and hands you frizz on top of lost definition. Looser waves get flattened by the oil step, so stop after the leave in on that texture.
8. Style at eighty percent dry, not soaking

Timing does more for hairstyles no gel than any product swap. Let hair air dry about eighty percent of the way before you touch it. Frizz drops and the shape actually sets as the last of the water leaves. You can tell it is ready when the ends feel cool but nothing drips, and a section lifts away without sticking to the one beside it. Wind soaking hair into a bun and you trap water inside the coil, the whole thing sets slack, and it slides down the back of your head later. Do not rough dry with a terry towel to rush the wait. Squeeze the water out with a cotton tee or microfiber instead.
9. Hairstyles for men no gel: the grown out crop
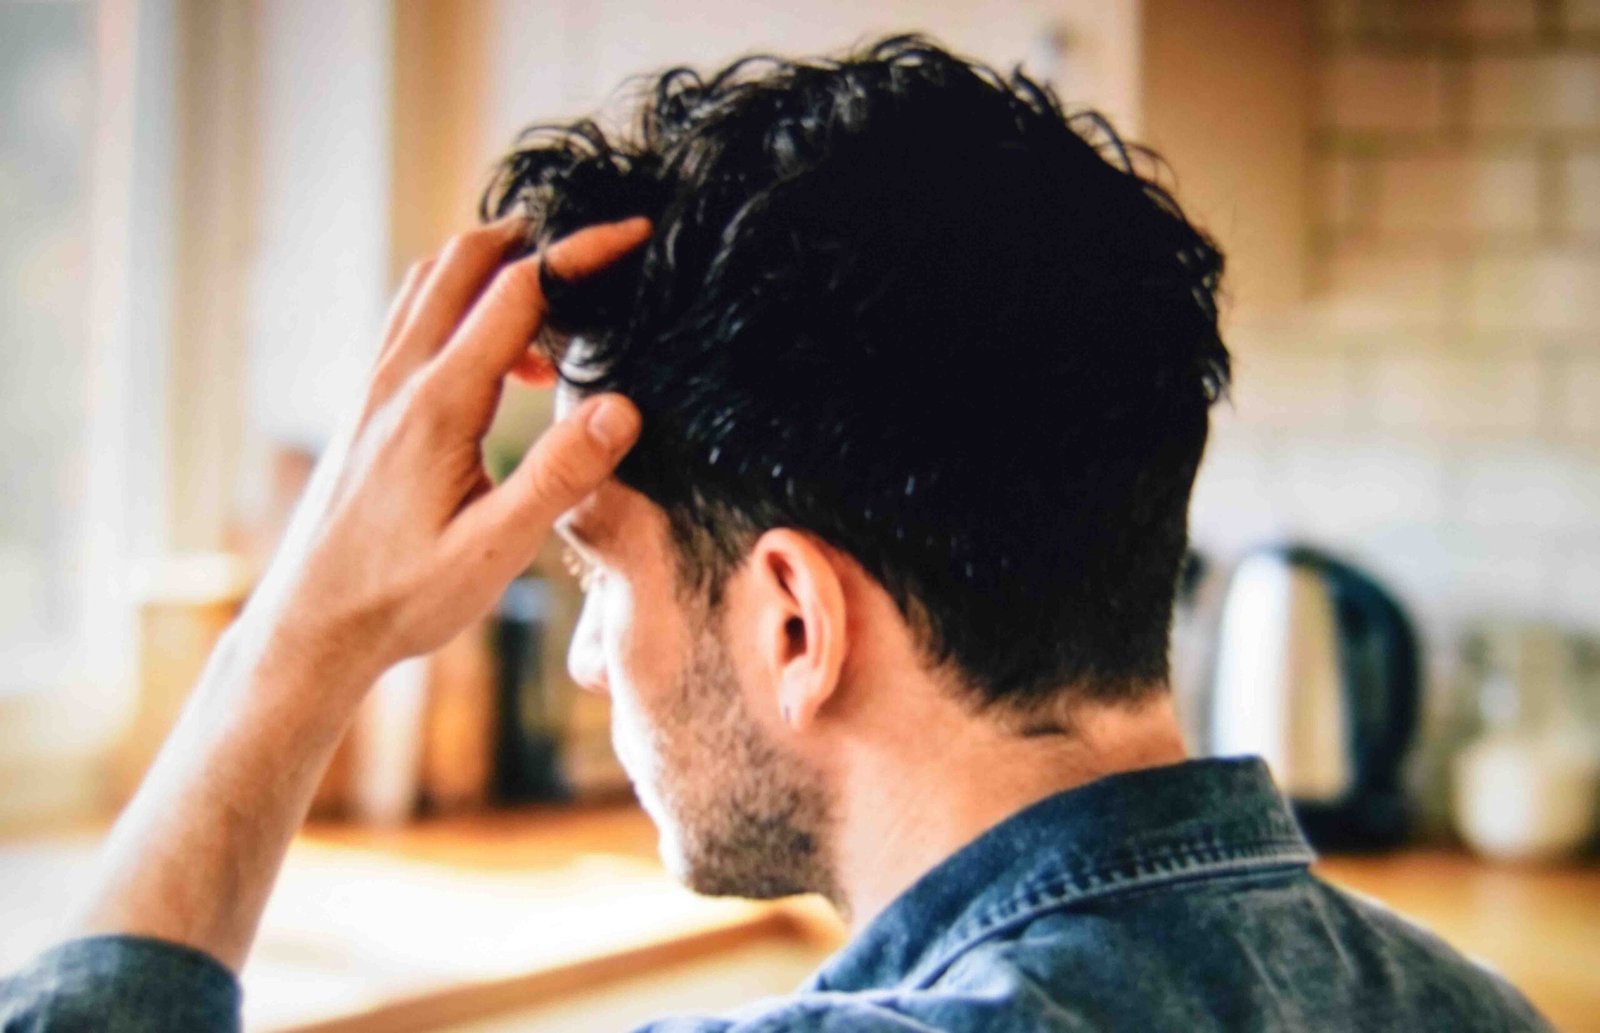
This works once the top is long enough to fall forward but not long enough to reach the ear. Towel dry roughly in the direction you want the hair to sit, then push the front up and back with your fingertips while it is still drying and leave it alone from there. The bend sets as it dries and holds. Combing it into place while wet and letting it dry undisturbed does the opposite, because the comb strips out the texture that was holding the shape in the first place. Very straight dense hair with no bend of its own will not cooperate at all. That texture needs weight removed at the cut instead.
10. Short hairstyles for men no gel: a combed side part
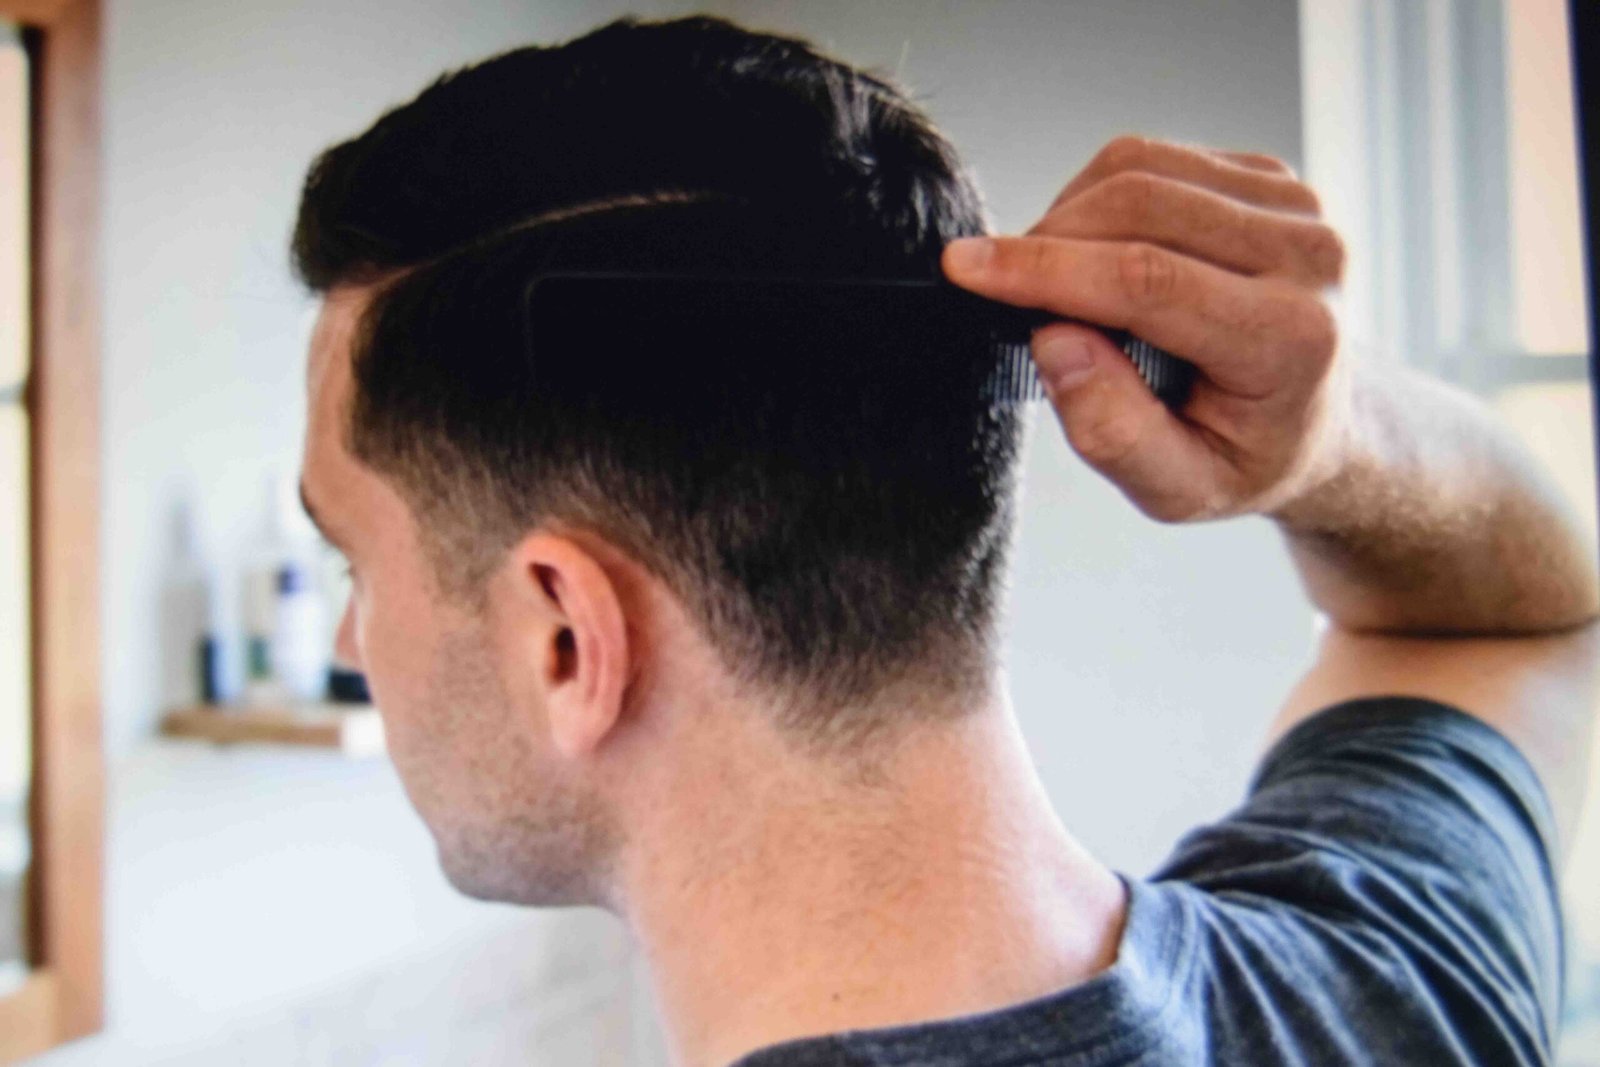
Push all the hair forward with your hand and let it fall. Where it splits on its own is your natural break. Comb along that exact line with a fine tooth comb and carry the stroke back past the crown so the part does not fade out halfway down the head. Part anywhere else and it works its way back to its own line by the time you have finished getting dressed. The matte finish everyone chases with product actually comes from the cut, specifically tapered sides that hold shape without shine. Hair buzzed at one guard all over has no length difference to open up, so there is nothing here to part.
11. How to make easy hairstyles for medium hair without a mirror battle

Medium length is where hairstyles no gel usually go wrong, and it is a length problem rather than a product problem. Not enough length for a full bun and too much to leave down. Take a section from each temple, twist each one backward and cross them at the back of the crown, then pin where they meet. Or gather a low ponytail, split the tail in two, wrap the halves around the tie in opposite directions and tuck the ends underneath. A full size claw clip slides down the back of your head at this length because there is not enough hair to fill the jaw, so reach for a smaller clip or pins.
12. Overnight twists that set the shape while you sleep
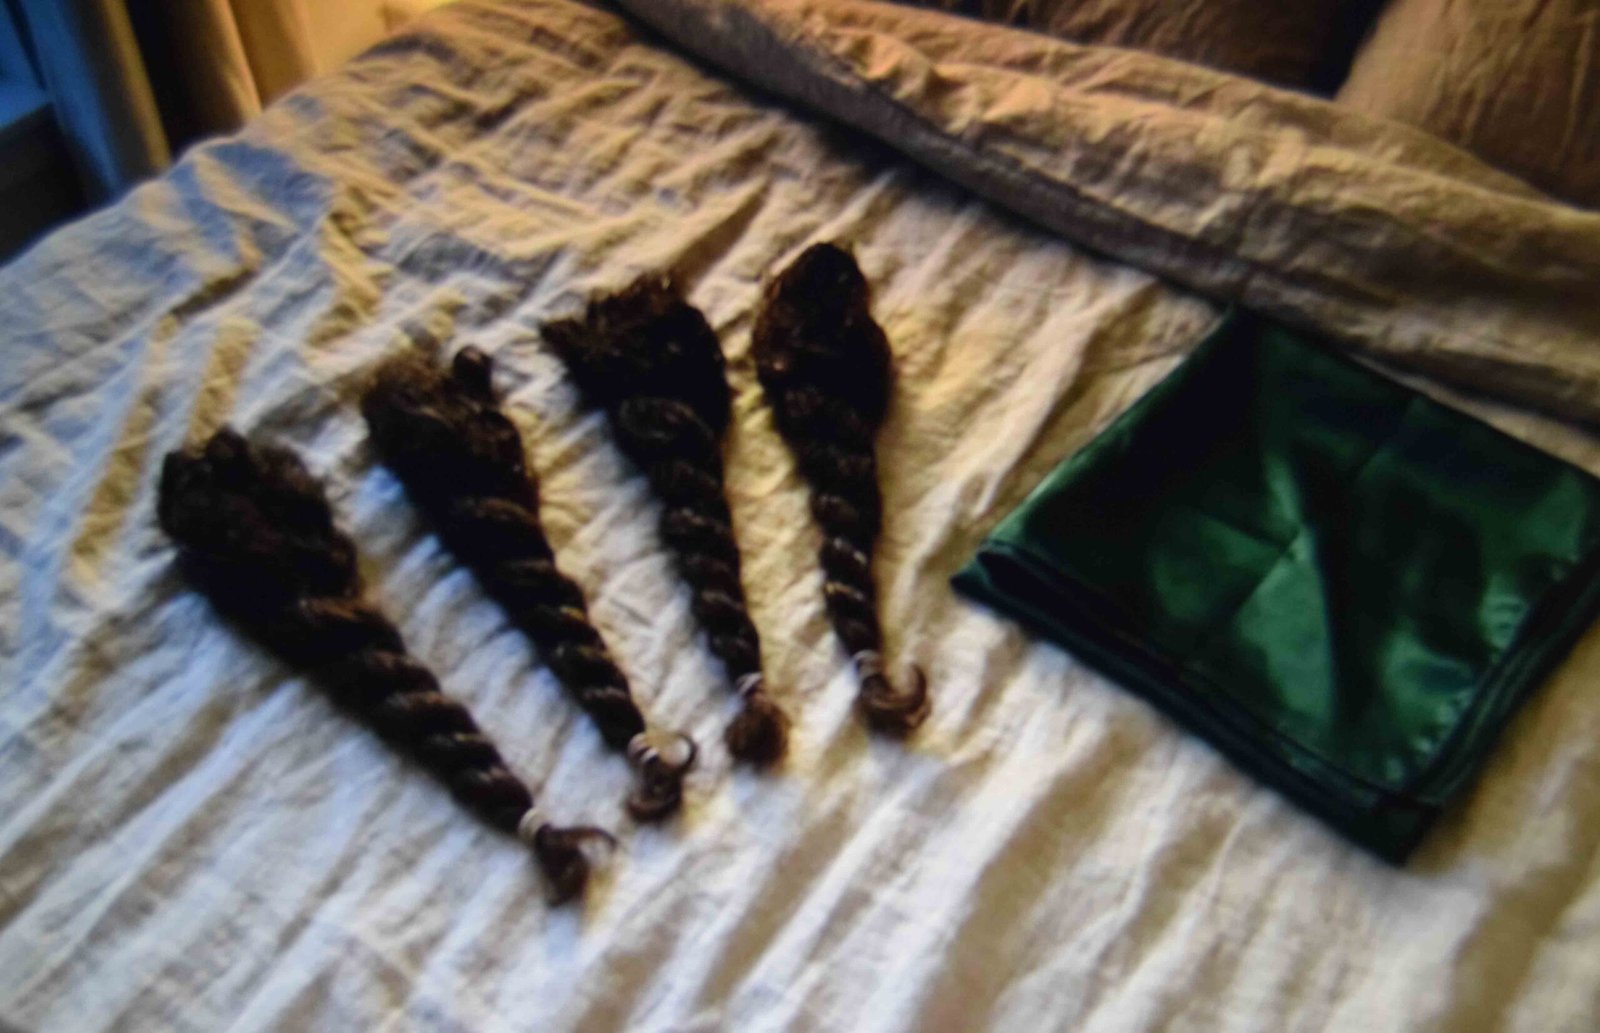
Divide half dry hair into two or four sections, twist each one down to the ends and fasten the tip. In the morning, unravel each twist from the end upward so the curve at the root stays intact. Sleep on satin or wrap the set in a scarf, because cotton pillowcases rough up the outer layer overnight and you wake with the shape plus frizz sitting on top of it. Twisting hair that is still dripping is the usual error. It stays wet until morning and falls out into a limp wave with no memory in it. And if you sleep hot and the twists loosen, the scarf is what does the anchoring.
What to reach for instead, and when a free and clear hair styling gel earns a spot
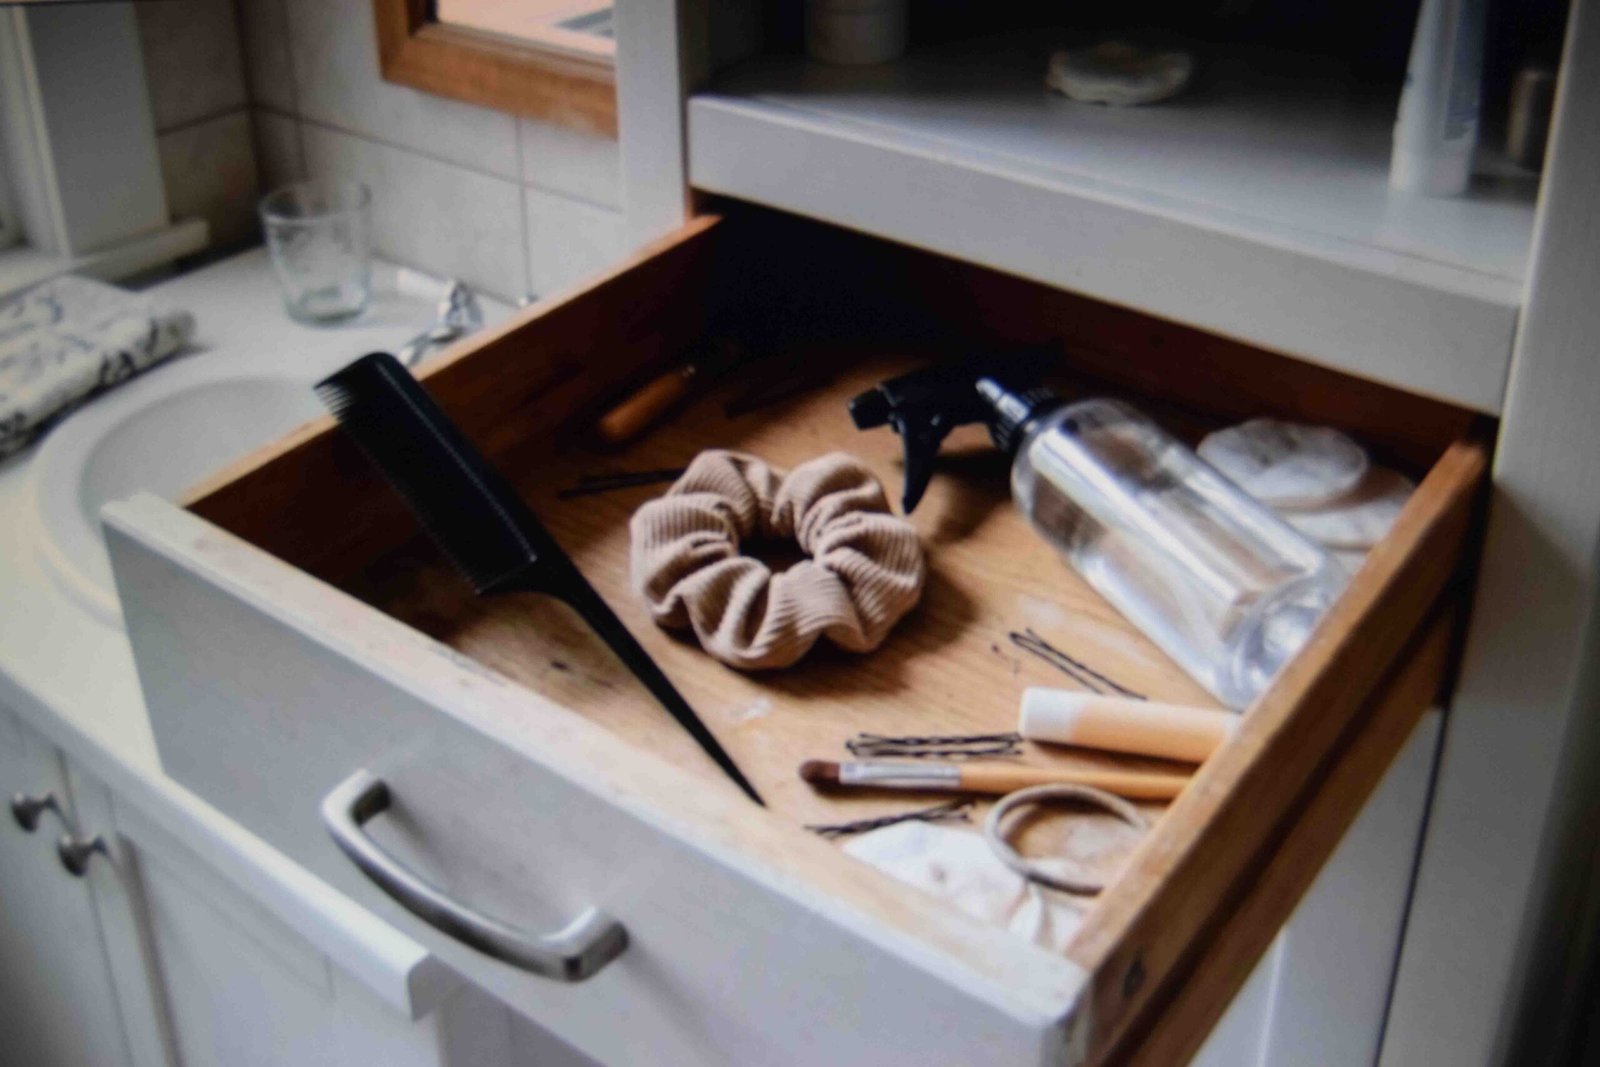
So is styling gel bad for your hair? Not by itself. The trouble comes from drying alcohols sitting high in the ingredient list, and from brushing out a hardened cast, which snaps strands at the exact point where they were glued together. A free and clear hair styling gel skips added fragrance and dye, which matters if your scalp reacts to most things. I would keep one hairspray in the drawer and nothing else, used as a single spritz at the end rather than five. Then build your week around your wash day. Put the styles that need structure later in the week and save the shape led ones for the day you wash. Patch test anything new on your inner arm and give it a full day before it goes near your hairline.
FAQ
How do I keep a style from collapsing in humidity? Pin before you leave rather than after it starts to move. Two pins pushed in against the direction of the twist hold more than six pushed in with it, because they work as a brace instead of a passenger. Tie a scarf over the outer layer for the walk and take it off when you arrive.
What should I skip entirely? Heavy waxes and petroleum based grease. Both sit on the outside of the strand, collect lint from every scarf and collar you own, and leave a residue that transfers onto pillowcases and the lining of every hat you wear.
Does any of this work on color treated or chemically relaxed hair? Yes, with less tension. Move your part and your anchor point every few days so the same spot is not carrying the load every morning, and choose wide anchors over narrow ones. Weakened hair gives way where pressure repeats, not where it is heaviest.
How do I stop a style from looking overdone? Pull two pieces free at the front after everything is fastened, and pull them from the hairline rather than out of the twist so the structure behind them stays tight. One asymmetry is enough. Two starts to read as undone rather than relaxed.
If I own none of this, what do I buy first? The tail comb. Part quality decides how finished every other style on this list looks, and nothing else fixes a bad part. A satin scarf comes second because it protects work you already did. The clip comes last, since pins cover the same job for less money.
Pick two and give them a week
Two styles you can do without thinking beat twelve you half remember. Choose one that needs day two grip and one that works right after a wash, and you are covered either way.
Practice the first on a morning when nothing depends on it. Watch exactly where it slides. Then change the anchor point before you change the product.
The list of hairstyles no gel can deliver runs longer than most people expect, once you stop treating hold as something you buy. And if a style still slips after a few honest attempts, build it on the other side of your head. Most people pull harder with their dominant hand and never notice which side is doing the failing.
This post is general styling information only and is not medical advice. If your scalp is irritated or you notice unusual shedding, speak with a dermatologist or a licensed stylist.